

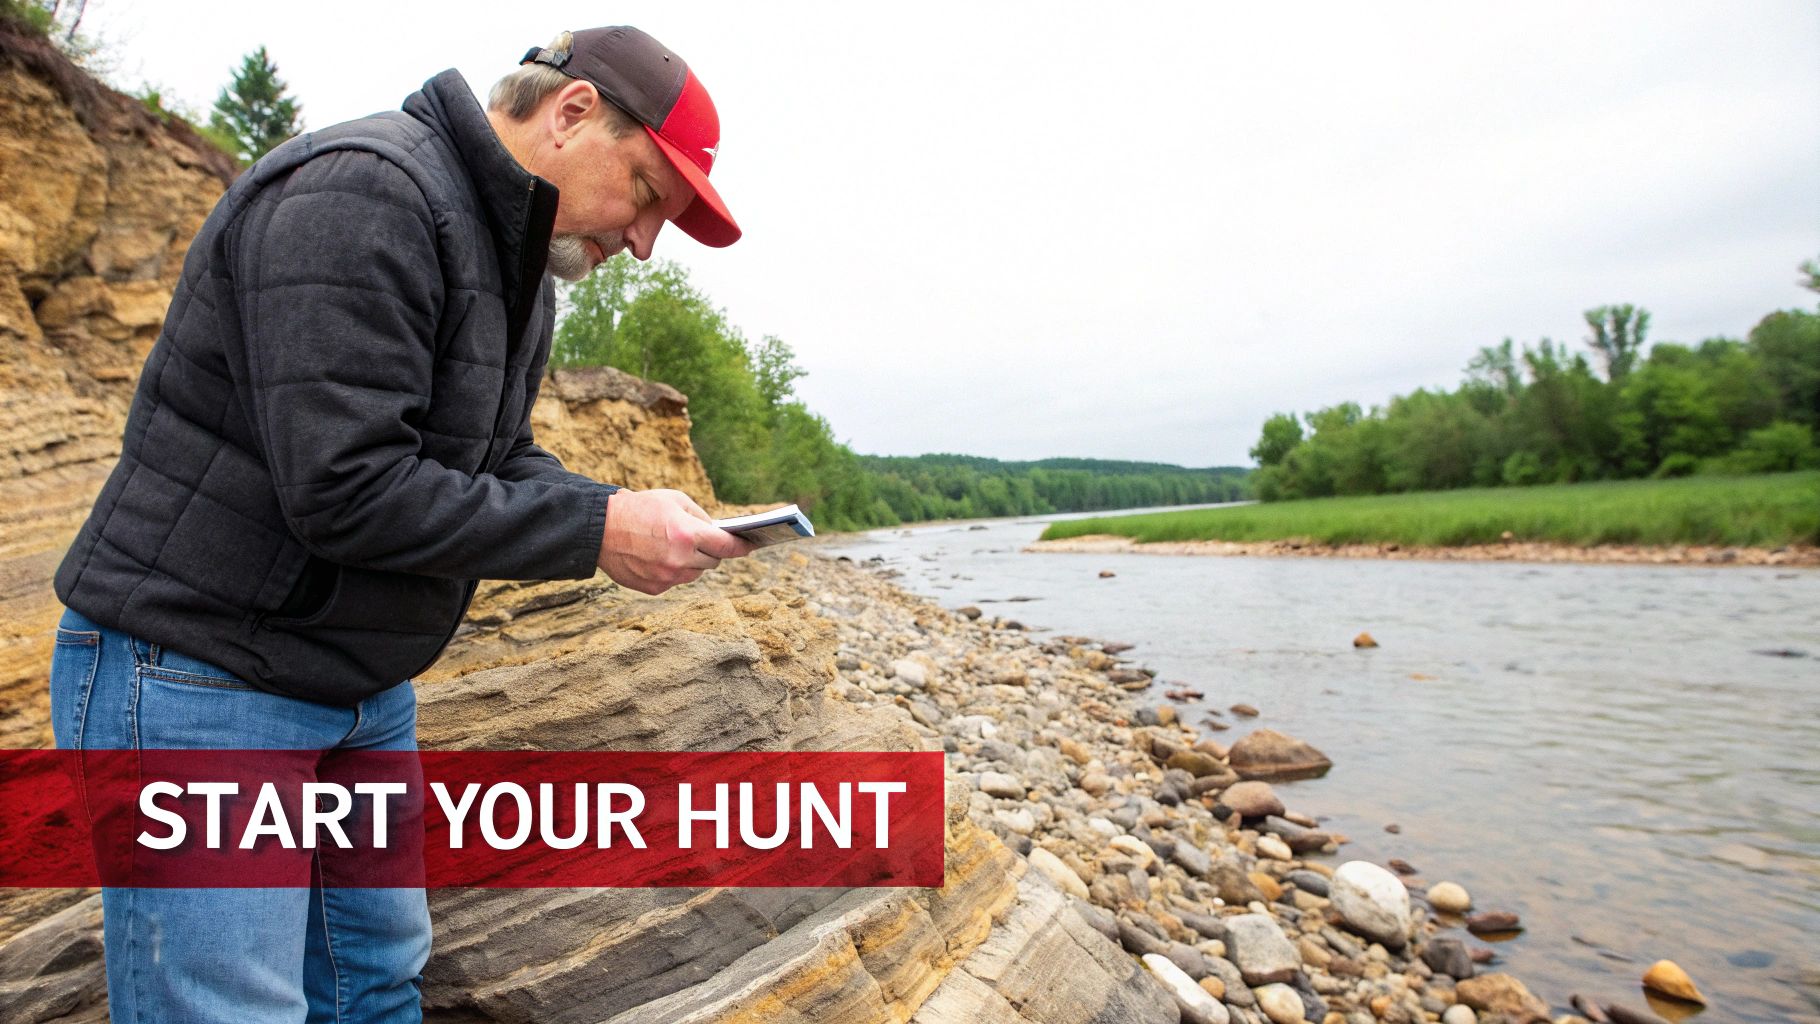
Searching for fossils boils down to three key steps: finding the right location (think sedimentary rock near water), bringing a few simple tools (like a rock hammer and brush), and training your eye to spot shapes and textures that just don't belong.
This practical guide will help you turn your next outdoor adventure into a journey through deep time, offering actionable insights for your first fossil-hunting expedition.
Your Adventure into Earth's Ancient Past Begins Here
Welcome to the thrilling world of fossil hunting. This isn’t a stuffy hobby for scientists in lab coats; it's a real-life treasure hunt that connects you directly to our planet's mind-blowing history. Unearthing something that hasn't seen daylight in millions of years is an unforgettable, hands-on experience.
Many people assume finding fossils requires years of training or a truck full of expensive gear, but it's one of the most accessible scientific adventures you can have. The real secret is simply knowing what to look for and where to begin your search.
This guide provides a clear roadmap, giving you the confidence and practical know-how to start discovering pieces of ancient life on your own.
The Growing Appeal of Fossil Hunting
You might be surprised to learn that fossil hunting has become a massive global tourism activity. The market was valued at around $1.2 billion and is expected to more than double to $2.8 billion by 2033. North America makes up over 38% of that, thanks to iconic, fossil-rich sites like the Badlands and Dinosaur National Monument. You can dig into the numbers in this fossil hunting tourism market report.
This boom in popularity shows how much people crave a real connection with the natural world. It's an activity that offers more than just a cool souvenir; it's a hands-on history lesson that gets you outside and moving.
Key Takeaway: Fossil hunting is the perfect blend of science, exploration, and discovery. Every rock you turn over could be a window into a prehistoric world, making any hike or walk along a riverbank an exciting expedition.
Why Fossil Hunting is a Perfect Family Activity
Let's be real—turning over rocks and digging in the dirt is something kids are naturally wired to do. Fossil hunting channels that innate curiosity into something fun, educational, and incredibly rewarding. It’s an amazing way to get the whole family outdoors and engaged with the world around them.
Exploring nature has countless benefits for a child’s development. If you're looking for more inspiration to get your crew outside, check out our guide on the benefits of outdoor play.
Here’s why searching for fossils is an ideal adventure for all ages:
- It Sparks Curiosity: Finding a real fossil opens up a flood of questions about geology, biology, and the history of life on Earth.
- Encourages Patience and Observation: Success often comes from carefully scanning the ground, teaching the valuable skill of paying close attention to small details.
- Creates Lasting Memories: The shared excitement of a discovery is something your family will be talking about for years to come.
To get you started, here's a quick checklist summarizing the essentials.
Your Fossil Hunting Quick-Start Checklist
This table breaks down the key steps and gear you'll need to head out on your first expedition with confidence, giving you actionable insights at a glance.
| Phase | Key Action | Why It Matters |
|---|---|---|
| Preparation | Research fossil-rich locations & check local rules. | Ensures you're searching in a productive (and legal) spot. |
| Gear Up | Pack essentials: rock hammer, brushes, safety glasses, water. | Keeps you safe, comfortable, and ready to excavate your finds. |
| The Hunt | Train your eye to spot unusual shapes, textures, and patterns. | Fossils rarely look like perfect skeletons; you're looking for clues. |
| Documentation | Photograph your find in place before removing it. | Preserves valuable scientific context about where it was found. |
With these basics in mind, you're ready to start your journey. Let's dig in and uncover a piece of history together.
Finding the Right Spot: Where to Search for Fossils

The secret to a successful fossil hunt isn't just luck—it's knowing where to look. Fossils don't pop up just anywhere. They're almost exclusively found in one specific type of rock: sedimentary rock.
This rock forms from layers of sand, silt, and mud piling up over millions of years. Think of it like a giant, geological layer cake. Ancient plants and animals got buried in these layers, and over immense time, minerals replaced their remains, turning them to stone. Our job is to find where this ancient cake is exposed and start exploring.
A great fossil hunt begins long before you pick up a tool. It starts with solid research, so it pays to know how to improve your research skills. This initial planning separates a frustrating day from a thrilling discovery.
Focus on Sedimentary Rock Formations
The three most common types of rock you'll be looking for are limestone, shale, and sandstone. Each has a distinct look and feel, and learning to spot them is a core skill for any fossil hunter.
- Limestone: Usually light gray or tan, this rock is essentially the cemented remains of ancient marine creatures. It’s often packed with small fossils like brachiopods and crinoids.
- Shale: This compressed mud and clay often breaks into thin, flat pieces. It’s the perfect place to find delicate fossils like plant imprints or even insects.
- Sandstone: Formed from sand grains and often gritty to the touch, this rock can preserve fossils, but they tend to be less common than in limestone or shale.
You don't need a geology degree to find these. A great starting point is to search online for a "geological map of [your state or region]." These maps use colors to show different rock types on the surface, helping you pinpoint promising areas.
Let Erosion Be Your Best Friend
The absolute best places to look for fossils are where nature has already done the heavy lifting. Erosion constantly slices away at the earth, exposing fresh layers of rock and revealing fossils that have been hidden for eons.
This kind of hands-on discovery makes learning stick in a way that just reading about it never can. By getting out there and physically searching, you’re tapping into powerful educational principles. You can learn more about the benefits of hands-on learning and see just how much these real-world activities boost engagement.
Key Takeaway: The best fossil hunting spots are dynamic environments where rock is constantly being exposed. Instead of digging randomly, look for places where water, wind, and time have already done the hard work.
Prime Locations for Finding Fossils
Ready to start your search? Here are some of the most productive types of locations to check out, with real-world examples to get you inspired.
Coastal Cliffs and Beaches
The constant pounding of waves chews away at cliffs and churns up the seabed, often depositing fossils right on the sand for you to find.
- Real-World Example: The Jurassic Coast in Dorset, UK, is a world-famous spot. After storms, new ammonites and marine reptile fossils are regularly exposed and can be found just by walking the shoreline.
Riverbeds and Creek Banks
Flowing water carves through rock layers, dislodging fossils and tumbling them downstream where they collect in gravel bars.
- Real-World Example: After a good rain, creek beds in central Texas are fantastic places to find Cretaceous marine fossils like sea urchins and coiled ammonites.
Road Cuts and Quarries
When roads are blasted through hills, the exposed rock walls—called road cuts—create a perfect cross-section of geological history. Quarries offer a similar, massive view.
- Real-World Example: Many road cuts in Ohio and Kentucky expose Ordovician shale that's loaded with brachiopods and trilobites. Just be sure you can park safely and legally, and always watch for traffic.
Public Dig Sites
For a nearly guaranteed find, some places offer public or fee-based dig sites where fossils are known to be plentiful.
- Real-World Example: In Wyoming, several private quarries let you pay a fee to split shale from the Green River Formation. It's an incredible experience, and you can find beautifully preserved 50-million-year-old fish fossils.
Using Digital Tools to Plan Your Hunt
Your research doesn't have to be limited to old-school paper maps. Modern tools can give you a serious edge. The world’s largest open-access fossil database, FRED, compiles information on over 100,000 fossil discovery sites, making it an invaluable resource.
This database lets you search for sites by location, fossil type, and geological period, which helps you target your search and massively increases your chances of success. Britannica also has some great insights on using fossil databases for your research.
By combining geological know-how with modern tech, you can turn your fossil hunt from a game of chance into a well-planned expedition.
Gearing Up: Your Essential Fossil Hunting Toolkit
Having the right gear in your pack is what turns a frustrating day of digging into a successful expedition. You don't need a truck full of expensive equipment, but a few key items will make your search safer, more effective, and a lot more fun.
Think of it like preparing for a mission. Your tools help you carefully uncover and protect a piece of history hidden for millions of years. For anyone new to spending long days outdoors, a guide on beginner camping gear can provide a great foundation for essentials like proper clothing and hydration.
The Unmissable Safety Essentials
Before we get to the fun tools, let's cover the absolute non-negotiables. Safety gear isn't just a good idea—it's the most critical part of your kit. The places where fossils love to hide, like rocky cliffs, quarries, and creek beds, can be unpredictable.
Here are the top three safety items you should never leave behind:
- Sturdy Boots: You need footwear with excellent ankle support and thick, grippy soles. You’ll be walking on uneven, loose terrain, and the last thing you want is a twisted ankle.
- Safety Goggles: This one is a must. When you're splitting rocks with a hammer, rock chips can fly off with surprising force. Protecting your eyes is non-negotiable.
- Durable Gloves: A good pair of work gloves will save your hands from sharp rocks, painful scrapes, and blisters after a few hours of digging and exploring.
These three pieces of gear are your first line of defense against common injuries, letting you focus on the thrill of the hunt.
Your Core Fossil-Finding Toolkit
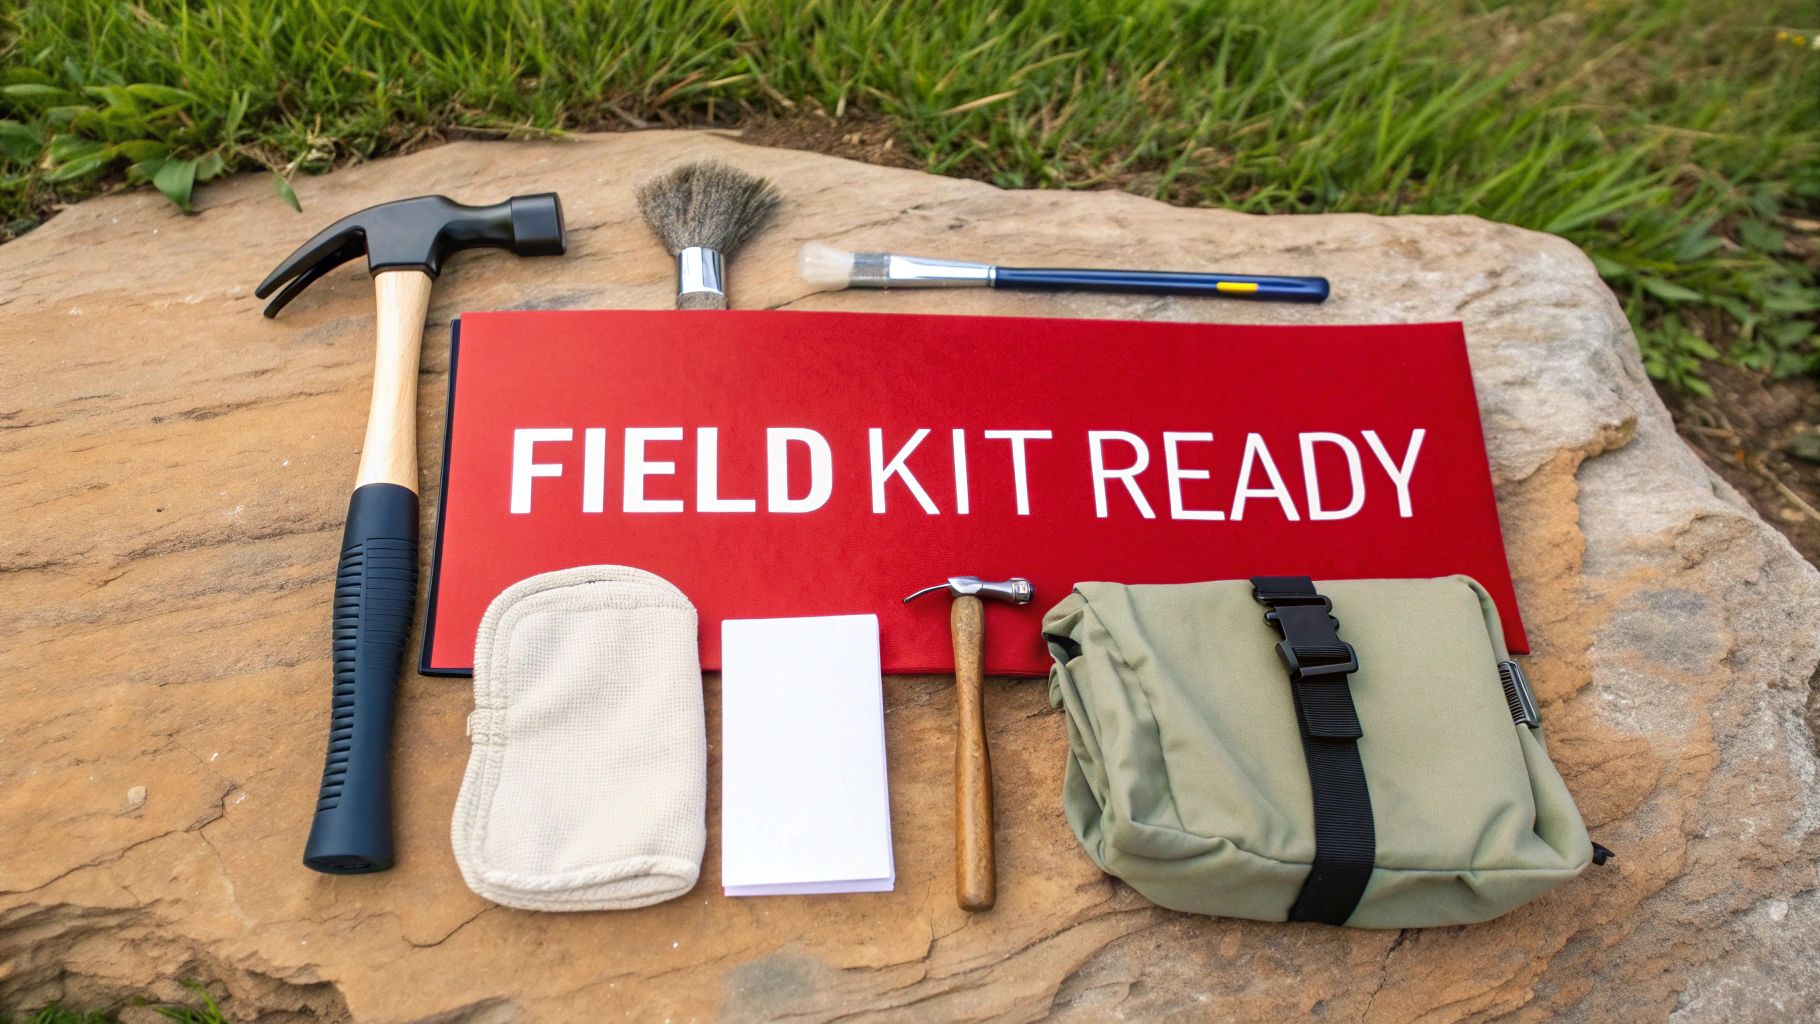
With safety sorted, you can focus on the tools that help you find and extract fossils. You don't need much to get started, but a few specialized items make a world of difference. A geological hammer, for example, is designed to break rocks cleanly, whereas a standard hammer isn't built for the job.
A well-prepared field kit is a paleontologist's best friend. It’s not about having the most gear, but having the right gear to safely uncover, document, and transport your finds without causing damage.
Your core kit should have tools for both digging things up and keeping them safe. You’ll need items to carefully remove a fossil and materials to protect it for the journey home. Delicate finds can easily crumble if they aren't handled and wrapped properly on-site.
Getting the kids involved with their own gear makes the adventure even more engaging. You can find some great ideas for educational tools by checking out these awesome science kits for kids.
Essential Fossil Hunting Toolkits: Beginner vs. Advanced
What you pack depends on your experience level and destination. A casual walk along a creek bed calls for a much lighter pack than a dedicated trip to split shale in a quarry.
Here’s a comparison of a simple beginner’s kit versus a more advanced setup for a serious hobbyist.
| Tool | Beginner's Kit (Essential) | Advanced Kit (Recommended) |
|---|---|---|
| Hammer | Rock hammer or bricklayer's hammer | Geological rock pick with a pointed tip |
| Chisels | One or two flat-head cold chisels | A full set of rock chisels of various sizes |
| Brushes | A few soft-bristled paintbrushes | A variety of brushes, from stiff to fine camel hair |
| Wrapping | Newspaper or paper towels and plastic bags | Bubble wrap, aluminum foil, and rigid containers |
| Documentation | Smartphone for photos and GPS coordinates | Field notebook, ruler, and a dedicated GPS unit |
| Magnification | A simple magnifying glass | A 10x jeweler's loupe for detailed inspection |
This practical setup ensures you arrive at your spot prepared and ready to excavate like a pro. Start with the basics—you can always add more specialized gear as your passion for fossil hunting grows.
Mastering the Hunt: Search and Safe Extraction Techniques
You've made it to your spot, gear in tow. Now the real fun begins. This is where you switch from planner to detective, learning the subtle art of seeing what everyone else walks right past. Finding fossils isn't about brute force; it's about training your eyes to spot the clues nature has scattered around.
Success often comes down to recognizing patterns. Fossils look and feel different from regular rocks. They frequently have a symmetry that’s rare in geology—think of the perfect spiral of an ammonite or the repeating segments of a trilobite. Texture can also be a giveaway; the porous structure of fossilized bone is unmistakable once you've seen it.
Training Your Eyes to Spot Fossils
First, slow down. You’re not looking for a complete T-rex skeleton (though we can dream!). You’re hunting for fragments, unusual shapes, and subtle differences in color and texture against the surrounding rock.
One of the most effective methods is the fossil census. Systematically scan a small, defined area, like a one-meter square. Get low to the ground and look at every rock from different angles. This methodical approach forces you to notice small details, and you’ll be amazed at what you start to find.
Another pro strategy is to look for float. These are small, weathered bits of fossil that have broken off a larger source rock and tumbled downhill or downstream. If you find lots of little bone or shell fragments, it’s a huge clue that a bigger specimen might be eroding out of a rock layer somewhere uphill. Follow that trail to its source.
How to Excavate Fossils from Soft Sediment
Let's say you've spotted something peeking out from a soft riverbank or a crumbling shale deposit. This is a delicate operation. Fight the urge to just grab it. Soft sediment can be tricky, and the fossil might be more fragile than the dirt around it.
Here’s a practical, step-by-step process:
- Clear the Area: Gently brush away loose dirt from around the fossil. Use soft-bristled brushes—not your fingers—to avoid scuffing the surface.
- Expose the Edges: With a small trowel or the pick end of your rock hammer, carefully dig a trench around the fossil, leaving at least a few inches of space. This gives you room to work without accidentally hitting the specimen.
- Dig Underneath: Once the top and sides are clear, carefully undercut the fossil. The goal is to lift it out with a supportive chunk of the surrounding sediment still attached. This cushion of earth keeps it stable and protected.
This careful process is fantastic for helping kids develop patience and fine motor skills. For fun at-home practice, check out the hands-on challenges in our guide to improving fine motor skills.
How to Extract Fossils from Hard Rock
Extracting a fossil from solid rock like limestone is a different ballgame. It requires more force but also more precision. This is where your geological hammer and chisels are essential.
Expert Tip: Never hit the fossil directly with your hammer. The shockwaves can shatter even a solid-looking specimen. Always work on the rock around the fossil, giving it plenty of space.
When you find a fossil embedded in hard rock, your goal is to break away the surrounding matrix, not to pry the fossil out. Place your chisel a few inches away from the fossil and strike it firmly with your hammer, angling the blow away from your find. Slowly work your way around the fossil, chipping away the rock until you can lift out the entire block containing the specimen.
Advanced Technique: The Pedestaling Trick
If you stumble upon something larger—like a big piece of bone or a cluster of shells—the pros use a technique called pedestaling. This involves carefully excavating all around and underneath the fossil, leaving it sitting on a "pedestal" of its original rock.
Once it's isolated, you wrap the entire pedestal in plaster-soaked burlap strips, like making a cast for a broken arm. This plaster jacket hardens into a protective shell, keeping the fossil and its surrounding matrix perfectly stable for the trip home. It's the same method paleontologists use for everything from dinosaur legs to massive skulls.
Knowing When to Stop and Call for Help
This might be the most important skill a fossil hunter can learn. If you find something that seems scientifically important—like a vertebrate skeleton, a skull, or fossilized tracks—the best thing you can do is leave it exactly where it is.
Trying to excavate a major find without proper training can destroy priceless scientific data. The position of the bones and the context of the surrounding rock tell a story that's just as important as the fossil itself.
If you make a discovery like this:
- Don't try to remove it.
- Document everything. Take photos from every angle and write down the precise GPS coordinates.
- Contact the experts. Get in touch with a local natural history museum, a university geology department, or your state's geological survey. They can check out the find and, if it's significant, organize a professional excavation. You'll have made a real contribution to science.
Post-Hunt: Identifying, Documenting, and Preserving Your Finds
That electric moment when you pick up a rock and realize you're holding a piece of ancient history is unbeatable. Congratulations! But what you do in the next few hours is crucial for protecting your discovery for years to come.
Finding the fossil isn't the end of the journey. In many ways, it's the beginning of a new adventure in identification, documentation, and preservation. Getting this part right turns a cool rock into a genuine historical artifact.
Step 1: Identify What You Found
First, you need a general idea of what you’ve found. You don’t have to be a paleontologist, but learning to spot a few common types will make you appreciate your find that much more.
Here are a few common fossil types to look for:
- Brachiopods: These marine animals look like seashells but have a distinct top-and-bottom shell symmetry, unlike the left-right symmetry of modern clams.
- Ammonites: One of the most iconic fossils, these are the coiled, chambered shells of extinct squid-like creatures. They can be as small as a coin or bigger than a dinner plate.
- Trilobites: These extinct marine arthropods are famous for their three-lobed, segmented bodies. Finding a complete one is a bucket-list moment for any fossil hunter.
Look for key features like symmetry, texture, and overall shape. Comparing your find to pictures in a fossil identification guide or using a good app can help you narrow it down quickly. It's a fantastic puzzle that sharpens your observation skills.
Step 2: Document Your Fossil's Context
This is the most important thing you can do to give your fossil real scientific value. Without context, a fossil is just an object. With context, it's a piece of data that helps tell the story of life on Earth.
Scientific documentation is critical for research. The National Park Service, for example, uses a Paleontological Locality Form to ensure every fossil’s origin is recorded. Losing that information makes a fossil almost useless for study.
Before you clean it, record these key details:
- GPS Coordinates: Your smartphone can give you the exact location.
- Photographs: Snap pictures of the fossil in the exact spot you found it before moving it.
- Geological Context: Note the type of rock it was in (limestone, shale, sandstone) and its position in the rock layer.
- Date and Time: A simple but crucial detail for your records.
Your field notes are the fossil's birth certificate. They provide the who, what, where, and when that gives your discovery meaning beyond just being a beautiful object.
Step 3: Safely Clean Your Fossil at Home
Now it's time to gently reveal the fossil's details. The golden rule of cleaning is less is more. You can always remove more of the surrounding rock (the matrix), but you can never put it back.
For most sturdy fossils, a simple cleaning process works wonders. You'll need a soft toothbrush, a bowl of room-temperature water, and patience. Gently scrub the fossil to remove loose dirt. Never use harsh chemicals or vinegar—they can damage or even dissolve the fossil itself. This careful work requires a steady hand and is a great way to teach kids about patience. For other activities that build this skill, check out our article on how to improve fine motor skills.
The process of finding a fossil often follows a three-step flow: scanning the area, carefully excavating, and then protecting your find for the trip home.
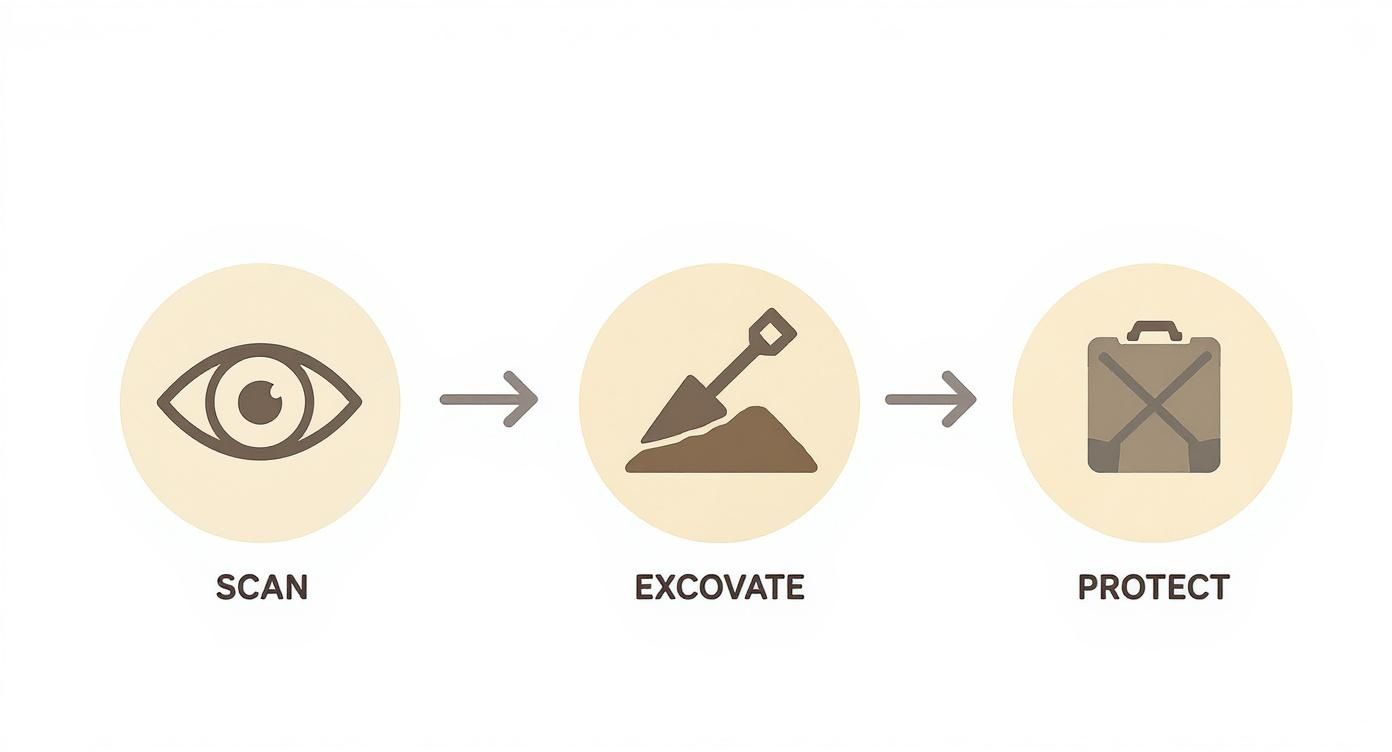
This visual is a good reminder that discovery is just the beginning; protecting the fossil is a key part of the process.
For fragile specimens, especially those from shale, it’s often best to leave them in their surrounding matrix and consult an expert. Sometimes, a special glue-like substance called a consolidant is needed to stabilize a crumbly fossil, but that's a more advanced technique. For now, gentle cleaning and careful handling will get your historical treasure ready for display.
Fossil Hunting FAQs: Your Questions Answered
Diving into the world of fossil hunting is exciting, but it brings up a lot of questions. From the rules of the trail to making it a fun trip for the whole family, getting answers upfront can make all the difference.
Let's dig into some of the most common things new fossil hunters ask.
Is It Legal to Collect Fossils I Find?
This is the most important question to ask, and the answer is: it depends. Rules vary widely, so you must do your homework for the specific spot you're visiting.
The key factor is land ownership.
On private land, you need the landowner's direct permission before you look or collect. On many public lands in the U.S., like those managed by the Bureau of Land Management (BLM), you can often collect common invertebrate fossils (like shells and trilobites) and plant fossils for your personal, non-commercial collection.
However, vertebrate fossils (bones, teeth, tracks) are almost always protected on public lands and require a special scientific permit to excavate. National Parks and National Monuments are even stricter, banning all collecting to preserve the sites for everyone.
The Golden Rule: Always know the rules for your specific location before you go. A quick search on the land management agency's website or a phone call can save you a world of trouble.
What Are the Easiest Fossils for a Beginner to Find?
While everyone dreams of finding a T-Rex tooth, you'll have more success and fun if you start with common marine invertebrate fossils, which are incredibly abundant in sedimentary rocks worldwide.
Keep an eye out for these classic starter fossils:
- Brachiopods: These look like ridged seashells but have a unique top-and-bottom symmetry. You'll find them everywhere in limestone deposits.
- Crinoid Stems: Often called "Indian beads," these look like small, circular discs with a tiny hole in the middle—they're fossilized segments from an ancient sea lily's stalk.
- Ammonites: These are the iconic coiled shells from extinct, squid-like creatures. Finding your first complete ammonite is a moment you won't forget.
Plant fossils, like leaf imprints in shale, are another great and relatively easy find. Starting with these helps you train your eyes to spot the textures and shapes that scream "fossil!"
How Can I Involve My Kids in Fossil Hunting Safely?
Fossil hunting is a fantastic family adventure that gets kids outside and excited about science. To keep it fun and safe, location is everything. Stick to accessible spots like creek gravel bars or low-lying road cuts instead of dangerous places like steep cliffs or active quarries.
Give them a "kid's kit" to make them feel like real paleontologists. Instead of a heavy rock hammer, pack safety glasses, garden gloves, a small trowel, and a soft brush. For kids, it's about the thrill of discovery, not finding a museum-perfect specimen.
Always keep a close eye on them, bring more water and snacks than you think you'll need, and celebrate every cool rock they find. That encouragement turns a simple walk into an epic scientific expedition. If you need more details on our products or policies, check out our frequently asked questions page.
What Should I Do If I Find a Potentially Important Fossil?
It happens more often than you think: an amateur hunter stumbles upon a major scientific discovery. If you find something that looks rare—like a partial skeleton, a complete skull, or large tracks—the single most important thing to do is leave it exactly where you found it.
Do not try to dig it out. You could damage the fossil and destroy the geological context around it, which tells scientists the fossil's age and environment. A fossil removed improperly loses almost all its scientific value.
Instead, you get to be a citizen scientist!
- Document everything. Take multiple photos from different angles, including wide shots of the surrounding landscape.
- Pinpoint the location. Use a GPS app on your phone to get the exact coordinates.
- Contact the pros. Reach out to the geology department at a local university, a natural history museum, or your state's geological survey. They can determine if your find is significant and organize a proper, ethical excavation if needed.
At Playz, we believe learning should always be an adventure. Our science kits and educational toys are designed to spark that same sense of wonder and discovery you feel when you unearth a piece of the past. Turn your living room into a laboratory and continue the journey of exploration.