

Building your first robot is an exciting journey into the world of electronics and coding. At its core, any simple robot comes down to three key parts: a chassis (the body), a microcontroller (the brain), and actuators like motors (the muscles).
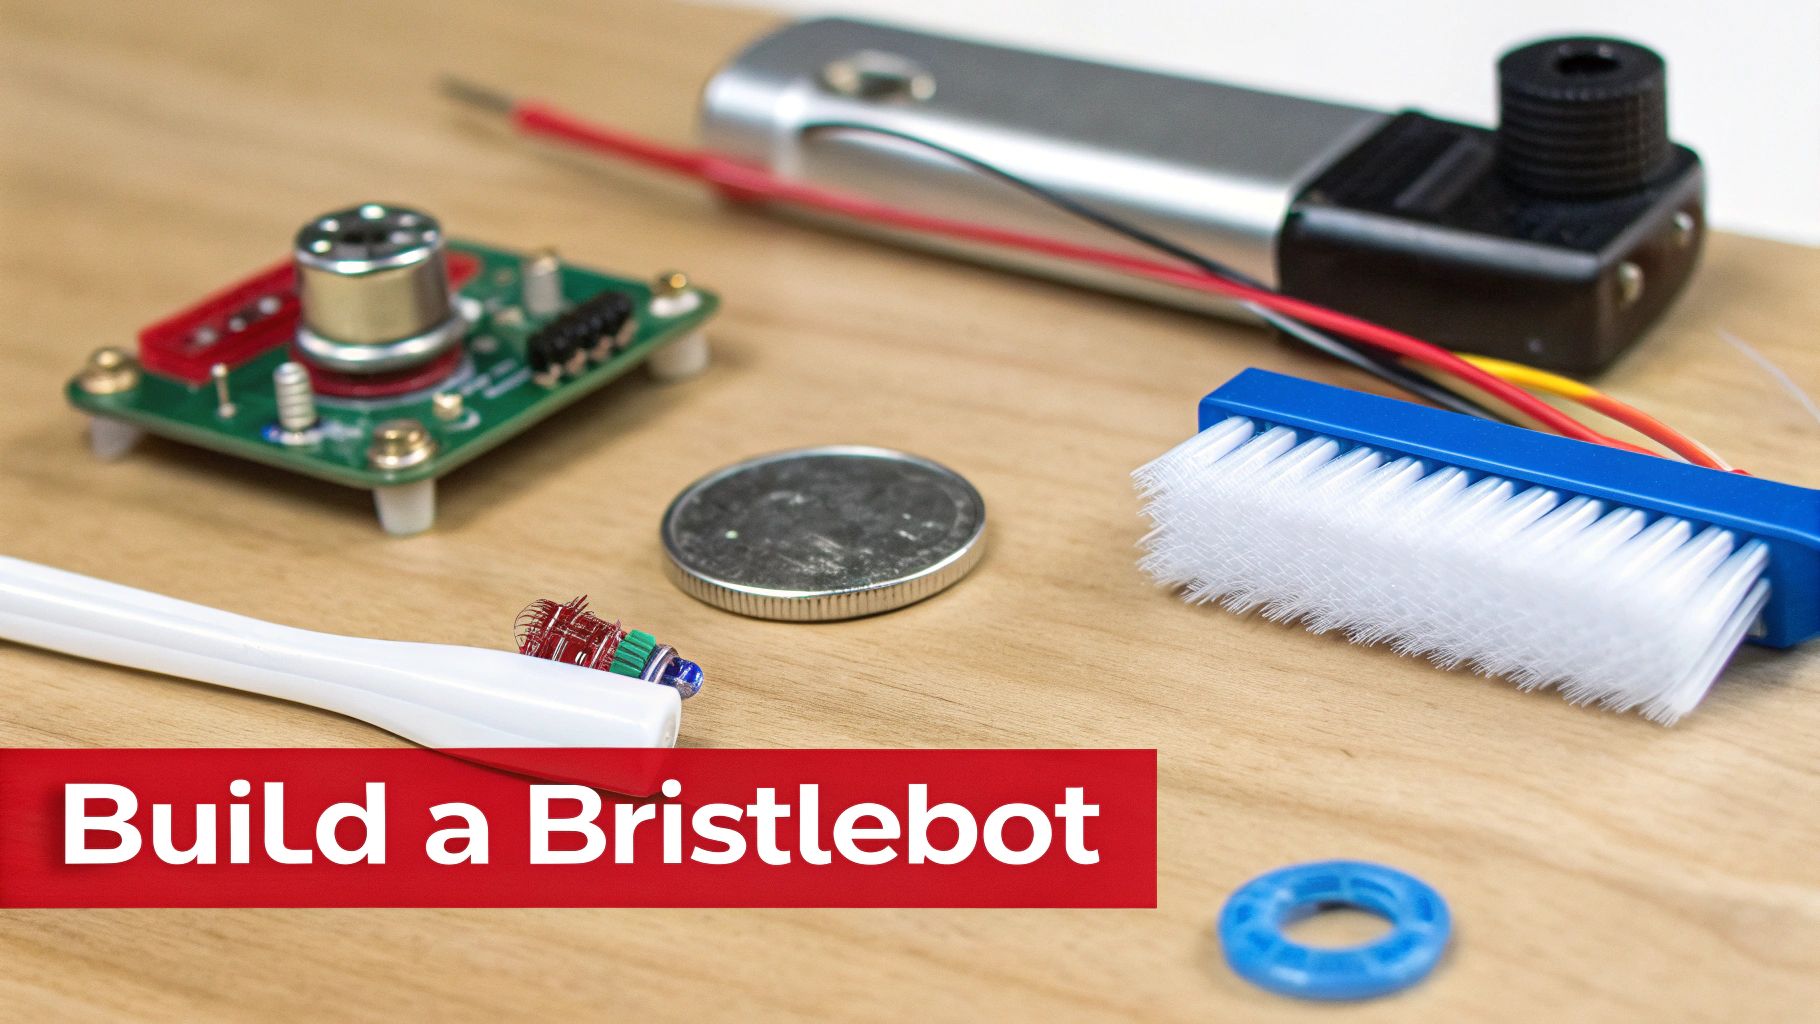
A fantastic first project that showcases these principles in a fun, low-stakes way is the "Bristlebot." This buzzing little robot, made from just a toothbrush head, a tiny motor, and a coin battery, can be built in minutes and proves that robotics is more accessible than you think.
Your First Foray into Building Robots
Getting started with robotics can feel like a massive undertaking, but it’s surprisingly within reach. The journey doesn't begin with complex blueprints but with understanding a few simple ideas. I always tell parents to think of any robot—whether it's a simple toy or a giant industrial arm—as having three essential systems working in harmony.
To really get a feel for how these pieces fit together, let's look at the basic building blocks of any robot you might create.
The Core Components of a Simple Robot
Every basic robot relies on three essential parts. Here’s a clear breakdown of what they are and what they do.
| Component | Function | Real-World Example |
|---|---|---|
| Chassis | The physical frame or body that holds everything together. | A cardboard box, a plastic toy car body, or custom 3D-printed parts. |
| Microcontroller | The "brain" of the robot, a tiny programmable computer. | An Arduino board for custom projects, a Raspberry Pi, or a simple circuit. |
| Actuators | The "muscles" that create movement. | Small DC motors to spin wheels, or servo motors to move an arm or gripper. |
These three components are the foundation of robotics. Once you understand how they interact, you can start building almost anything you can imagine.
Why Start with a Simple Project?
Diving headfirst into a complex build is a surefire way to get frustrated. I've seen it happen many times. That’s why projects like the Bristlebot are perfect for beginners. You connect a motor to a battery, stick it on a toothbrush head, and have a working, vibrating robot in minutes.
This kind of quick win builds confidence and makes abstract concepts tangible. Our approach to teaching robotics is inspired by the project-based learning approach, which turns learning into an exciting, hands-on quest instead of a boring lecture.
This simple starting point is more than just a fun weekend activity; it's a launchpad for developing incredibly valuable skills. When kids explore these basic ideas with hands-on kits, they're laying the groundwork for much more advanced projects down the road.
If you're looking for the perfect starting point, check out our collection of engineering kits designed to get your first robotic creation off the ground.
The Growing World of Robotics
Getting a handle on how to build simple robots isn’t just a cool hobby—it's an entry point into a field that is absolutely exploding. The global robotics market was valued at around USD 53.2 billion in 2024 and is expected to rocket to USD 178.7 billion by 2033. That's a compound annual growth rate of 16.35%.
This boom is driven by huge leaps in AI and automation across nearly every industry, creating massive demand for people who know their way around a robot.
Key Takeaway: Every complex robot is built on simple principles. By starting small with a project you can finish in an afternoon, you build the core knowledge and confidence to tackle bigger, more exciting challenges in the world of robotics.
Gathering Your Robot Building Toolkit
Alright, before we can bring a robot to life, we need to stock our workshop. Think of this as our mission briefing—a checklist to get you from a pile of parts to a fully functioning bot without any frustrating last-minute store runs. The world of electronics can look intimidating from the outside, but you only need a handful of core items to get rolling.
We'll walk through everything, from the electronic "brain" of your robot to the simple nuts and bolts that hold it all together. Getting your hands on these components is easier than ever, with awesome online shops like Adafruit and SparkFun that have everything a budding roboticist could need.
Essential Electronic Components for Your First Robot
The electronics are your robot's nervous system and muscles. For most first-time bots, the journey starts with a microcontroller—this is the brain of the whole operation. The Arduino Uno is my go-to recommendation for anyone starting out. It's inexpensive, durable, and has a massive online community, meaning you'll never be stuck for an answer or a project idea.
Next up, your robot needs to move. That’s where motors come in:
- DC Motors: Perfect for getting your robot's wheels spinning. They're straightforward, have a good amount of torque, and are the standard for any basic rover-style bot.
- Servo Motors: When you need more finesse—like for a little robotic arm or a sensor that needs to pan back and forth—servos are your best friend. You can tell them to move to a specific angle and hold that position.
Finally, your robot needs to "see" the world around it. An ultrasonic sensor is a fantastic first sensor. It works like a bat's sonar, bouncing sound waves off objects to figure out how far away they are. This is the magic ingredient for building a bot that can navigate a room without constantly crashing into the furniture.
Your Robot's Body and Key Assembly Tools
The body, or "chassis," is what gives your robot its shape and structure. You don't need to get fancy here! For a first build, sturdy cardboard or an old plastic container works perfectly fine. If you happen to have a 3D printer, you can find thousands of free chassis designs online to print a slick, custom frame.
You’ll also want a few basic tools on hand:
- Hot Glue Gun: Honestly, this is the duct tape of robotics. It’s perfect for quickly tacking components onto your chassis.
- Small Screwdrivers: You’ll definitely need these for mounting motors, wheels, and other hardware.
- Safety Glasses: This one is non-negotiable. Always protect your eyes when you're cutting materials or tinkering with electronics.
Safety First: When using tools like a hot glue gun or eventually a soldering iron, make sure you're in a well-ventilated space and keep your work area tidy. Clutter is where accidents love to happen.
Two Paths to Getting Started
To make your shopping trip a little easier, I've broken down the parts list into two different kits. This way, you can buy just what you need for the kind of robot you want to build right now.
| Kit Type | Who It's For | Key Components |
|---|---|---|
| The Bare Minimum Kit | First-time builders who want a simple, remote-controlled robot. | Arduino Uno, two DC motors with wheels, a motor driver board, battery pack, and jumper wires. |
| The Explorer's Kit | Builders ready to tackle an autonomous robot that can navigate on its own. | Everything in the Bare Minimum kit, plus an ultrasonic sensor and a servo motor for mounting it. |
Sometimes, the easiest and most affordable way to get going is with a pre-made bundle. To see some great options all in one place, take a look at this guide on robotics kits for beginners. It can help you find a kit that has everything you need right out of the box.
Now that your toolkit is assembled, you're officially ready for the best part: building!
Assembling Your First DIY Robot: A Step-by-Step Guide
Alright, you've got your parts and tools ready to go. Now for the best part—bringing your creation to life. This is where a collection of individual components starts to look and act like a real robot.
We're going to build a simple, two-wheeled bot that’s smart enough to avoid bumping into things. Think of this less like a strict instruction manual and more like we're building it together, piece by piece. My goal is for you to understand why you’re connecting that wire or mounting that motor, not just where it goes.
Step 1: Building the Robot Chassis and Mounting Motors
First things first, every robot needs a body. We call this the chassis, and it's the skeleton that holds everything together. You can get fancy with a small piece of acrylic, but honestly, a sturdy piece of cardboard works just as well for your first build. The main goal here is a flat, stable platform.
Once you have a piece cut—something around 6x4 inches is a perfect starting point—it's time to give it wheels.
Grab your two DC motors and mount them on opposite sides near the back of the chassis. A hot glue gun is your best friend here, but small screws work too if your chassis material allows for it. Pop the wheels onto the motor shafts.
To keep it from tipping over, you'll need a third point of contact at the front. A caster wheel is ideal, but even a simple plastic bead glued on will do the trick. This classic three-point design is super stable and makes turning a breeze.
Step 2: Connecting the Brain and the Brawn
Now it's time to wire up the electronics. This is where the magic really happens, as we connect the robot's "brain" (the Arduino) to its "muscles" (the motors).
- Mount the Arduino: Find a good spot for your Arduino Uno board on the chassis. The center or front usually works well, just make sure you leave space for the other components.
- Add the Motor Driver: This little board is a critical go-between. The Arduino is smart, but it's not strong enough to power the motors directly. Trying to do so would be like asking a librarian to lift a car—it’s just not going to end well. The motor driver takes gentle commands from the Arduino and sends heavy-duty power from the batteries to the motors.
- Wire Everything Up: Connect the motor driver to a few of the Arduino's digital pins. Then, connect your two motors to the output terminals on the driver. Finally, connect your battery pack to the power input on the motor driver board.
A motor driver is non-negotiable. It isolates the high-power motors from the delicate microcontroller. Powering DC motors directly from the Arduino is one of the most common beginner mistakes, and it's a surefire way to permanently fry your board.
Step 3: Installing the Robot's Eyes
For our robot to avoid obstacles, it needs a way to "see" what's in front of it. That's the job of the ultrasonic sensor.
Mount this sensor right at the very front of your robot, facing forward. If you're feeling adventurous, you can even attach it to a small servo motor. This lets the robot's "head" pan left and right, giving it a much wider field of view to scan for obstacles.
Connect the sensor's "trigger" and "echo" pins to two digital pins on the Arduino. The power and ground pins go to the 5V and GND pins. Just like that, your robot has the senses it needs to start navigating the world on its own.
If you want to get a better handle on how all this wiring and circuitry works, this electrical circuit board engineering kit is a fantastic way to get hands-on experience with the core principles.
The infographic below shows the two main ways you can source your parts for a project like this.
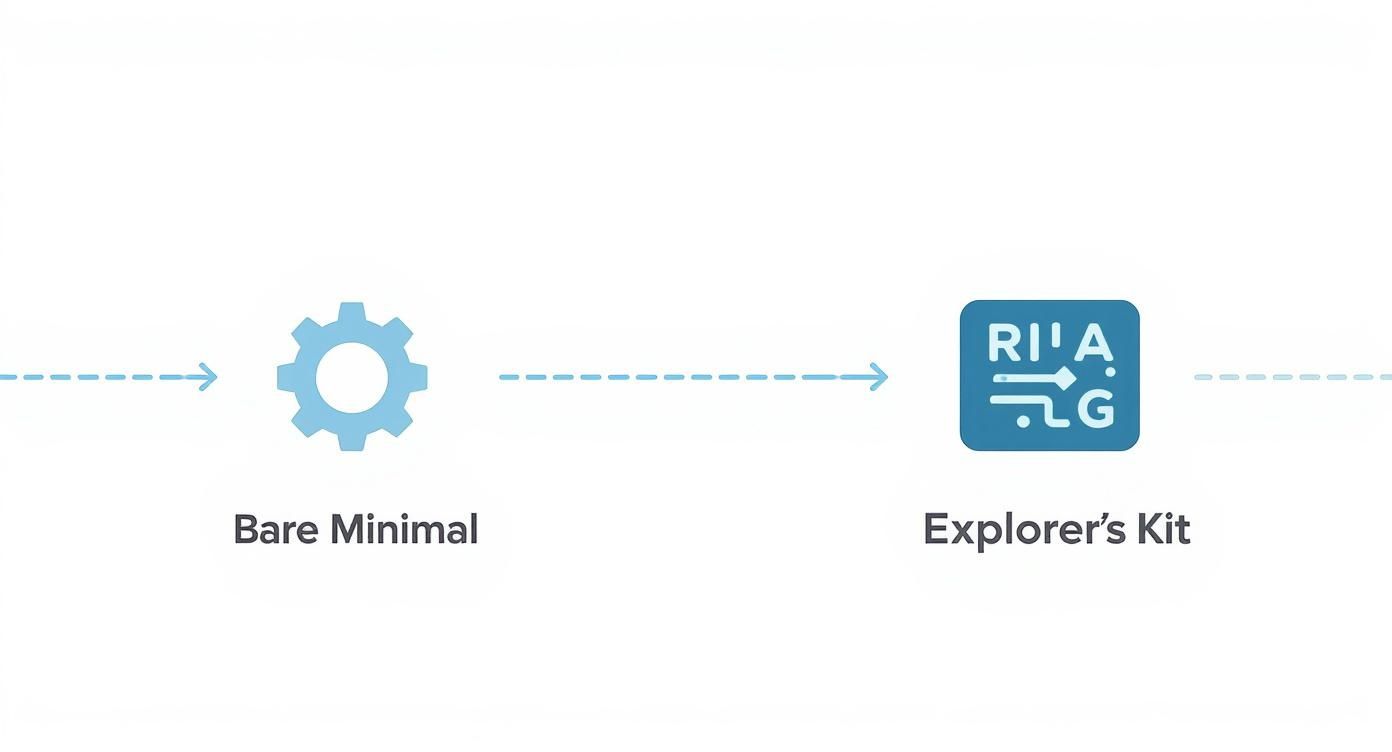
As you can see, whether you start with just the basics or grab a more comprehensive kit, you'll have a solid foundation for your first build. With the chassis built, motors mounted, and all the electronics wired up, you officially have a fully assembled robot, ready and waiting for its first program.
Bringing Your Robot to Life with Code
So far, you’ve built your robot’s body, given it muscles with motors, and added senses with the ultrasonic sensor. Now for the fun part: giving it a brain. Right now, it’s a cool-looking model, but a few lines of code are all it takes to bring it to life and watch it start exploring its world.
We’re going to use the Arduino Integrated Development Environment (IDE), a free piece of software that’s fantastic for beginners. It uses a simplified version of C++, but don’t let that scare you. You don’t need any coding experience to follow along. We’ll break down every single command in plain English.
As you start programming, you'll see how it connects to the hardware. Getting a grasp of the basics of digital control systems and wiring can be super helpful. Even if the examples are for different hobbies, the core principles are often the same.
How a Robot Thinks: The Sense, Decide, Act Loop
At its heart, our little robot's brain will run on a simple "if-else" statement. This is the cornerstone of how just about any machine makes a decision. It’s exactly how we think, too: If I see a wall in front of me, then I will turn. Else, I will just keep walking forward.
Our code will follow this same basic loop:
- Sense: The ultrasonic sensor pings out a signal to measure how far away the nearest object is.
- Decide: The Arduino takes that distance reading and asks a simple question: Is this distance less than 20 cm?
- Act: If the answer is "yes," it triggers the avoid-obstacle moves—stop, back up, turn. If the answer is "no," it tells the motors to keep cruising forward.
This "sense, decide, act" loop is the fundamental principle behind almost all robotics, from our simple rover to the most sophisticated self-driving cars.
A Sample Code to Get You Started
Here's the basic code that will make our robot work. I've added a ton of comments—the lines that start with //—to explain what each part is doing. The best way to learn this stuff is to get your hands dirty, so upload it to your Arduino and see what happens!
// Define which pins are connected to our motors and sensor
const int motorA1 = 9;  // Motor A input 1
const int motorA2 = 10; // Motor A input 2
const int motorB1 = 5;  // Motor B input 1
const int motorB2 = 6;  // Motor B input 2
const int trigPin = 3;  // Sensor trigger pin
const int echoPin = 4;  // Sensor echo pin

void setup() {
  // Tell the Arduino which pins send signals out (OUTPUT) and which receive them (INPUT)
  pinMode(motorA1, OUTPUT);
  pinMode(motorA2, OUTPUT);
  pinMode(motorB1, OUTPUT);
  pinMode(motorB2, OUTPUT);
  pinMode(trigPin, OUTPUT);
  pinMode(echoPin, INPUT);
}

void loop() {
  // This part constantly measures the distance to an obstacle
  long duration, distance;
  digitalWrite(trigPin, LOW);
  delayMicroseconds(2);
  digitalWrite(trigPin, HIGH);
  delayMicroseconds(10);
  digitalWrite(trigPin, LOW);
  duration = pulseIn(echoPin, HIGH);
  distance = duration * 0.034 / 2; // Convert the time it took for the echo to return into centimeters

  // Here's the "if-else" decision making in action
  if (distance < 20) { // If an object is closer than 20cm...
    goBackward();      // ...back up for a moment...
    delay(500);
    turnLeft();        // ...and then turn left.
    delay(500);
  } else {             // Otherwise...
    goForward();       // ...just keep moving forward.
  }
}

// These are simple functions to control the robot's movements
void goForward() {
  digitalWrite(motorA1, HIGH);
  digitalWrite(motorA2, LOW);
  digitalWrite(motorB1, HIGH);
  digitalWrite(motorB2, LOW);
}

void goBackward() {
  digitalWrite(motorA1, LOW);
  digitalWrite(motorA2, HIGH);
  digitalWrite(motorB1, LOW);
  digitalWrite(motorB2, HIGH);
}

void turnLeft() {
  digitalWrite(motorA1, LOW);
  digitalWrite(motorA2, HIGH);
  digitalWrite(motorB1, HIGH);
  digitalWrite(motorB2, LOW);
}
Your Turn to Tinker: Real learning happens when you start experimenting. Try these little challenges: Can you figure out how to make the robot turn right instead of left? How would you adjust the code so it reacts to obstacles that are farther away?
Coding is a skill you build by doing, and our My First Coding & Computer Science Kit is a great way to build those foundational logic skills, even without a screen.
This kind of hands-on approach is becoming more and more relevant. The service robotics market—think robots that help us with everyday tasks—hit an estimated USD 65.6 billion in 2024. That growth shows a huge shift toward accessible robots that people can actually use, all thanks to simpler parts and easier programming.
Troubleshooting and Upgrading Your Creation
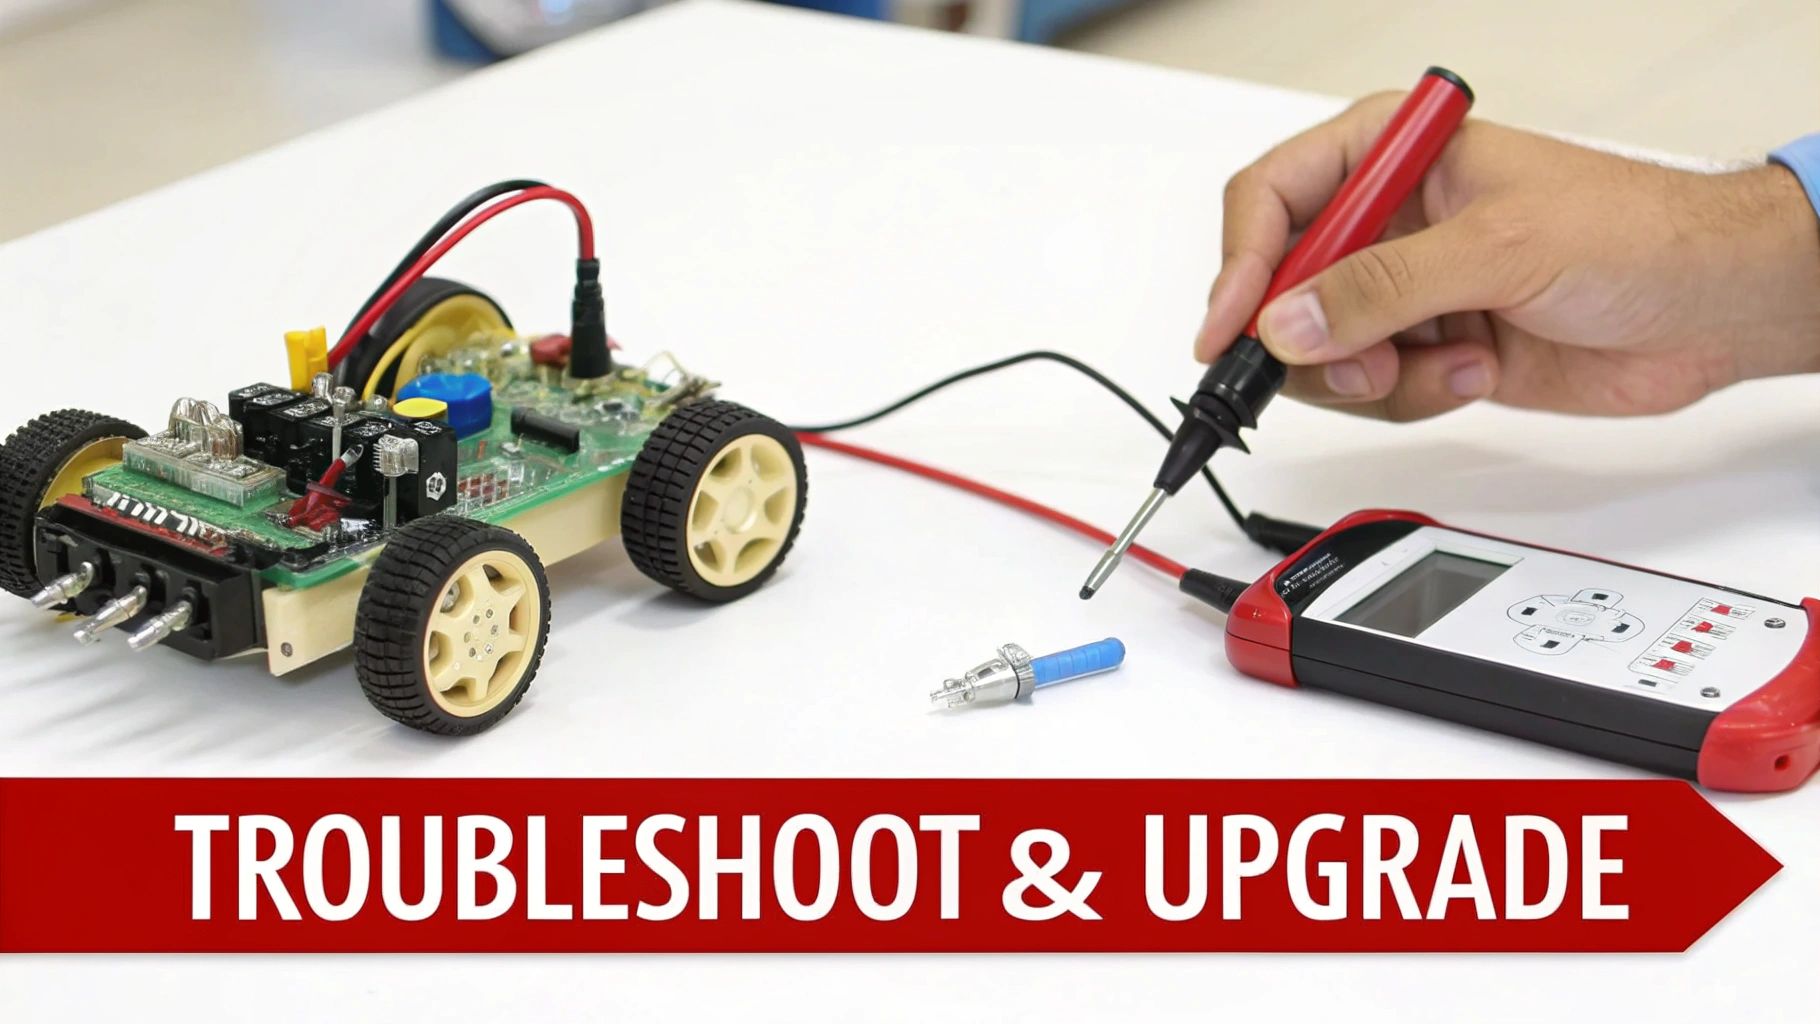
You’ve finished the build, uploaded the code, and flipped the switch for the big moment. And… nothing. Maybe a single wheel spins in a sad little circle. Don’t get discouraged! This is a rite of passage for every robot builder, and honestly, debugging is where the real learning kicks in.
This is the phase where you transform from someone just following instructions into a genuine problem-solver. Each little hiccup you fix deepens your understanding of how these simple robots work, turning moments of frustration into some seriously valuable diagnostic skills.
Common Robot Problems and Quick Solutions
Before you start tearing everything apart, let’s go back to the basics. You would be surprised how often the biggest headaches come from the simplest mistakes. The first thing I always tell my students to check is the power. Are the batteries fresh? Is everything connected snugly?
I've seen these same issues pop up time and time again. Here’s a quick reference table to help you diagnose and fix the most frequent culprits you might run into with your bot.
| Symptom | Potential Cause | How to Fix |
|---|---|---|
| Nothing happens at all | Power issue or incorrect code upload. | Check every battery connection. Then, try re-uploading your code, making sure the correct board and port are selected in the Arduino IDE. |
| One wheel isn't spinning | Loose wiring or a faulty motor. | Double-check the jumper wires between your motor driver and the Arduino. A great trick is to swap the wires for the two motors; if the problem moves to the other wheel, it’s a code or driver issue. If it stays put, the motor might be the problem. |
| Robot ignores obstacles | Sensor wiring or code logic error. | Look closely at the sensor's trigger and echo pins to make sure they're wired to the right Arduino pins. Use the Arduino’s Serial Monitor tool to print the distance readings—if they're stuck at 0 or a weird number, you'll know the sensor isn't working right. |
This troubleshooting process is more than just getting your bot to work. The skills you pick up here are fundamental to all engineering and robotics.
The skills you build troubleshooting a simple DIY robot are directly applicable to more complex systems. Learning to systematically check connections, test components, and debug code is the foundation of all engineering and robotics.
Taking Your Robot to the Next Level
Once your bot is happily zipping around and avoiding walls, the fun doesn't have to stop. Think of this first successful project as a launchpad, not the finish line. Because platforms like Arduino are so modular, you can easily bolt on new features and give your robot new powers.
Feeling inspired? Here are a few ideas to get you started:
- Add an LED: This is a simple but satisfying upgrade. Program a small light to flash whenever the robot spots an obstacle for some great visual feedback.
- Install a Line-Following Sensor: Challenge your bot to follow a black line on a white surface. This introduces a whole new navigation skill and is a classic robotics project for a reason.
- Integrate a Bluetooth Module: This is a game-changer. An upgrade like this lets you control your robot right from a smartphone app, opening up a world of remote-control fun.
Learning this stuff hands-on has never been more relevant. The number of industrial robots humming away in factories worldwide hit about 4,664,000 units in 2024, which is a 9% jump from the year before. That kind of rapid growth shows a massive global demand for robotics skills, and it all starts with the fundamentals you're learning right now. You can dig deeper into this incredible expansion on the International Federation of Robotics website.
Common Questions About Building Robots
Diving into your first robotics project is an awesome feeling, but it's totally normal to have a few questions swirling around before you get started. Let's go through some of the most common things beginners ask when they're figuring out how to build simple robots.
How Much Does It Really Cost to Build a Simple Robot?
You can actually get a basic robot, like the obstacle-avoider we talked about, up and running for between $30 and $50. If you want to start even smaller, a tiny little "Bristlebot" can cost less than $10 in parts.
Honestly, buying a starter kit is often the most budget-friendly way to go. These kits bundle everything you need—the microcontroller, motors, and sensors—which almost always works out cheaper than hunting down each part on its own.
Do I Need to Be a Coding Expert to Build a Robot?
Not at all. While having some background helps, platforms like Arduino use a simplified programming language (based on C++) that's supported by a huge community. You'll find tons of free online tutorials and code examples you can borrow from.
For anyone who is brand new to coding, there are visual tools like Scratch for Arduino. These let you learn the logic of programming by simply dragging and dropping blocks. It's a great way to get started because you can focus on what you want the robot to do instead of stressing over perfect syntax.
Key Insight: The barrier to entry for robotics has never been lower. Thanks to modern tools and a massive community of builders, you can start creating with little to no prior experience in coding or electronics.
What Are the Best Starter Kits for a Beginner?
The Elegoo UNO Project Super Starter Kit is a fantastic value. It's packed with enough components to build dozens of different projects, not just one robot.
Another really popular choice is the Makeblock mBot. This one is especially great for younger builders because it supports both block-based and text-based coding, so it can grow with them. If you want more flexibility, you can always buy a standalone Arduino board and then pick up a separate sensor kit from a supplier like Adafruit or SparkFun.
Is Soldering Necessary for My First Robot Project?
For most beginner projects, absolutely not. You can build complete, fully functional robots using solderless breadboards and jumper wires. These little components are a game-changer because they let you connect and rearrange circuits easily without making anything permanent.
Learning to solder is definitely a valuable skill for more advanced or durable projects down the road, but it’s not something that should stop you from getting started right now.
For more answers to common questions, check out our Frequently Asked Questions page for extra guidance.
At Playz, we believe learning should be an adventure. Our hands-on science kits are designed to spark curiosity and build critical skills through the power of play. Explore our collection and find the perfect project to inspire your young innovator today at https://www.playzusa.com.