

Diving into your first electronics project can feel like learning a new language, but the basic grammar is surprisingly simple. At its core, a circuit is just a complete, unbroken loop for electricity to follow. That's the big secret.
Think of it like a tiny racetrack. A battery is the starting gate, giving electricity the "push" it needs to get moving. Wires are the track, and a component like an LED or a buzzer is the finish line, using that energy to light up or make a sound. If there's a break anywhere in that track, the race stops.
Understanding the Fundamentals of Your First Circuit
Once you grasp that core concept—that it’s all about creating an unbroken path—everything else clicks into place. This is the fundamental principle behind every electronic device, from the simple circuits we’re about to build to the smartphone in your pocket.

Let's break down the essential players you'll meet in every project. Understanding their roles is the secret to building circuits that work on the first try.
The Three Core Parts of Any Simple Circuit
No matter what you build, you'll always need these three parts working together. To make it clear, here's a quick rundown of the essential components and what they do.
| Component | What It Does | Practical Analogy |
|---|---|---|
| Power Source | Provides the energy or "push" for the electricity. | The engine of a car or a water pump pushing water through a hose. |
| Conductor | Creates a low-resistance path for electricity to flow. | The road for the car or the hose that carries the water. |
| Load | Uses the electrical energy to do work (like make light). | The car's wheels spinning or the sprinkler at the end of the hose. |
These three parts are non-negotiable. You can't make a working circuit without all of them.
-
The Power Source: This is the engine of your circuit. For beginner projects, this will almost always be a battery, like a common AA or 9V. It provides the voltage, which is the electrical "pressure" that gets electrons moving.
-
The Conductor (or Path): This is the highway for electricity. We use materials like copper wires or alligator clips because they let electricity flow with very little resistance.
-
The Load: This is where the magic happens! The load is the component that does something. It could be an LED that lights up, a small motor that spins, or a buzzer that makes noise. The load adds resistance, which helps control the flow of electricity and prevents damage.
Actionable Insight: When you physically connect these three parts, you’re doing more than just snapping pieces together—you’re seeing a core scientific principle in action. This is one of the huge benefits of hands-on learning; it pulls abstract ideas out of a textbook and turns them into something real. To deepen your knowledge, exploring some basic electrical wiring concepts can build a stronger foundation.
Gathering Your Essential Electronics Toolkit
Before you can bring a circuit to life, you need the right gear. Think of this as your practical shopping list—we'll explain not just what to get, but why each piece is critical for building simple circuits safely and effectively. You don't need a professional lab, just a few key items.
The goal is to assemble a versatile kit that grows with you. A small investment in the right tools now will pay off by making your first projects less frustrating and far more rewarding.
Core Components for Your First Simple Circuit
Let's start with the absolute must-haves. These non-negotiable items will be the backbone of your first experiments.
-
A Safe Power Source: When starting, stick with low-voltage DC (Direct Current) sources. AA batteries in a battery holder are perfect—they're safe, cheap, and easy to find. A 9V battery is another solid choice.
-
LEDs (Light Emitting Diodes): These little lights are the stars of your first circuits. LEDs provide instant visual feedback—when they light up, you know your circuit works!
-
Resistors: An LED's best friend. Resistors are vital because they limit, or "resist," the flow of current. Without one, a battery would send too much power to your LED and burn it out instantly.
Key Takeaway: Resistors protect your components. Think of a resistor as a dam for electricity; it controls the flow to a safe, manageable level, ensuring delicate parts like LEDs don't get fried.
Solder-Free Building: The Magic of a Breadboard
For any beginner, the single most important tool is the breadboard. This plastic board is covered in a grid of tiny holes that let you plug in components and wires to create circuits without messy or permanent soldering.
Underneath the plastic, tiny metal clips connect the holes, allowing you to prototype ideas in seconds. If something isn't working, you just unplug a component and move it. This makes experimentation fast, fun, and painless.
This ability to quickly prototype circuits is fundamental, from beginner kits to advanced systems. It’s the foundation of the massive global printed circuit board (PCB) market, which was valued at over USD 78.18 billion in 2025 and continues to grow, showing just how central well-designed circuits are to modern technology.
Essential Tools and Beginner-Friendly Kits
To round out your toolkit, a few basic hand tools are helpful. A good pair of wire strippers and a multimeter for troubleshooting are great additions. As you set up your workspace, it's also smart to think about protecting your components with ESD workspace and storage solutions.
Feeling overwhelmed by the shopping list? A great shortcut is a pre-packaged kit. These bundles remove the guesswork by providing every component you need. For a fantastic all-in-one option, check out this electrical circuit board engineering kit—it's perfect for beginners and young learners.
Step-by-Step: Building Your First LED Circuit on a Breadboard
Theory is one thing, but the magic happens when you get your hands on the components and watch something you built come to life. We're going to build your very first working circuit on a breadboard. It's a simple project, but it's guaranteed to give you a massive confidence boost.
No soldering, no complicated tools—just you, a handful of parts, and the awesome feeling of lighting up that first LED. This is where the concepts click and become real.
This infographic breaks down the basic flow for nearly any simple circuit you'll build, showing the power source, the path (conductor), and the load.
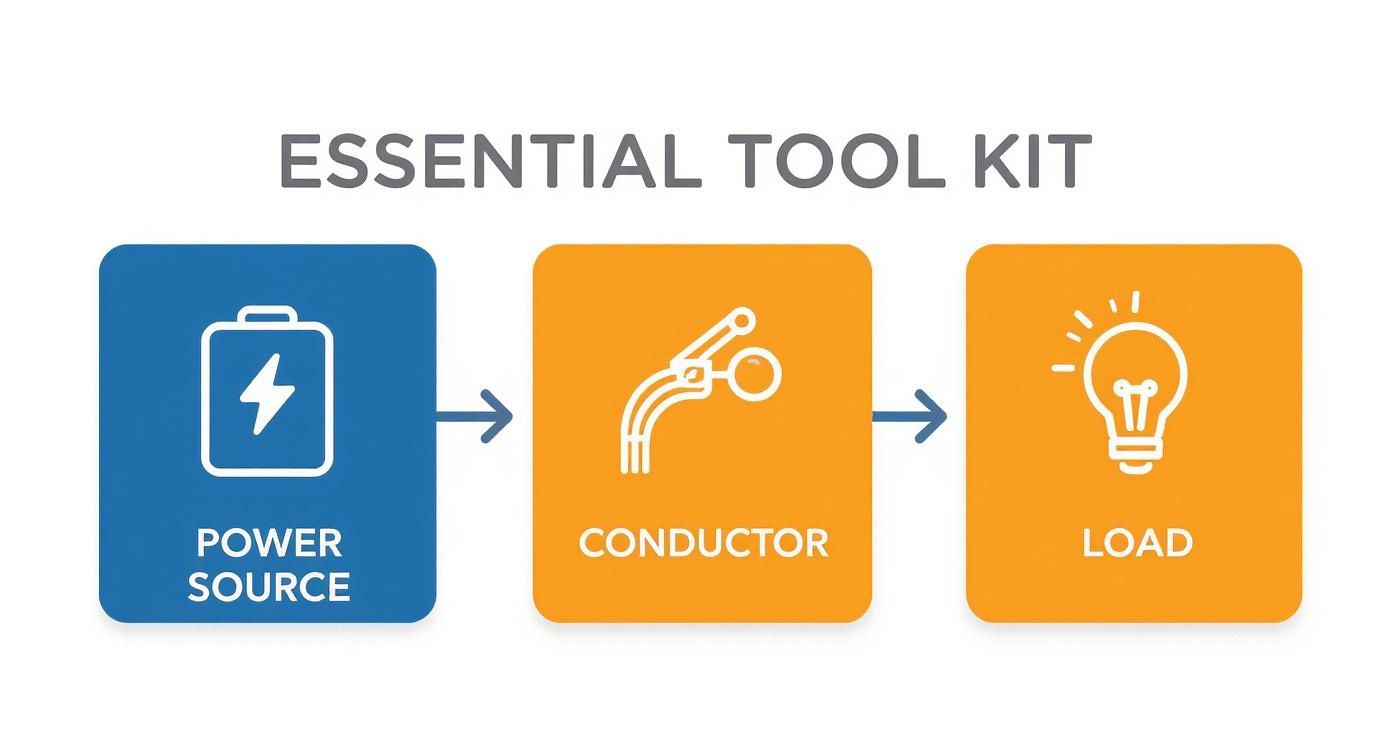
It’s a great visual reminder that a circuit is just a complete loop, where every part has a specific job.
Understanding Your Key Components
Before plugging things in, let's get to know our two key players: the LED and the resistor.
First, look at your LED. Notice it has two legs, one longer than the other. This is critical.
- The longer leg is the positive side (the anode).
- The shorter leg is the negative side (the cathode).
Getting this orientation right is non-negotiable. If you put it in backward, it won't work.
Next, the resistor. Its job is to protect our LED from getting too much power from the battery. Think of it as a gatekeeper for the current, slowing it to a safe level. Without it, the LED would flash bright and burn out.
Assembling Your Circuit Step-by-Step
Ready? Grab your breadboard, battery pack, resistor, and an LED. Let's create a path for electricity.
- Connect the Power: Plug the red wire (positive) from your battery pack into a long vertical row on the side of the breadboard—this is your positive power rail (often marked with a red line). Plug the black wire (negative) into the other long row (the blue line). Your breadboard is now powered.
- Place the LED: Carefully press your LED's legs into two different terminal strips (the short 5-hole rows) in the breadboard's main area. Pay close attention to orientation! The long, positive leg needs to be oriented toward your positive power source.
- Add the Resistor: Plug one leg of your resistor into the same short row as the LED’s positive (long) leg. This connects them. Put the other leg of the resistor into any other empty terminal strip.
- Complete the Loop: We're almost there. Use a jumper wire to connect the resistor's free leg to the positive power rail (the red line). Use a second jumper wire to connect the LED's negative (short) leg to the negative power rail (the blue line).
You've just created a complete circuit! Electricity flows from the battery, through the resistor, into the LED's positive side, out the negative side, and back to the battery. If your connections are solid, your LED should be shining brightly.
That "it works!" moment is a fantastic starting point. As you get comfortable, you might want to explore an advanced electronic circuit board engineering toy to see how these principles scale up.
Level Up: Adding Switches and More Lights to Your Circuit
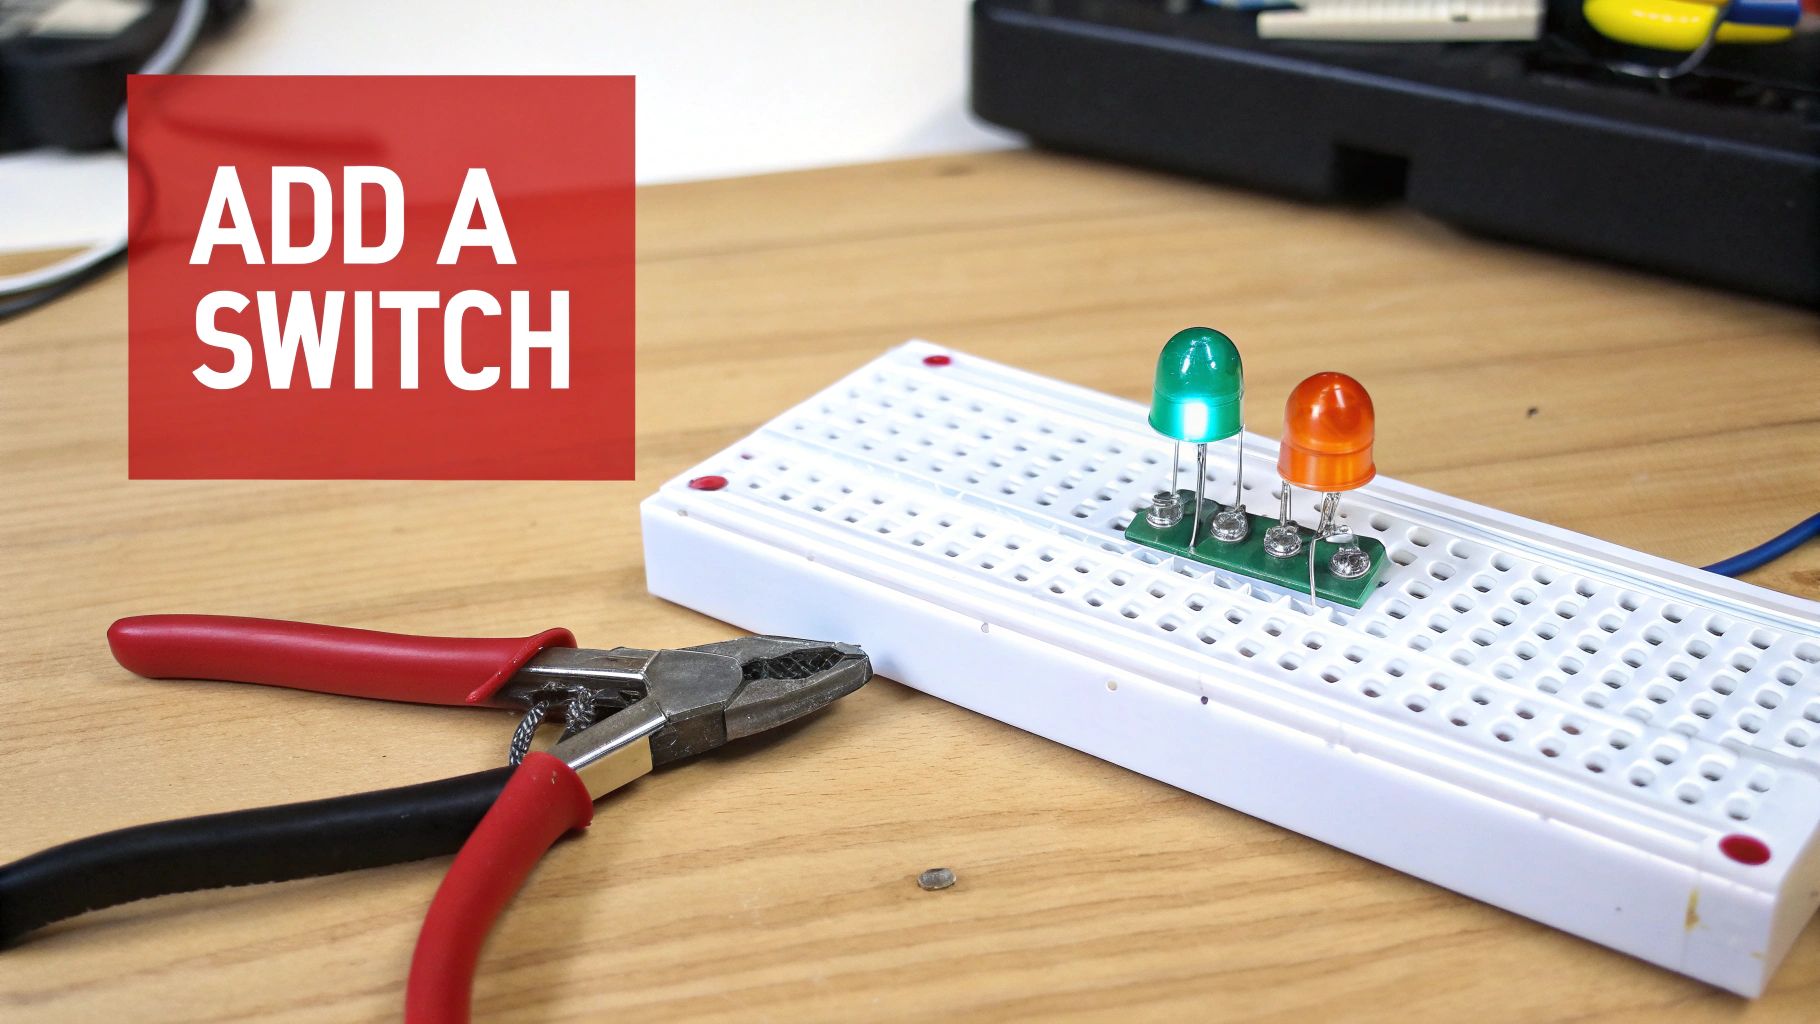
You've successfully lit an LED. Awesome! But a light that's always on is only so exciting. The real magic happens when you can control it. This is where we bring in a switch, which lets you physically control the flow of electricity.
Think of a switch like a drawbridge for your electrical current. When the bridge is down (closed), electrons can cross, and your LED lights up. Lift the bridge (open), and the path is broken. Everything stops.
Integrating a Push-Button Switch for Control
For breadboard projects, a tactile push-button is a great choice. They often have four legs for stability. Our goal is to place this switch in the middle of our circuit's path to act as a gatekeeper.
To do this, you'll need to break the connection you made earlier between the resistor and the positive power rail. The switch will sit in between.
- Run a jumper wire from the positive power rail to one leg of the push-button.
- Use another jumper wire to connect the opposite leg of the switch to your resistor.
Now for the fun part: press the button. The LED turns on because you've completed the circuit. Let go, and the circuit breaks, turning the light off. You've just built your first interactive device!
Key Takeaway: A switch gives you direct, manual control over your circuit. It physically demonstrates the difference between an open circuit (off) and a closed circuit (on), turning an abstract idea into something you can see and feel.
Expanding Your Circuit: Understanding Series Connections
Ready to level up again? Let’s add a second LED by creating a series circuit, where components are lined up one after another in a single path. It’s like adding another car to a one-lane road—the current flows through every component in order.
To add a second LED in series, place it right after the first one. Connect the negative (short) leg of the first LED to the positive (long) leg of the second LED.
You'll probably notice something interesting: both LEDs are dimmer than when you had just one. That's because the total voltage from your battery is now being shared—or "dropped"—across both LEDs. Each light only gets a piece of the power, so neither shines as brightly.
This simple idea of controlling electrical flow is fundamental. On a larger scale, components like circuit breakers are designed to automatically interrupt the flow when something goes wrong, keeping us safe. The global market for these critical safety devices was valued at USD 22.47 billion in 2024, showing how vital circuit control is in everything from homes to industrial systems.
Getting a handle on simple circuits builds a solid foundation for more complex projects, like learning how to build simple robots.
Troubleshooting 101: What to Do When Your Circuit Doesn't Work
So, you’ve put everything together, double-checked your diagram, and… nothing. The LED is dark. Don't worry, and don't get discouraged! This is a rite of passage for anyone learning electronics. Think of it less as a failure and more as your first puzzle to solve.
Every person who works with circuits—from kids in a classroom to seasoned engineers—spends a good chunk of their time troubleshooting. It's an incredibly valuable skill that forces you to think methodically and truly understand how each piece fits. This is where the real learning begins.
A Practical Diagnostic Checklist for Beginners
Before you start pulling everything apart, let's walk through the usual suspects. More often than not, the fix is simple and just hiding in plain sight.
- Is the Battery Fresh? It sounds obvious, but a dead or weak battery is the number one culprit. If you have a multimeter, check its voltage. If not, just pop in a brand-new one to rule it out.
- Is the LED in Backward? This gets everyone at first. LEDs have polarity and only work in one direction. Check that the longer positive leg (anode) is connected toward the positive side of your battery. A quick flip might be all you need.
- Are All Connections Secure? Jumper wires can be tricky. Sometimes they feel like they're plugged firmly into the breadboard when they’re loose. Give each wire and component leg a gentle tug to ensure a solid, wiggle-free connection.
Troubleshooting is more than just fixing a broken circuit; it's an exercise in critical thinking. Learning to methodically test, identify, and solve issues is a skill that will stick with you. You can apply these same principles to develop your problem-solving skills in almost any area of your life.
Beginner Troubleshooting Cheat Sheet
Feeling lost? Use this chart to quickly diagnose and solve the most common issues with your first circuit. It’s a great way to build a mental checklist for future projects.
| Symptom | Potential Cause | How to Check and Fix |
|---|---|---|
| LED is completely off | Dead battery | Swap in a new battery. If you have a multimeter, check the voltage. |
| LED is backward | The LED's longer leg (anode) must connect to the positive side. Flip it around. | |
| Loose connection | Gently tug each wire and component leg to ensure it's securely in the breadboard. | |
| LED flickers or is dim | Low battery | The battery might have just enough juice to flicker but not fully light up. Try a new one. |
| Poor connection | Wiggle the wires. If the LED flickers, you've found a loose connection to reseat. | |
| Missing or wrong resistor | A resistor limits current. Without one, the LED might be dim or could have burned out. | |
| Circuit gets hot | Short circuit | Disconnect the battery immediately. Check for any wires crossing or touching where they shouldn't be. |
Keep this handy. As you build more, these basic checks will become second nature.
Using a Multimeter for Simple Checks
A multimeter might look intimidating, but it's your best friend for figuring out what's going on. For now, let's focus on two key functions: checking voltage and continuity.
- Testing for Continuity: This is a fancy way of asking, "Is this wire broken?" Set your multimeter to the continuity setting (it usually has a symbol that looks like a sound wave). Touch the probes to opposite ends of a wire. If the meter beeps, you have a complete path. No beep? You've found a faulty wire.
- Testing Voltage: Set the multimeter to DC Voltage (V--). Touch the red probe to the positive side of your battery and the black probe to the negative side. This will tell you if your power source is working.
This simple concept of checking circuit integrity is the foundation of a massive industry. The professional circuit monitoring market was valued at USD 659 million in 2023, all built on making sure every connection is solid.
Frequently Asked Questions About Building Simple Circuits
As you start tinkering, it's normal for questions to pop up. Think of this section as your go-to guide for those common "what if" and "why" moments. Getting these basics down will give you the confidence to start experimenting.
What's the Difference Between a Series and a Parallel Circuit?
This is a classic question, and the answer is all about the path electricity takes.
- A series circuit is like a one-lane road. Electricity has only one path and must flow through each component in order. The downside? If one part breaks, the entire circuit stops working.
- A parallel circuit is like a highway with multiple lanes. It gives electricity several paths to follow, with each component on its own branch. If one LED burns out, the others can stay lit.
Most beginners start with series circuits because they're a little easier to wire on a breadboard.
Why Do I Absolutely Need a Resistor for an LED?
Think of an LED as a delicate light that can only handle a small sip of electricity. A battery, on the other hand, wants to unleash a powerful gush of current—far more than the LED can safely take.
Without a resistor, that gush of electricity would fry the LED instantly. A resistor's entire job is to act as a gatekeeper, dialing back the current to a safe, manageable level. It’s the essential bodyguard for your LED.
Actionable Insight: Using the right resistor is a fundamental skill in electronics. It’s the difference between a project that works and a tiny puff of smoke. Always double-check you have one in place before connecting the battery!
Is It Safe for Kids to Build These Circuits at Home?
Absolutely, as long as you use the right power sources. For all beginner projects, stick to low-voltage DC sources like AA, AAA, or 9V batteries. These have enough power to light up LEDs but not enough to cause a dangerous shock.
The number one safety rule is to never connect the positive and negative terminals of a battery directly together with just a wire. This creates a "short circuit," which can make the wire and battery get very hot, very fast. It’s always a good idea to have an adult supervise any young builders.
What's a Breadboard, and Why Is It So Important for Beginners?
A breadboard is a beginner's best friend. It’s a reusable plastic board that lets you build and test circuits without any soldering. The board is full of tiny holes with metal clips underneath that connect them, allowing you to just plug in your components and wires.
It’s an essential tool because it makes experimenting fast and forgiving. Mess up? No problem. Want to try a new design? Just unplug a wire and move it. This flexibility is why breadboards are the go-to tool for prototyping new ideas.
At Playz, we believe learning should be an adventure. Our hands-on science kits come with everything your child needs to safely explore the fundamentals of electronics and build their own awesome projects.
Ready to spark a lifelong passion for STEM? Explore our collection of engaging science kits today!