

Forget the intimidating image of a pristine laboratory filled with complicated equipment. When it comes to amazing chemistry experiments at home, you already have a fully stocked science lab waiting for you—it's your kitchen.
Your Kitchen Is the Perfect Science Lab
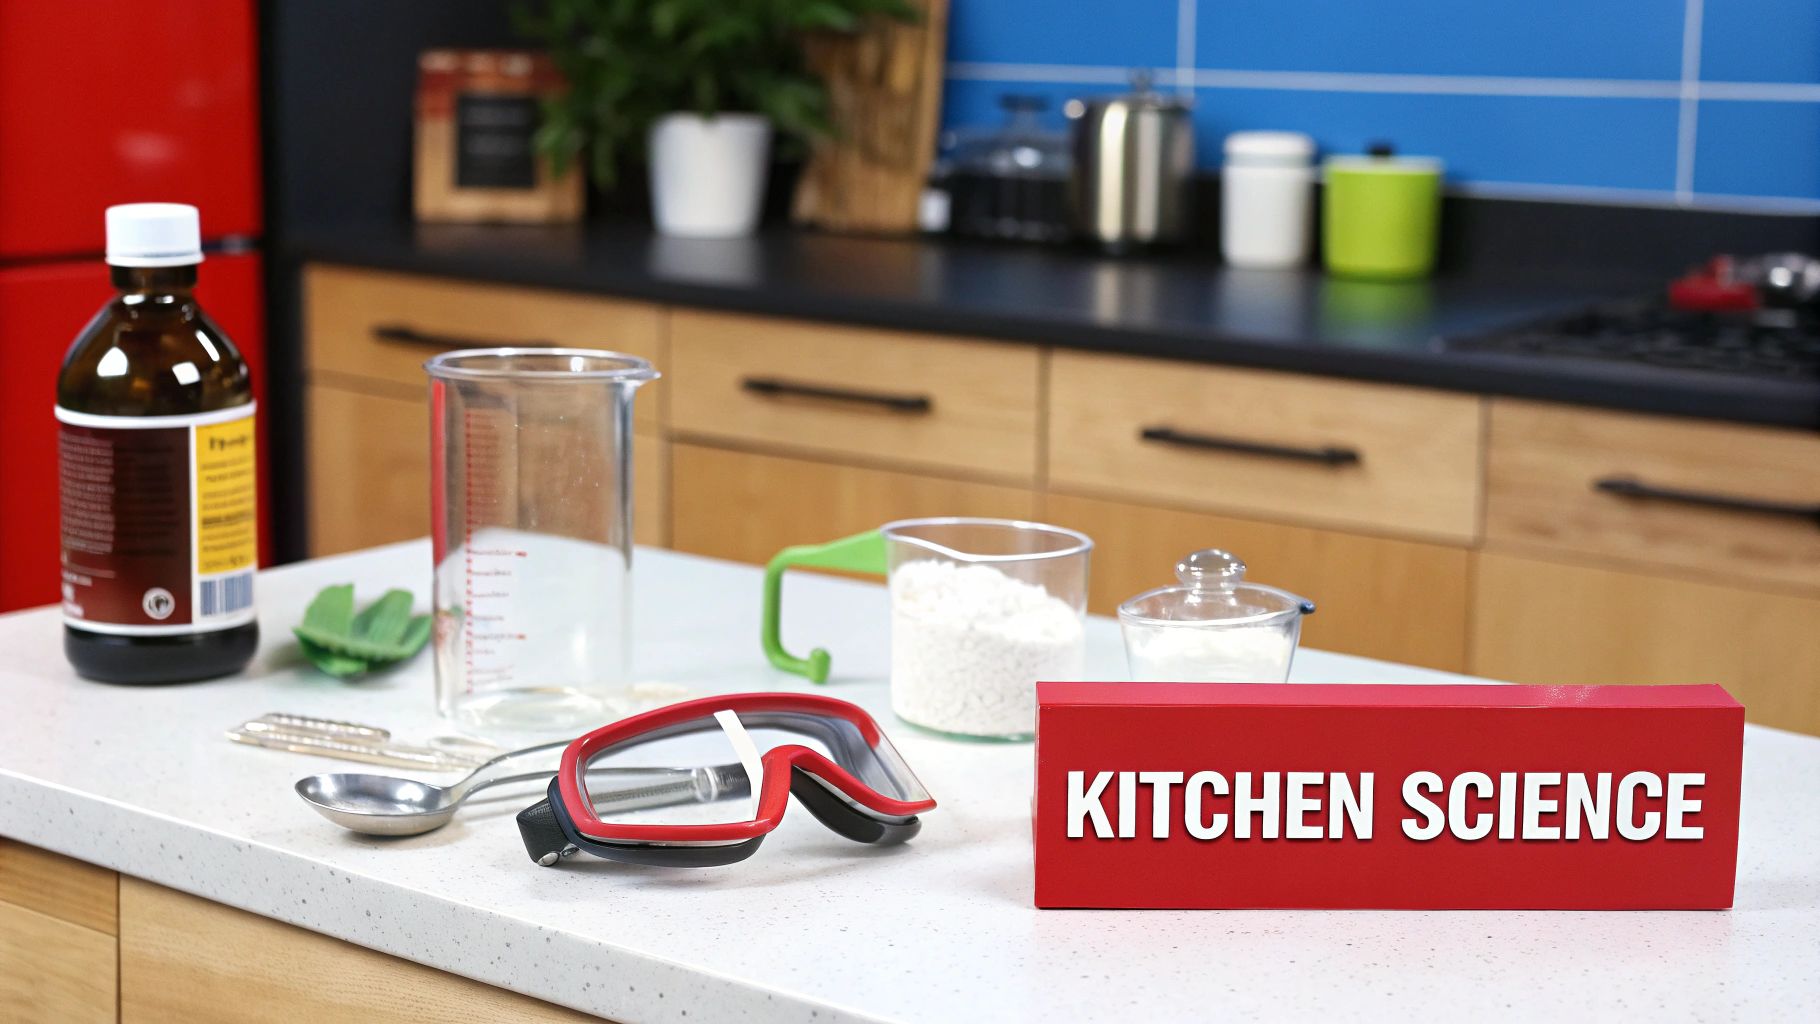
It’s true. Simple, everyday items in your pantry and cupboards hold the key to unlocking some incredible scientific discoveries. This makes chemistry accessible, tangible, and a whole lot of fun for everyone.
This isn’t just a cute idea for a rainy day, either. It’s a proven educational method. During the COVID-19 pandemic, the University of Southern California actually shifted its general chemistry labs to a home-based model. Students used nothing but safe, common household items to dive into complex topics like acid-base titrations and thermodynamics, proving that powerful learning can happen anywhere.
Key Takeaway: Real Science, Simple Ingredients
You really don't need expensive beakers or strange chemicals to get started. The real magic behind many chemistry experiments at home comes from combining simple acids and bases you already have on hand.
- Vinegar: This is your go-to household acid (acetic acid), perfect for creating all sorts of fizzy reactions.
- Baking Soda: As a weak base (sodium bicarbonate), it reacts powerfully when mixed with acids like vinegar or lemon juice.
- Lemon Juice: Another fantastic, safe acid (citric acid) that’s great for everything from invisible ink to pH testing.
- Dish Soap: This is my secret weapon for bigger, foamier reactions. It's an expert at trapping gases, which makes any eruption more dramatic.
These staples are the building blocks for countless experiments, from the classic bubbling volcano to making your own color-changing liquid. It goes beyond just fun fizzing, too. Your kitchen can also be a place to find simple kitchen chemistry solutions for common household problems, like removing rust from appliances.
To give you a better idea, here's a quick look at the science hiding in your pantry.
Your Essential At-Home Chemistry Toolkit
This table breaks down some common items you'll be reaching for and the scientific role they play in our experiments.
| Household Item | Scientific Role (Acid, Base, Catalyst, etc.) | Common Experiments |
|---|---|---|
| Baking Soda | Base (Sodium Bicarbonate) | Volcanoes, inflating balloons, fizzing reactions |
| Vinegar | Acid (Acetic Acid) | Reacts with bases, cleaning experiments, pH tests |
| Lemon Juice | Acid (Citric Acid) | Invisible ink, preventing fruit browning, pH tests |
| Dish Soap | Surfactant | Trapping CO2 gas, creating slime, elephant toothpaste |
| Cornstarch | Polymer | Oobleck (non-Newtonian fluid), thickening agents |
| Food Coloring | Dye/Indicator | Color-changing milk, density towers, tracking reactions |
As you can see, you're already equipped to explore some fascinating chemical principles without ever leaving your house.
Actionable Insight: Chemistry is not about having the fanciest equipment. It’s about understanding how different substances interact with one another—a process you can easily observe with tools already at your fingertips.
Fostering Curiosity Safely: Pros and Cons
The goal here is to spark genuine curiosity and make learning feel more like play. When you use familiar materials, it removes the intimidation factor and empowers kids (and adults!) to ask "what if?" This hands-on approach is what turns abstract concepts into experiences you'll actually remember.
Pros of Kitchen Chemistry:
- Accessibility: Uses common, affordable household items.
- Engagement: Hands-on activities make learning memorable and fun.
- Safety: Generally safer than traditional lab chemicals when supervised.
Cons to Consider:
- Mess Factor: Experiments can sometimes require cleanup.
- Supervision is a Must: Even safe items require adult guidance to prevent misuse.
Of course, safety always comes first. Even with household items, adult supervision is non-negotiable. It’s important to set clear ground rules from the start, like wearing protective eyewear and never tasting an experiment unless the instructions specifically say it’s safe. With a few smart precautions, your kitchen becomes an exciting and safe launchpad for scientific exploration.
Create Amazing Fizz and Foam Reactions
There’s nothing quite like the excitement of a reaction that bubbles, fizzes, and erupts right before your eyes. These dramatic displays are often the gateway into a lifelong love for science, and for good reason—they make abstract chemical principles tangible and thrilling.
Best of all, some of the most impressive chemistry experiments at home start with two simple ingredients you almost definitely have in your kitchen right now: baking soda and vinegar.
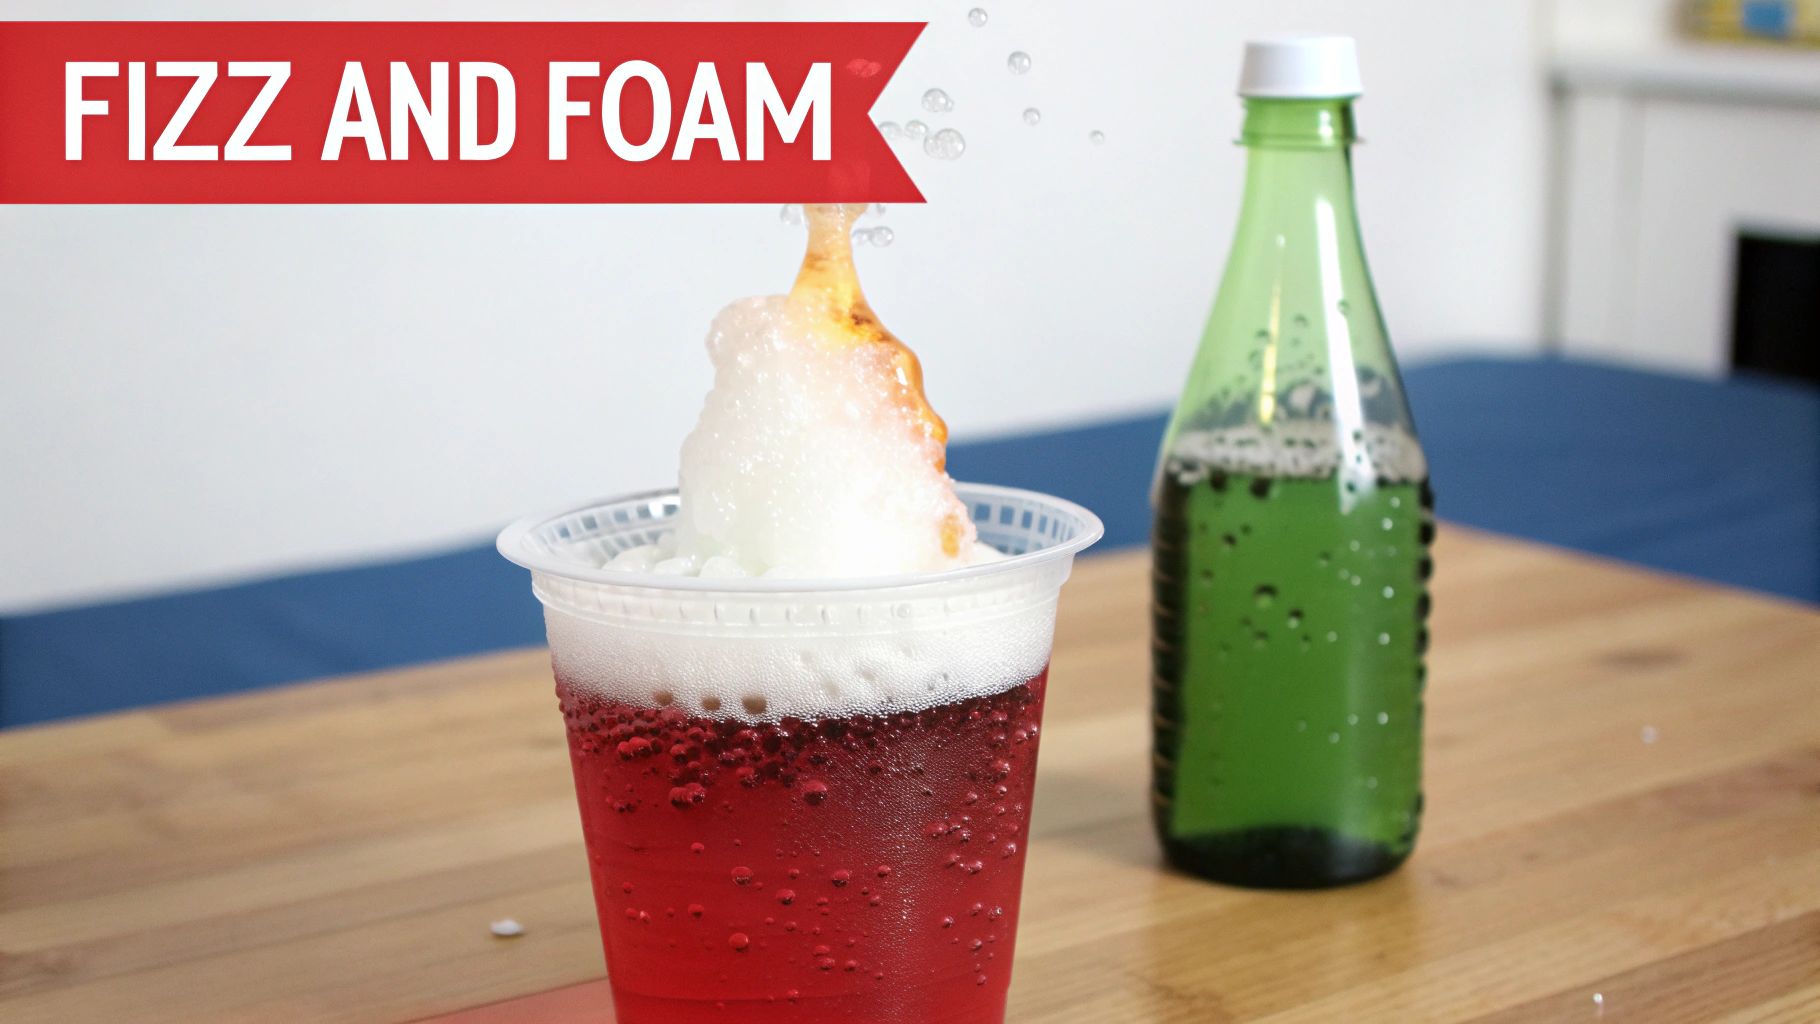
The classic volcano is the perfect place to start. It’s more than just a fun project; it’s a brilliant, hands-on introduction to acid-base reactions. When you combine these kitchen staples, you're not just making a mess—you're witnessing a fundamental chemical transformation unfold.
The Classic Bubbling Volcano Experiment
This experiment is a rite of passage for any budding scientist. It's simple, visually exciting, and clearly shows how combining two substances can create something entirely new. You can easily build a cone shape around a bottle with modeling clay or even packed dirt if you're doing this outside.
Here’s what you'll need to get the lava flowing:
- A small plastic bottle or similar container
- Baking soda (sodium bicarbonate)
- White vinegar (acetic acid)
- Warm water
- A few drops of dish soap (this is the secret ingredient for next-level foam!)
- Red food coloring (for that iconic lava look)
First, mix a few tablespoons of baking soda, the dish soap, and the food coloring right inside the bottle. Add a little warm water to get it all combined. When you're ready for the big moment, pour in the vinegar and stand back! The concoction will immediately start to foam and bubble over the sides.
What’s Happening Underneath the Foam
The science here is wonderfully straightforward. Vinegar is an acid, and baking soda is a base. When they mix, they react to neutralize each other, instantly creating a substance called carbonic acid.
But carbonic acid is incredibly unstable. It immediately decomposes into two things: water and carbon dioxide (CO2) gas. It’s these CO2 gas bubbles, trapped by the dish soap, that create the impressive, foamy eruption pouring out of your volcano.
Create a Mesmerizing DIY Lava Lamp
If you want a fizzing reaction that’s a bit more contained and hypnotic, the homemade lava lamp is your next stop. This experiment is a fantastic way to explore chemical reactions, but it also brings in another key concept: liquid density. It’s a great visual for showing that some liquids, like oil and water, simply do not mix.
To craft your own groovy lamp, grab a clear bottle, some water, vegetable oil, food coloring, and an effervescent tablet (like Alka-Seltzer).
Fill the bottle about one-quarter full with water, then add your favorite food coloring. Top it off with vegetable oil, leaving some space at the top so it doesn't overflow. You’ll see the oil float right on top of the colored water—that's because oil is less dense.
Now for the magic. Break an effervescent tablet in half and drop it in.
Key Takeaway: The tablet sinks through the oil and starts dissolving in the water below, releasing carbon dioxide gas. These gas bubbles grab blobs of colored water and carry them up through the oil. Once they hit the surface, the gas escapes, and the colored water sinks back down, creating a mesmerizing, continuous cycle.
For kids who get really hooked on these dynamic reactions, you can find even more ideas in kits like the Mega Kaboom Explosive Science Kit, which takes these basic principles to the next level.
Creative Twists and Pro Tips
Once you’ve mastered the basics, the real fun begins. True experimentation is all about asking "what if?" and then testing your theories.
Here are a few actionable ideas to get you started:
- Change the Container: How does the reaction change in a wide-mouthed jar versus a narrow-necked bottle? The shape of your container can dramatically alter the speed and appearance of the eruption.
- Adjust the Temperature: Try using cold vinegar versus warm vinegar. Temperature affects the rate of chemical reactions; warmer temps usually speed things up, which could lead to a much more explosive fizz.
- Add Different Ingredients: What happens if you add a pinch of salt or sugar to the volcano mix? Does it change the foam's consistency or how long the reaction lasts?
These simple fizz and foam reactions are the cornerstone of many chemistry experiments at home. They’re not just about the "wow" factor; they are foundational lessons in acids, bases, gas production, and density, all brought to life with stuff you already have in the kitchen.
Make a Color-Changing pH Indicator
Ever thought you could find one of the most vibrant chemistry experiments at home hiding in your fridge's vegetable drawer? You absolutely can. All it takes is a humble red cabbage to reveal the hidden acidic or basic properties of everyday items. It’s a fantastic, hands-on way to make the abstract concept of the pH scale come to life in a literal rainbow of colors.
Forget boring old litmus paper. This experiment lets you create your own natural pH indicator from a pigment found right in the cabbage leaves. It’s safe, simple, and a visually stunning introduction to the chemistry that’s all around us.
How to Extract the Magic Pigment from Cabbage
The secret here is a molecule called anthocyanin. This pigment is what gives red cabbage its deep purplish color, and it’s also what allows it to change color when it comes into contact with acids and bases. To get started, you just need to extract this amazing compound from the leaves.
The process is way easier than it sounds:
- Prep the Cabbage: Roughly chop up a few leaves from a red cabbage—no need to use the whole head for this.
- Boil the Leaves: Place the chopped cabbage in a pot and add just enough water to cover everything. With an adult's help, bring the water to a boil and let it simmer for about 10-15 minutes.
- Strain and Cool: You’ll see the water has turned a deep purple or blue. That's your indicator! Carefully strain out the cabbage pieces and let the purple liquid cool down completely.
And that’s it. You’ve just made a bottle of homemade pH indicator, ready to test all sorts of things around your house. This experiment is so straightforward, it's one of the most rewarding 5th grade science experiments ideas that still manages to fascinate older kids and even adults.
Testing Your Household Chemicals
Now for the fun part—seeing your indicator in action!
Grab several small, clear containers and pour a little of your purple cabbage juice into each one. Using multiple cups lets you test a bunch of different items and compare the results side-by-side, which is where the real "wow" moment happens.
Start gathering some common household liquids. Try to get a mix of things you suspect might be acids or bases. A few great options to start with are:
- Lemon Juice or Vinegar: Squeeze a few drops into one of the indicator cups.
- Baking Soda Solution: Mix a teaspoon of baking soda with a splash of water before adding it.
- Soapy Water: A few drops of dish soap or hand soap mixed into water works great.
- Window Cleaner: (With adult supervision!) This usually contains ammonia, a common household base.
Add a little bit of each test substance to its own cup of cabbage juice and watch the colors shift instantly. You’ll be amazed at the dramatic changes that happen right before your eyes.
Key Takeaway: Acids and bases aren't just abstract terms from a textbook. They are measurable properties of everyday things, from the food we eat to the cleaners we use. This experiment makes that reality visible and unforgettable.
Interpreting Your Colorful Results
So, what do all these new colors mean? Your red cabbage indicator acts as a visual guide to the pH scale. The anthocyanin molecule literally changes its shape depending on the concentration of hydrogen ions in the solution, which in turn changes the color it reflects.
Here’s a simple chart to help you decode your findings:
| Original Color | Test Result Color | pH Level | Example Substance |
|---|---|---|---|
| Purple/Blue | Pinks and Reds | Acidic (Low pH) | Lemon Juice, Vinegar |
| Purple/Blue | Purple/Violet | Neutral (pH ~7) | Tap Water |
| Purple/Blue | Blues and Greens | Basic/Alkaline (High pH) | Baking Soda |
| Purple/Blue | Greenish-Yellow | Strongly Basic | Ammonia-based Cleaners |
This simple yet powerful experiment does more than just create pretty colors. It’s a foundational lesson in acids and bases, proving that chemistry is a vibrant, interactive science you can easily explore right on your kitchen counter.
Grow Your Own Dazzling Crystals
Some of the coolest and most beautiful chemistry experiments at home don't involve a big bang or a sudden color change. Instead, they require patience and a keen eye. Growing your own crystals is the perfect example—it turns your kitchen into a lab where you can watch incredible geometric structures appear out of thin air, or more accurately, out of a simple solution.
This isn't about instant gratification. It's a slow, almost magical process that teaches core scientific ideas like solutions, saturation, and evaporation. We’ll walk through two fantastic ways to grow crystals: one you can actually eat and another that creates delicate, artsy designs.
From Sugar Water to Edible Rock Candy
Believe it or not, one of the most delicious ways to study chemistry is by making rock candy. This experiment is all about creating a supersaturated solution—basically, a solution that's holding way more dissolved stuff (sugar, in this case) than it should be able to at a normal temperature.
To get started, you'll need:
- 4 cups of granulated sugar
- 2 cups of water
- A wooden skewer or a clean piece of string
- A tall, narrow glass or jar
- A clothespin to hold your skewer or string
With an adult's help, bring the water to a boil in a saucepan. Start adding the sugar, one cup at a time, stirring constantly. Make sure each cup dissolves completely before you add the next. Once all the sugar has disappeared into the water, you've officially made a supersaturated solution.
Let the sugary syrup cool for about 15-20 minutes before pouring it into your glass jar. Next, dip your skewer into the solution and then roll it in some dry granulated sugar. This creates "seed crystals." Use the clothespin to hang the skewer in the middle of the jar, making sure it doesn't touch the bottom or sides.
Now for the hard part: waiting! Put the jar somewhere it won't be bumped or moved and watch as crystals begin forming over the next week.
The Science Behind the Sweetness
So what’s actually happening in that jar? As your super-packed sugar solution cools, it can't hold onto all those dissolved sugar molecules anymore. They need a place to go, so they start grabbing onto the seed crystals you made on your skewer. Day after day, more molecules join the party, building up that classic, intricate lattice structure we see as a crystal.
Actionable Insight: Crystal formation is an act of organization. Molecules floating around randomly in a solution find a stable, repeating pattern to settle into when conditions change. It's like a crowd of people finding their assigned seats in a theater.
Crafting Delicate Salt Crystal Gardens
If you want to see a different kind of crystal—one that forms through evaporation instead of cooling—growing salt crystals is a fantastic alternative. This method produces flat, delicate, and often intricate patterns that are really beautiful to look at up close.
You'll only need a few simple things:
- Table salt (sodium chloride)
- Warm water
- A shallow dish or plate
- A piece of dark-colored construction paper
First, mix up a saturated salt solution. Stir salt into warm water until no more will dissolve and you can see a few grains collecting at the bottom. This is how you know the water is holding as much salt as it possibly can.
Now, lay the dark construction paper in the shallow dish and pour the saltwater over it—just enough to cover the paper. Set the dish in a warm, sunny spot where it can be left alone. As the water slowly evaporates over the next day or two, you'll be left with a sparkling garden of tiny, interconnected salt crystals. The dark paper provides a perfect contrast, making the white crystals really pop.
For those who want to get even more creative, you can find detailed crystal growing kit instructions online that often use different types of salts to produce varied and colorful results.
The infographic below shows a similar scientific process. A substance is extracted into a liquid and then used for testing, much like how we dissolve sugar or salt into a solution to kick things off.
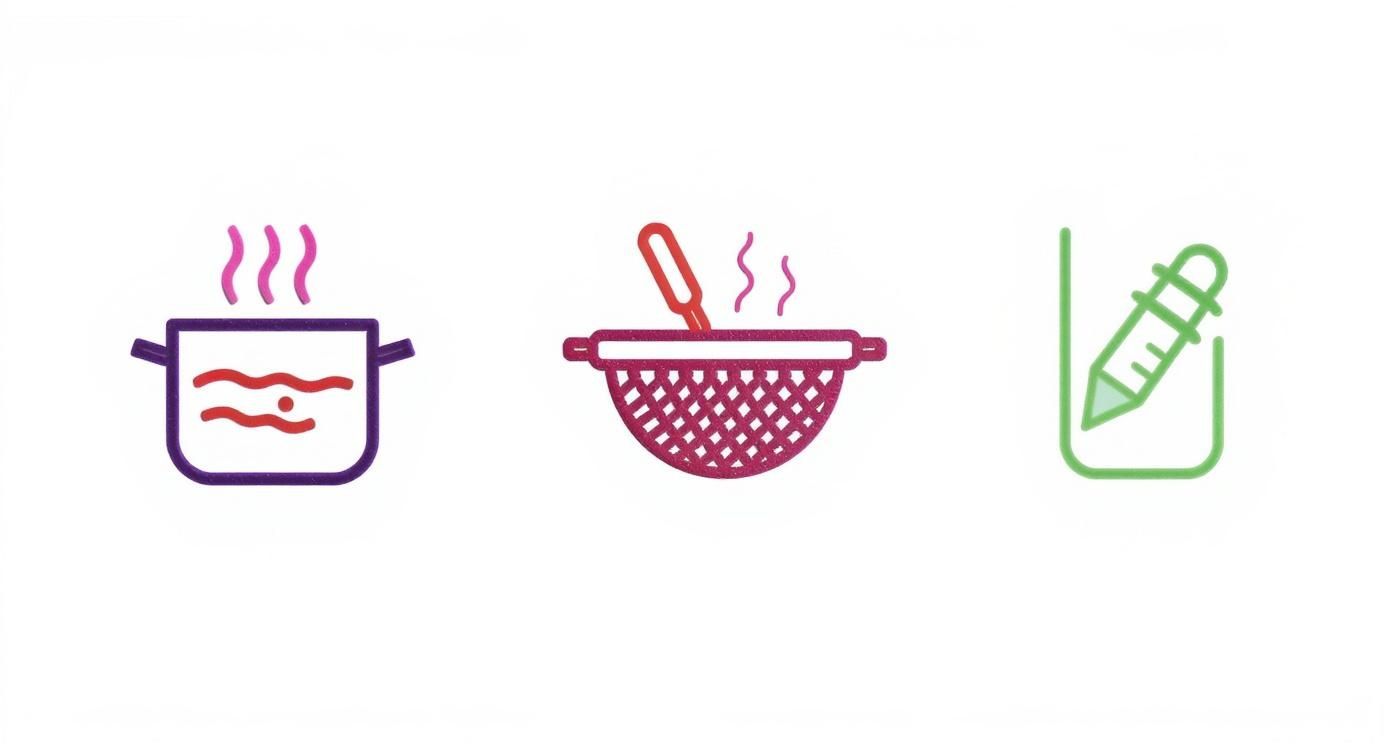
This visual is a great reminder that simple kitchen tasks—like boiling, straining, and observing—are the building blocks for tons of at-home chemistry, including getting your crystal solutions ready.
Troubleshooting Common Crystal-Growing Issues
Sometimes, your crystals just don't want to grow. Don't sweat it! This happens to everyone and is a great chance to think like a scientist and figure out what went wrong.
Here are a few common hiccups and how to fix them:
| Problem | What's Likely Happening | How to Fix It |
|---|---|---|
| No crystals are forming at all. | Your solution wasn't saturated enough. | Reheat the solution and stir in more sugar or salt until it's fully saturated. Try again! |
| A solid crust formed on top. | The solution cooled down too quickly, causing everything to crystallize at once. | Next time, let the solution cool more slowly. You can try covering it loosely with a paper towel. |
| Crystals grew on the bottom, not the string. | The skewer didn't have any "seed crystals" for the new molecules to cling to. | Make sure you properly coat your string or skewer with seed crystals before hanging it. |
Growing crystals is easily one of the most rewarding chemistry experiments at home. It teaches patience, shows the science of solutions in action, and leaves you with a result that's either beautiful or delicious.
Unseen Chemistry in Your Indoor Air
Some of the wildest chemistry experiments at home are the ones you don’t even mean to start. In fact, fascinating—and complex—chemical reactions are happening all around you, all the time, right in the air you're breathing. This unseen chemistry is what determines your home’s air quality, and understanding it can turn a little bit of scientific curiosity into a much healthier living space.
Every time you cook dinner, spritz a cleaning spray, or even just peel an orange, you’re releasing a cocktail of invisible chemicals. These are called Volatile Organic Compounds (VOCs), and they’re the lead actors in the chemical drama constantly unfolding inside your home.
But these tiny molecules don't just hang around. They bump into each other, react, and transform into entirely new substances. This hidden world of airborne chemistry is a huge piece of the indoor air quality puzzle.
From Cooking Fumes to Chemical Cocktails
Think about the last time you cooked a big meal. That delicious smell of sizzling garlic? It's actually a complex cloud of VOCs hitting your nose. But those pleasant aromas are just a small part of the story.
A landmark study called the HOMEChem experiment pulled back the curtain on just how chemically active our indoor air really is. Researchers found that everyday activities, like making a stir-fry or wiping down a counter with a scented cleaner, can generate hundreds of different VOCs and nanoparticles. Since most of us spend about 90% of our lives indoors, figuring out what these reactions mean for our health is a pretty big deal.
This constant chemical churn can create secondary pollutants, which can sometimes be more irritating or harmful than the original compounds they came from.
Key Takeaway: Your home is essentially a dynamic chemical reactor. Everything you do—from the products you use to the meals you cook—directly shapes the air you breathe and creates a unique "chemical fingerprint" for your living space.
Actionable Insights for Better Air Quality
The good news is that you don't need a lab coat or a PhD to make a difference. Just having a basic awareness of this invisible chemistry empowers you to make smarter, healthier choices.
Here are a few simple things you can do to manage your home's airborne chemistry:
- Ventilate When You Cook: Always, always use your range hood when you're cooking on the stovetop. It's the single best way to suck a huge portion of those cooking-related VOCs and particles right out of your house before they have a chance to linger and react.
- Be Smart About Products: Whenever possible, opt for unscented cleaning products or those specifically labeled as "low-VOC." Fragrances are one of the biggest sources of airborne chemicals in most homes.
- Let the Fresh Air In: Even on a cold day, opening your windows for just a few minutes can do wonders. It helps flush out all the accumulated pollutants and brings in fresh air to reset your indoor environment.
It’s also important to go beyond thinking about dust and allergens. Knowing about bigger risks is crucial for keeping your family safe. This includes understanding unseen chemical hazards like carbon monoxide poisoning. A little bit of applied chemistry can go a long way in making your home a safer, healthier place to be.
FAQ: Your Guide to Home Chemistry Experiments
Diving into the world of at-home chemistry is a blast, but it's totally normal to have a few questions pop up. Whether you're trying to figure out why an experiment went sideways or just want to make sure you're doing things safely, getting good answers is the key to building confidence.
Let's walk through some of the most common questions from parents and aspiring young scientists. Our goal is to give you straightforward advice to help you get past any bumps in the road, making sure your scientific adventures are both fun and successful.
What Is the Best Age to Start Home Experiments?
This is a great question, and the answer isn't a single number. It’s all about matching the complexity of the experiment to a child's developmental stage—and, of course, making sure an adult is always supervising.
-
Toddlers and Preschoolers (Ages 3-5): At this stage, it's all about sensory exploration. Think simple activities like mixing oil and water (and watching them separate!), making Oobleck from cornstarch, or enjoying the simple fizz of baking soda and vinegar. The goal here is pure observation.
-
Early Elementary (Ages 6-8): Kids in this age group are ready to follow basic steps and start connecting cause and effect. This is the sweet spot for classics like building a volcano, creating a DIY lava lamp, or growing simple salt crystals. They can even start to understand basic concepts like "acid" and "base."
-
Upper Elementary (Ages 9-12): Now you can break out the more detailed experiments that require patience and careful measurements. Growing rock candy, making a red cabbage pH indicator to test household items, or even building a simple battery are all fantastic options.
The most important thing is to keep it fun and safe, no matter how old your scientist is.
How Can I Make Sure My Experiments Are Safe?
Safety is, without a doubt, the most critical ingredient in any science project you do at home. Even though we’re mostly using everyday household items, you need to set some clear ground rules right from the start.
First, always have dedicated safety gear on hand, especially safety goggles. They’re cheap, easy to find, and make kids feel like "real scientists" while protecting their eyes from accidental splashes.
Next, pick a designated "lab space," like a kitchen counter covered with newspaper or a large plastic tray. This not only contains any potential messes but also reinforces that this is a special, supervised activity. Finally, have a firm "no tasting" rule, unless the experiment is explicitly edible, like our rock candy example.
Actionable Insight: Think of it like a "scientist's code of conduct." Setting these boundaries doesn't take away from the fun; it actually creates a safe space where curiosity can run wild without any worries. Following these simple protocols turns every experiment into a positive learning experience.
What If My Experiment Does Not Work?
First of all, don't sweat it! When an experiment "fails," it's not a failure at all—it's a chance to think like a real scientist. Troubleshooting is honestly one of the most valuable skills you can learn from doing chemistry experiments at home.
Use it as a teachable moment and start asking questions:
- Did we measure the ingredients exactly right?
- Was the water supposed to be warmer or colder?
- Did we swap out an ingredient that might have changed the reaction?
More often than not, a tiny adjustment is all it takes to get the result you were hoping for. This whole process—observing, questioning, and trying again—is the very heart of the scientific method. For more specific hiccups, I've put together a quick guide.
Quick Troubleshooting for Common Experiment Issues
Sometimes, a project just needs a little nudge in the right direction. Before you give up, check this table to see if a common culprit is to blame.
| Problem | Likely Cause | How to Fix It |
|---|---|---|
| Volcano fizz is weak | The ratio of baking soda to vinegar is off, or you just didn't use enough of each. | Try adding a bit more of both reactants. A pro-tip: a small squirt of dish soap helps trap the gas, creating much better foam! |
| Crystals won't grow | The solution wasn't fully saturated with sugar or salt. | Gently reheat the water and keep stirring in more sugar or salt until no more will dissolve. Crystal growing requires patience! |
| Lava lamp isn't bubbling | The effervescent tablet is old, or you don't have distinct layers of oil and water. | Make sure you're using a fresh tablet. The magic of a lava lamp comes from the density difference, so you need clear oil and water layers. |
If you're looking for answers to a wider range of topics, you can always explore our Frequently Asked Questions page for more help.
Can Home Experiments Make a Real-World Impact?
Absolutely! While making a fizzy volcano might just seem like a fun afternoon project, the scientific principles behind it are connected to much bigger global issues. Citizen science projects are a perfect example, empowering regular people to conduct experiments that contribute to real scientific research.
For instance, a project in Germany called the 'Nitrogen Box' had citizens use home-based kits to monitor pollution in their local water sources. These projects don't just deepen the public's understanding of environmental chemistry; they also provide scientists with invaluable data. It's proof that small-scale experiments can truly have a significant global impact. You can discover more insights about these citizen science projects and see just how important they are.
By getting hands-on with chemistry at home, you're not just learning—you're building skills and a mindset that can help solve real-world problems.