

Welcome, parents and young scientists! The 3rd-grade science fair is a fantastic chance for students to explore the world, ask big questions, and find answers through hands-on experiments. But let's be honest: finding the perfect project can feel like the biggest challenge. A great idea should spark genuine curiosity, be manageable for an eight or nine-year-old, and clearly demonstrate a scientific principle. This is where real learning—and excitement—happens.
That's why we've put together this ultimate guide, packed with engaging and educational ideas for 3rd grade science project success. We'll go beyond the basics to give you everything you need for an impressive and rewarding experience. Each project on our list comes with a simple overview, a clear materials list, and straightforward, step-by-step instructions. We'll also break down the "why" behind the science, turning a simple activity into a powerful learning moment.
These projects are designed to build confidence and nurture a lifelong love for science. If you're looking for even more ways to blend education with fun, you can explore some fresh ideas for keeping kids entertained, including science experiments that perfectly complement these activities. Let's dive in and turn that natural curiosity into an unforgettable scientific adventure!
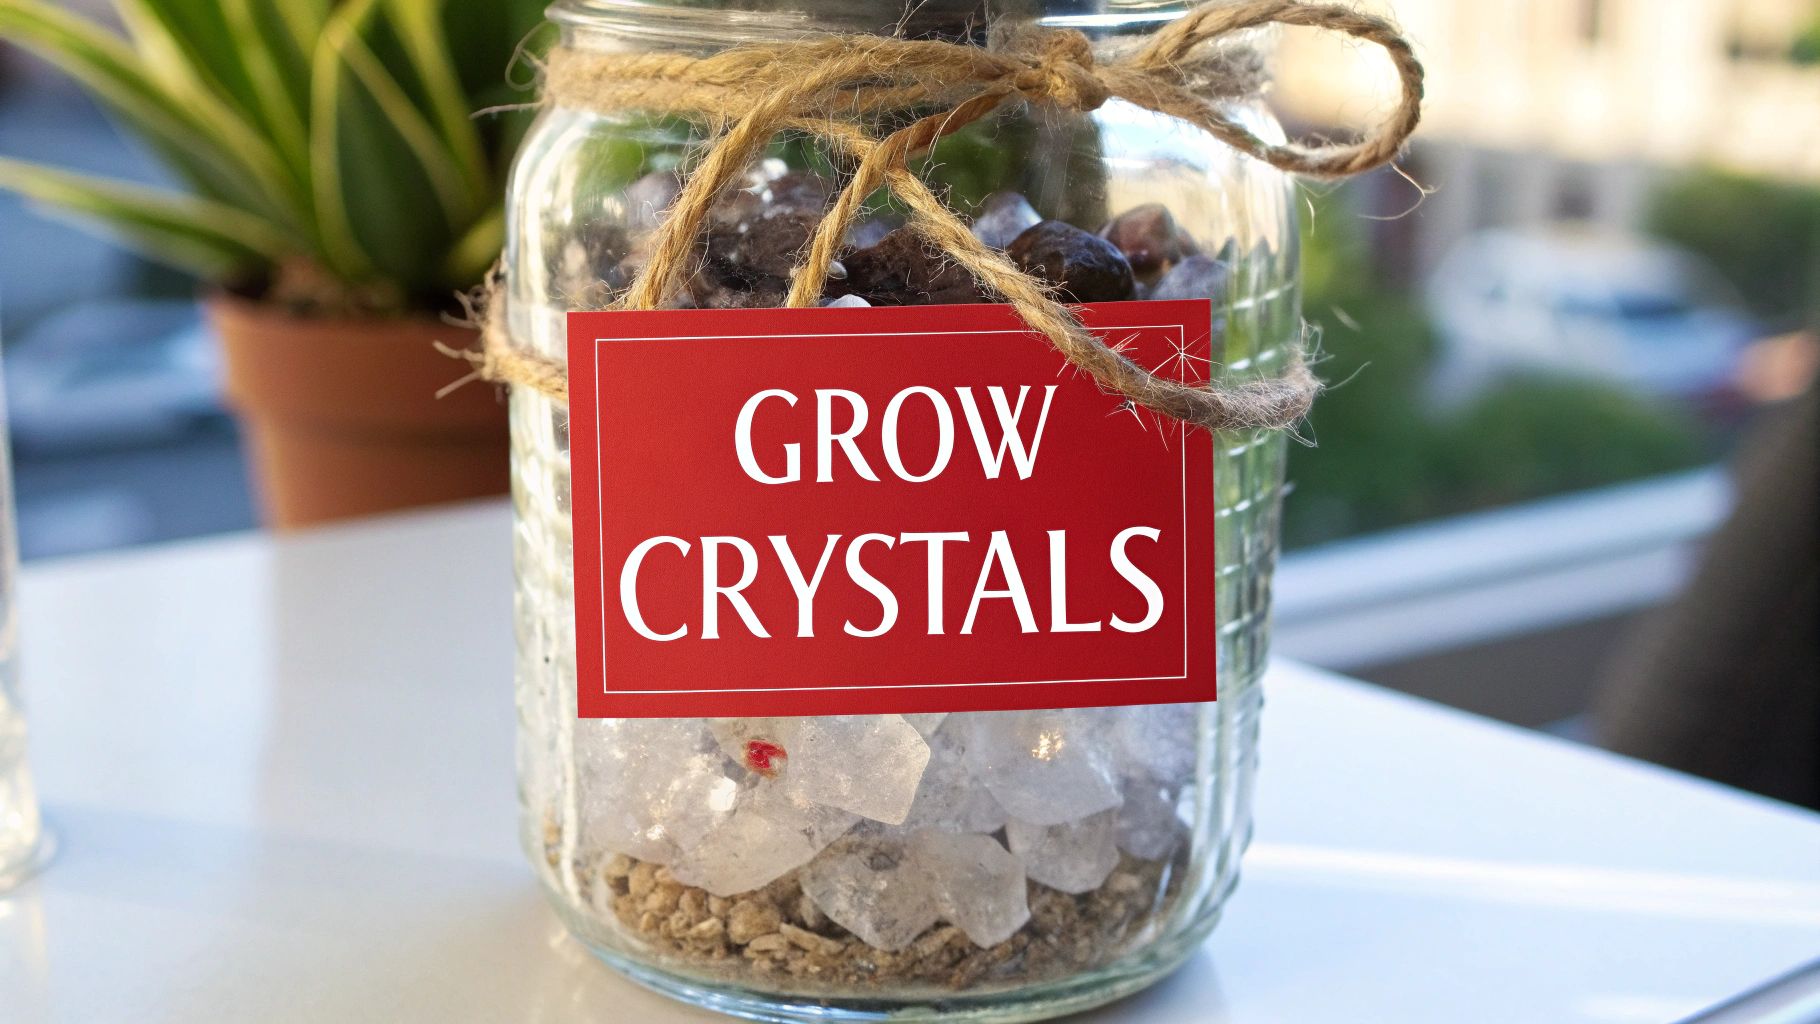
1. Grow Dazzling Crystals
A crystal growing experiment is a classic and visually stunning science project that introduces third graders to the fascinating world of chemistry and geology. This hands-on activity involves creating a supersaturated solution with a common household substance like salt, sugar, or borax. As the water in the solution evaporates or cools, the dissolved particles arrange themselves into highly organized, repeating patterns, forming beautiful crystals. This project is a fantastic way to teach core scientific concepts such as solutions, saturation, and molecular structures in a tangible way.
Why It's a Great Project for 3rd Graders
This project is one of the best ideas for a 3rd grade science project because it combines simple materials with a "wow" factor that captures a child's imagination. Students can observe scientific processes happening in real-time over a few days, learning the importance of patience and careful observation. It also provides an excellent opportunity to practice the scientific method by forming a hypothesis about which conditions will grow the biggest or most colorful crystals.
Practical Examples and Actionable Tips
Getting started is simple, and you can tailor the project to your child's interests with a few creative variations.
- Rock Candy: Make edible crystals by dissolving sugar in hot water, suspending a string in the solution, and letting sugar crystals form on the string over a week.
- Borax Crystal Snowflakes: Create beautiful, non-edible crystal ornaments by shaping pipe cleaners into snowflakes and suspending them in a borax-water solution.
- Epsom Salt Crystal Garden: Mix Epsom salt with a small amount of warm water to create a slushy mixture. Place it in a shallow dish, and watch as needle-like crystals form rapidly as the water evaporates.
For best results, use distilled water to avoid impurities, keep the experiment in a location with a consistent temperature, and add food coloring to the solution for vibrant results. To explore more advanced techniques and kits, you can learn more about how to set up the perfect crystal growing experiment.
2. Erupt a Chemical Reaction Volcano
A volcano eruption experiment is an iconic and explosive science project that introduces third graders to the excitement of chemistry. This hands-on activity involves building a model volcano and then simulating an eruption using a classic acid-base reaction between baking soda (a base) and vinegar (an acid). When mixed, they produce carbon dioxide gas, which builds up pressure and erupts from the "volcano," mimicking a real geological event. This project is a thrilling way to teach fundamental concepts like chemical reactions, states of matter, and gas production.
Why It's a Great Project for 3rd Graders
This project is one of the most memorable ideas for a 3rd grade science project because it delivers an immediate and dramatic result that captivates young learners. Students get to witness a chemical reaction unfold in a visually spectacular way, reinforcing cause and effect. It provides an excellent platform to practice the scientific method by forming a hypothesis about how changing the amount of baking soda or vinegar might affect the eruption's size and duration.
Practical Examples and Actionable Tips
Building and erupting a volcano is straightforward, and you can add creative twists to enhance the learning experience.
- Classic Paper-Mache Volcano: Build a sturdy volcano cone around a plastic bottle using paper-mache. Once dry, paint it to look realistic and then add the baking soda and vinegar for a classic eruption.
- Colorful Lava Flow: For a more dramatic effect, add a few drops of red or orange food coloring and a squirt of dish soap to the vinegar. The soap will trap the carbon dioxide gas, creating a foamy, bubbly lava flow.
- Clay Volcano Model: Use modeling clay to sculpt a volcano. This allows for easy cleanup and reusability, perfect for experimenting with different reactant ratios multiple times.
For the best results, build your volcano in a large tray or pan to contain the "lava" flow. Encourage students to measure the reactants carefully and record their observations. To take the learning a step further, you can find more inspiration and variations in these 4th-grade science experiments that build upon these foundational concepts.
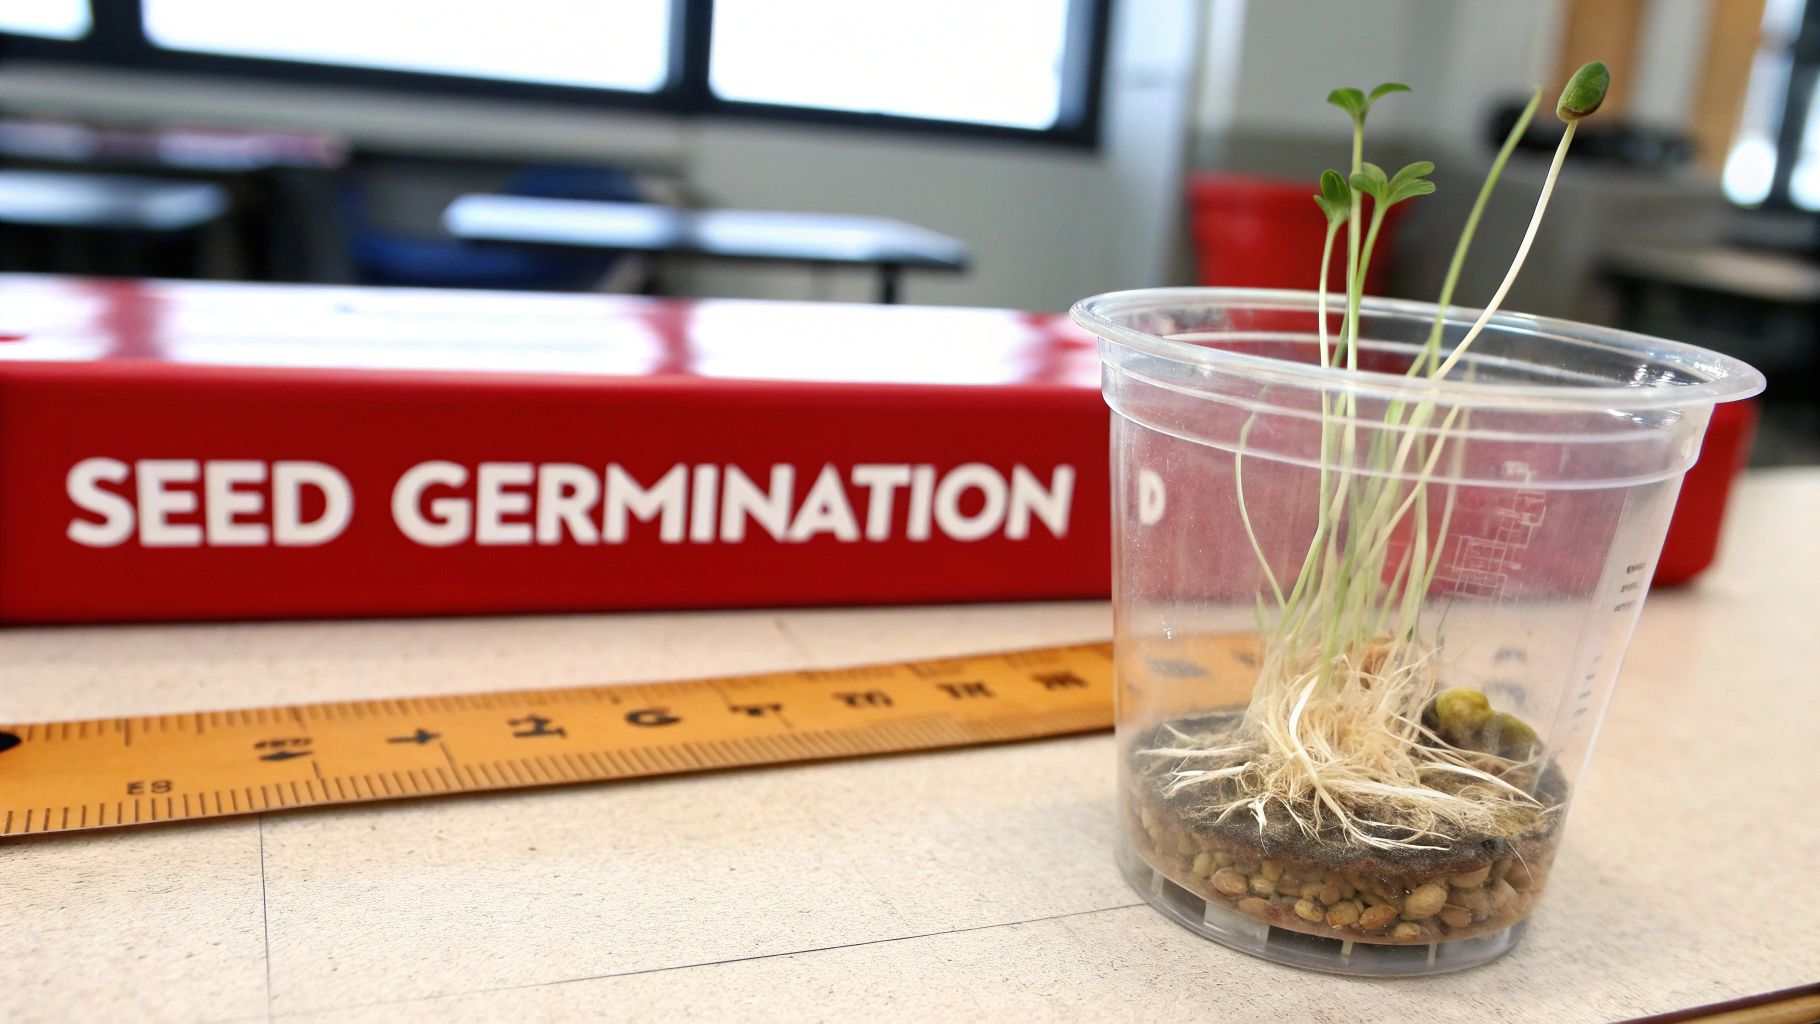
3. Observe a Plant Growth and Germination Study
A plant growth and germination study is an engaging, long-term biology project that allows third graders to see the scientific method in action from start to finish. This experiment involves planting seeds under various conditions to observe how different variables like light, water, soil type, or temperature affect a plant's ability to sprout and grow. By systematically changing one condition at a time, students can draw clear conclusions about what plants need to survive and thrive. It's a foundational project that introduces concepts of botany, controlled experiments, and data collection.
Why It's a Great Project for 3rd Graders
This hands-on experiment is one of the most effective ideas for a 3rd grade science project because it teaches patience, observation, and the importance of controlling variables. Students don't just get a quick result; they must care for their plants, measure growth over weeks, and document their findings in a lab notebook. This process reinforces critical thinking skills as they analyze why some plants grew better than others, connecting their actions directly to the scientific outcomes.
Practical Examples and Actionable Tips
You can easily adapt this project to explore different environmental factors, making it a versatile and repeatable experiment.
- Light vs. Dark: Plant bean seeds in two identical pots. Place one in a sunny window and the other in a dark closet, giving both the same amount of water.
- Soil Type Test: Germinate seeds in separate containers filled with different materials like potting soil, sand, and clay to see which medium supports growth best.
- Watering Schedules: Test the effects of over-watering, under-watering, and ideal watering on three separate plants to understand the importance of water.
For a successful experiment, use fast-growing seeds like beans or radishes and make sure to change only one variable per group. Use clear containers to observe root growth, and have students take weekly photos and measurements to track progress. To deepen their understanding, you can explore the entire plant life cycle and learn more about how flowers grow.
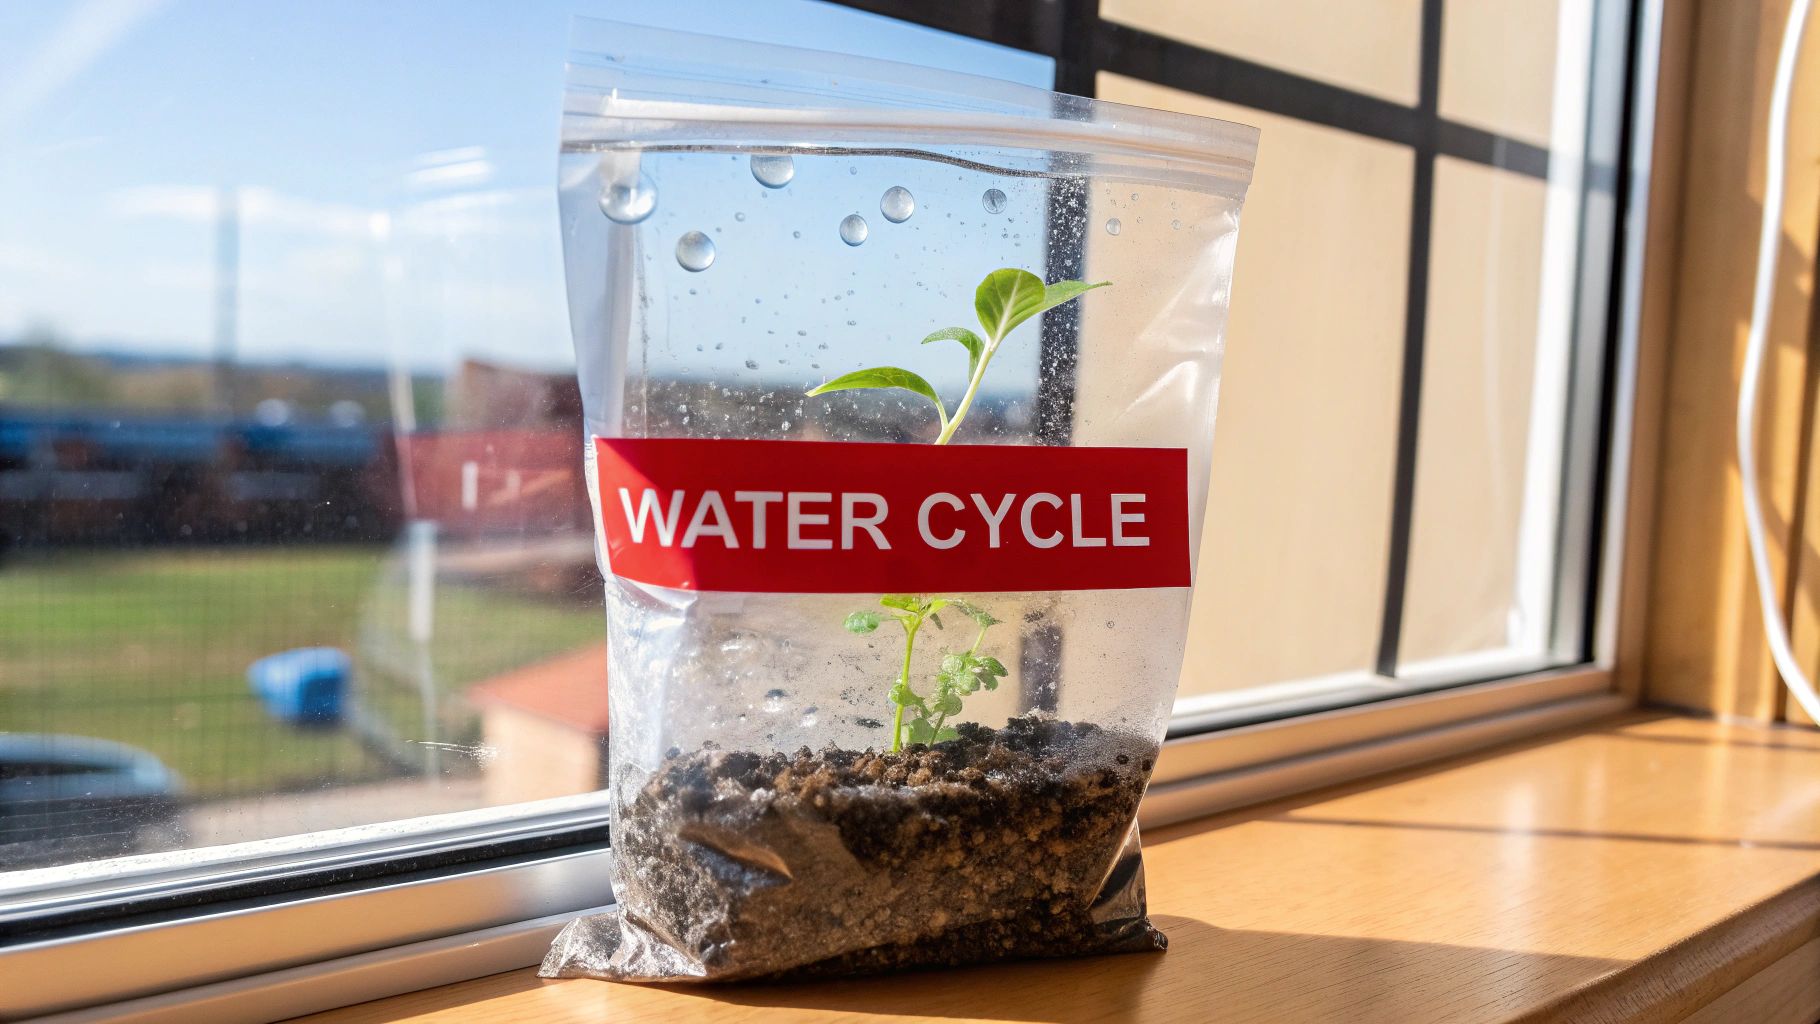
4. Build a Water Cycle in a Bag
A water cycle in a bag is a simple yet powerful science project that creates a miniature, self-contained ecosystem to demonstrate evaporation, condensation, and precipitation. This hands-on activity involves sealing a small amount of water (and sometimes a plant or soil) inside a clear plastic bag and taping it to a sunny window. The sun's heat causes the water to evaporate, and as the water vapor cools against the bag's surface, it condenses back into liquid droplets, eventually gathering and running down like rain. This project makes abstract meteorological concepts visible and easy to understand.
Why It's a Great Project for 3rd Graders
This project is one of the most effective ideas for a 3rd grade science project because it brings a large-scale natural process down to a manageable and observable size. Students can see the entire water cycle happen over just a few hours or days, making the connection between the sun's energy and weather patterns tangible. It's an excellent way to practice scientific observation, data recording, and prediction, as students can hypothesize how much "rain" will fall.
Practical Examples and Actionable Tips
Getting started is easy and requires minimal materials, but you can add creative twists to enhance the learning experience.
- Classic Window Model: Simply add a small amount of blue-colored water to a zip-top bag, seal it, and tape it to a sunny window. Use a waterproof marker to draw the sun, clouds, and arrows, labeling the stages of evaporation, condensation, and precipitation directly on the bag.
- Terrarium in a Bag: Add a spoonful of soil and a small, hardy plant (like a cutting from a succulent) to the bag along with the water. This demonstrates transpiration, where plants release water vapor.
- Documenting Changes: Have students take photos or draw pictures of the bag at different times of the day to document how the cycle changes with the amount of sunlight and heat.
For the best results, place the bag in a location that gets direct sunlight for several hours. Using a few drops of blue food coloring makes the water and condensation easier to see. For a deeper dive into the science, you can learn more about how to enhance this water cycle experiment.
5. Construct a Homemade Electromagnet
A homemade electromagnet project is an electrifying introduction to the principles of physics, demonstrating the incredible link between electricity and magnetism. This hands-on activity involves wrapping an insulated wire around an iron nail and connecting the ends to a battery. When the electrical current flows through the wire, it creates a magnetic field, turning the simple nail into a magnet capable of picking up small metal objects like paper clips. This project powerfully illustrates abstract concepts like electrical circuits and magnetic fields in a way that is both safe and exciting for young learners.
Why It's a Great Project for 3rd Graders
This is one of the most engaging ideas for a 3rd grade science project because it allows students to build something that has a clear, functional purpose. The instant gratification of creating a working magnet from simple components is a huge confidence booster. It perfectly suits the scientific method, as students can form a hypothesis, test it, and record their results. They can investigate questions like, "Does adding more coils make the magnet stronger?" and see the results of their experiment firsthand.
Practical Examples and Actionable Tips
Getting this project working is simple, but the real fun comes from experimenting with different variables to see how they affect the electromagnet's power.
- Strength Test: Create a basic electromagnet with a nail, wire, and a D-cell battery. Test its strength by seeing how many paper clips it can lift in a chain.
- Coil Comparison: Have students create two electromagnets, one with 25 coils of wire and another with 50. Compare the number of paper clips each can lift to demonstrate how more coils increase magnetic force.
- Battery Power Challenge: Test the electromagnet's strength using different types of batteries (e.g., a 1.5V AA vs. a 1.5V D battery) to see how battery size and power affect the magnetic field.
For the best results, wrap the insulated copper wire as tightly and neatly as possible around the nail. Always disconnect the battery when not in use to prevent it from draining quickly and getting warm. To further explore the fundamentals of electricity, you can discover more about how to build simple circuits.
6. Build Simple Pulley and Lever Systems
Building simple pulley and lever systems is an exciting project that brings fundamental physics concepts to life for third graders. This hands-on activity allows students to construct and test simple machines to understand the principle of mechanical advantage. By lifting objects using different pulley configurations or lever setups, they discover how these machines can reduce the amount of force needed to do work, making complex ideas like force and motion tangible and fun.
Why It's a Great Project for 3rd Graders
This project is one of the most engaging ideas for a 3rd grade science project because it combines building, testing, and critical thinking. Students see a direct relationship between their creation and its ability to lift a heavy object, providing an immediate sense of accomplishment. It’s an excellent way to introduce the scientific method, as students can hypothesize which system will be most effective, then test, measure, and compare their results.
Practical Examples and Actionable Tips
You can easily adapt this project using common household or classroom items, creating a miniature engineering challenge.
- Single Fixed Pulley: Create a simple system using a spool, a pencil, and some string to lift a small weight. Students can measure the force needed to lift it with and without the pulley.
- Movable Pulley System: Add a second pulley that moves with the load to demonstrate how it halves the effort required to lift the same object.
- Class 1 Lever: Use a ruler balanced on a pencil (as a fulcrum) to show how pushing down on one end can easily lift a heavier object on the other.
For a successful experiment, use identical weights for fair comparisons and a spring scale to measure the force required. Encourage students to predict the outcome before testing and to document their findings with drawings and measurements. This project is a fantastic introduction to the world of engineering, as detailed by resources from engineering programs.
7. Create a Homemade pH Indicator with Cabbage Juice
Creating a homemade pH indicator from red cabbage juice is a colorful and exciting chemistry project that turns an ordinary kitchen into a science lab. This activity involves boiling red cabbage to extract a pigment called anthocyanin, which changes color when it comes into contact with acids or bases. Students can then test various household liquids like lemon juice, baking soda solution, and soap to see where they fall on the pH scale. This experiment provides a safe, hands-on introduction to the concepts of acidity, alkalinity, and chemical indicators.
Why It's a Great Project for 3rd Graders
This project is one of the most engaging ideas for a 3rd grade science project because it uses a common vegetable to reveal hidden scientific properties in everyday items. The dramatic and immediate color changes capture students' attention and make abstract chemistry concepts tangible and memorable. It encourages young scientists to be curious about the world around them, asking questions about what makes substances acidic or basic, and provides a perfect opportunity to practice making predictions and recording observations.
Practical Examples and Actionable Tips
This experiment is easy to set up with simple kitchen supplies, and it can be expanded in several creative ways to deepen the learning experience.
- Test Household Liquids: Gather a variety of safe household substances such as vinegar, baking soda mixed with water, milk, and clear soda. Add the cabbage juice indicator to each one and observe the color changes from red (acidic) to blue or green (alkaline).
- Create a pH Rainbow: Line up several clear cups and test different substances to create a visual rainbow of pH levels. This helps students understand the full spectrum of the pH scale.
- Neutralization Reaction: After testing an acid like vinegar, slowly add a base like baking soda solution. Students can watch the color change as the two substances neutralize each other, bubbling and fizzing in the process.
For the most vivid results, chop the cabbage finely before boiling to extract more pigment, and strain the liquid carefully to ensure your indicator is clear. Use small, transparent containers for testing to make the color changes easy to see. Before you begin, have your child create a chart to predict the outcome for each substance, then record the actual results. You can find more detailed instructions for creating your own cabbage juice indicator and expanding the experiment.
8. Investigate Density with a Sink or Float Experiment
A sink or float experiment is a wonderfully interactive and foundational science project that introduces third graders to the core principles of density and buoyancy. This hands-on activity involves predicting whether various objects will sink or float when placed in water and then testing those predictions. By comparing different materials, students begin to understand the relationship between an object's mass, volume, and its ability to float, providing a tangible introduction to complex physics concepts.
Why It's a Great Project for 3rd Graders
This project is one of the most effective ideas for a 3rd grade science project because it uses a simple, inquiry-based approach that sparks curiosity and critical thinking. The immediate, observable results make it highly engaging for young learners. It perfectly illustrates the scientific method, as students must form a hypothesis (predict), conduct an experiment (test), and analyze the results (observe and explain), all with common household items.
Practical Examples and Actionable Tips
This experiment is easy to set up and can be expanded with several exciting variations to deepen understanding.
- Shape Shifting Clay: Give students a ball of modeling clay, which will sink. Challenge them to reshape it into a boat or bowl shape that will float, demonstrating how shape affects displacement and buoyancy.
- Salt Water vs. Fresh Water: Have students test if an object that sinks in fresh water (like an egg) will float in salt water. This introduces the idea that the density of the liquid also matters.
- Aluminum Foil Boats: Challenge students to design and build a small boat out of aluminum foil. They can then test how many pennies or marbles their boat can hold before it sinks.
For the best experience, have students create a chart to record their predictions before testing. Use a clear container so they can easily see what’s happening beneath the water's surface. Document surprising results, like an orange floating with its peel on but sinking without it, and encourage students to explain why they think the results occurred.
Comparing 8 Fun 3rd-Grade Science Project Ideas
| Project | Implementation Complexity 🔄 | Resources & Cost ⚡ | Expected Outcomes 📊 | Ideal Use Cases 💡 | Key Advantages ⭐ |
|---|---|---|---|---|---|
| Crystal Growing Experiment | Low 🔄 — simple setup; requires patience | Low ⚡ — salt/sugar/borax, jars, string | Visible crystals in 24–48 h; size varies 📊 | Science fairs, visual demos, STEM activities 💡 | Engaging visuals; easy to modify ⭐ |
| Volcano Eruption (Chemical Reaction) | Low 🔄 — easy build; immediate trigger | Low ⚡ — baking soda, vinegar, craft materials | Dramatic, short-lived eruption (seconds–minutes) 📊 | Demonstrations, group projects, engagement-focused 💡 | Highly engaging; instant results ⭐ |
| Plant Growth and Germination Study | Medium 🔄 — controlled variables; long-term care | Low–Medium ⚡ — seeds, soil, containers, space | Measurable growth over 2–4 weeks; variable outcomes 📊 | Long-term experiments, scientific method instruction 💡 | Teaches experimental design; clear cause–effect ⭐ |
| Water Cycle in a Bag | Low 🔄 — simple assembly; sealing critical | Very Low ⚡ — plastic bag, water, optional plant/soil | Condensation/precipitation visible within days; subtle 📊 | Intro lessons, classroom displays, quick demos 💡 | Self-contained system; minimal maintenance ⭐ |
| Homemade Electromagnet | Medium 🔄 — basic circuitry; safety needed | Low ⚡ — wire, nail, battery; batteries replaceable | Immediate, testable magnetic lift; variable strength 📊 | Physics labs, electricity units, hands‑on testing 💡 | Demonstrates electricity→magnetism; adjustable ⭐ |
| Simple Pulley and Lever Systems | Low–Medium 🔄 — simple builds; needs sturdy parts | Low ⚡ — string/rope, pulleys, weights, supports | Immediate demonstration of mechanical advantage 📊 | Mechanics lessons, maker projects, problem solving 💡 | Clear real‑world physics; highly interactive ⭐ |
| Homemade pH Indicator (Cabbage Juice) | Medium 🔄 — extraction requires heating | Low ⚡ — red cabbage, water, containers, heat source | Vibrant color changes; comparative pH data 📊 | Chemistry labs, household testing, color charts 💡 | Non‑toxic visual indicator; reusable solution ⭐ |
| Sink or Float Density Experiment | Low 🔄 — straightforward predictions & tests | Very Low ⚡ — water, assorted household objects | Immediate sink/float results; density insights 📊 | Early science, hypothesis practice, quick demos 💡 | Fast, safe, builds prediction skills ⭐ |
Launch Your Scientific Adventure Today!
You've explored a variety of exciting and educational ideas for a 3rd grade science project, each one a unique portal into the wonders of the scientific world. From the dazzling formation of crystals and the fizzing power of a chemical reaction volcano to the quiet miracle of plant germination, these projects are designed to do more than just meet a school requirement. They are crafted to spark curiosity, build confidence, and demonstrate that science is all around us, waiting to be discovered.
The journey through these experiments is where the real learning happens. A "failed" experiment is not a failure at all; it's a new data point and an opportunity to ask, "Why did that happen?" and "What can we try differently?" This process of discovery is more valuable than a perfect outcome.
Your Next Steps to Scientific Discovery
Now is the time to turn inspiration into action. Sit down with your young scientist and review the list together. Which project ignites their imagination the most? Is it the vibrant, color-changing chemistry of a homemade pH indicator, or the powerful, invisible force of magnetism?
Once you've chosen a project, the adventure begins. Make a list of materials, plan your experimental timeline, and most importantly, prepare to have fun. Remember to document your journey with photos or a science journal, capturing every observation and "aha!" moment. By focusing on the joy of exploration, you are not just helping your child complete an assignment; you are nurturing a potential lifelong passion for learning and discovery.
Ready to take the guesswork out of gathering supplies and dive straight into the fun? The science kits from Playz provide everything you need for these kinds of engaging, hands-on experiments, with clear instructions and a focus on making learning exciting. Explore the full collection at Playz and give your child the tools to become a fearless scientific explorer