

A water cycle experiment is a classic science project that brilliantly demonstrates how water moves through our world. It's an engaging, hands-on activity that shows evaporation, condensation, and precipitation in action. All you need is a plastic bag, some water, and a sunny window to create a miniature version of Earth’s climate system. It’s the perfect way to see real science happen without any fancy equipment.
Why This Hands-On Experiment Matters
Ever wondered how clouds form? Or where rain comes from? The answer is the water cycle, the continuous process that circulates water around our planet. While textbook diagrams are helpful, nothing makes the concept click like seeing it for yourself. This simple "water cycle in a bag" experiment turns abstract ideas into a tangible, memorable lesson.
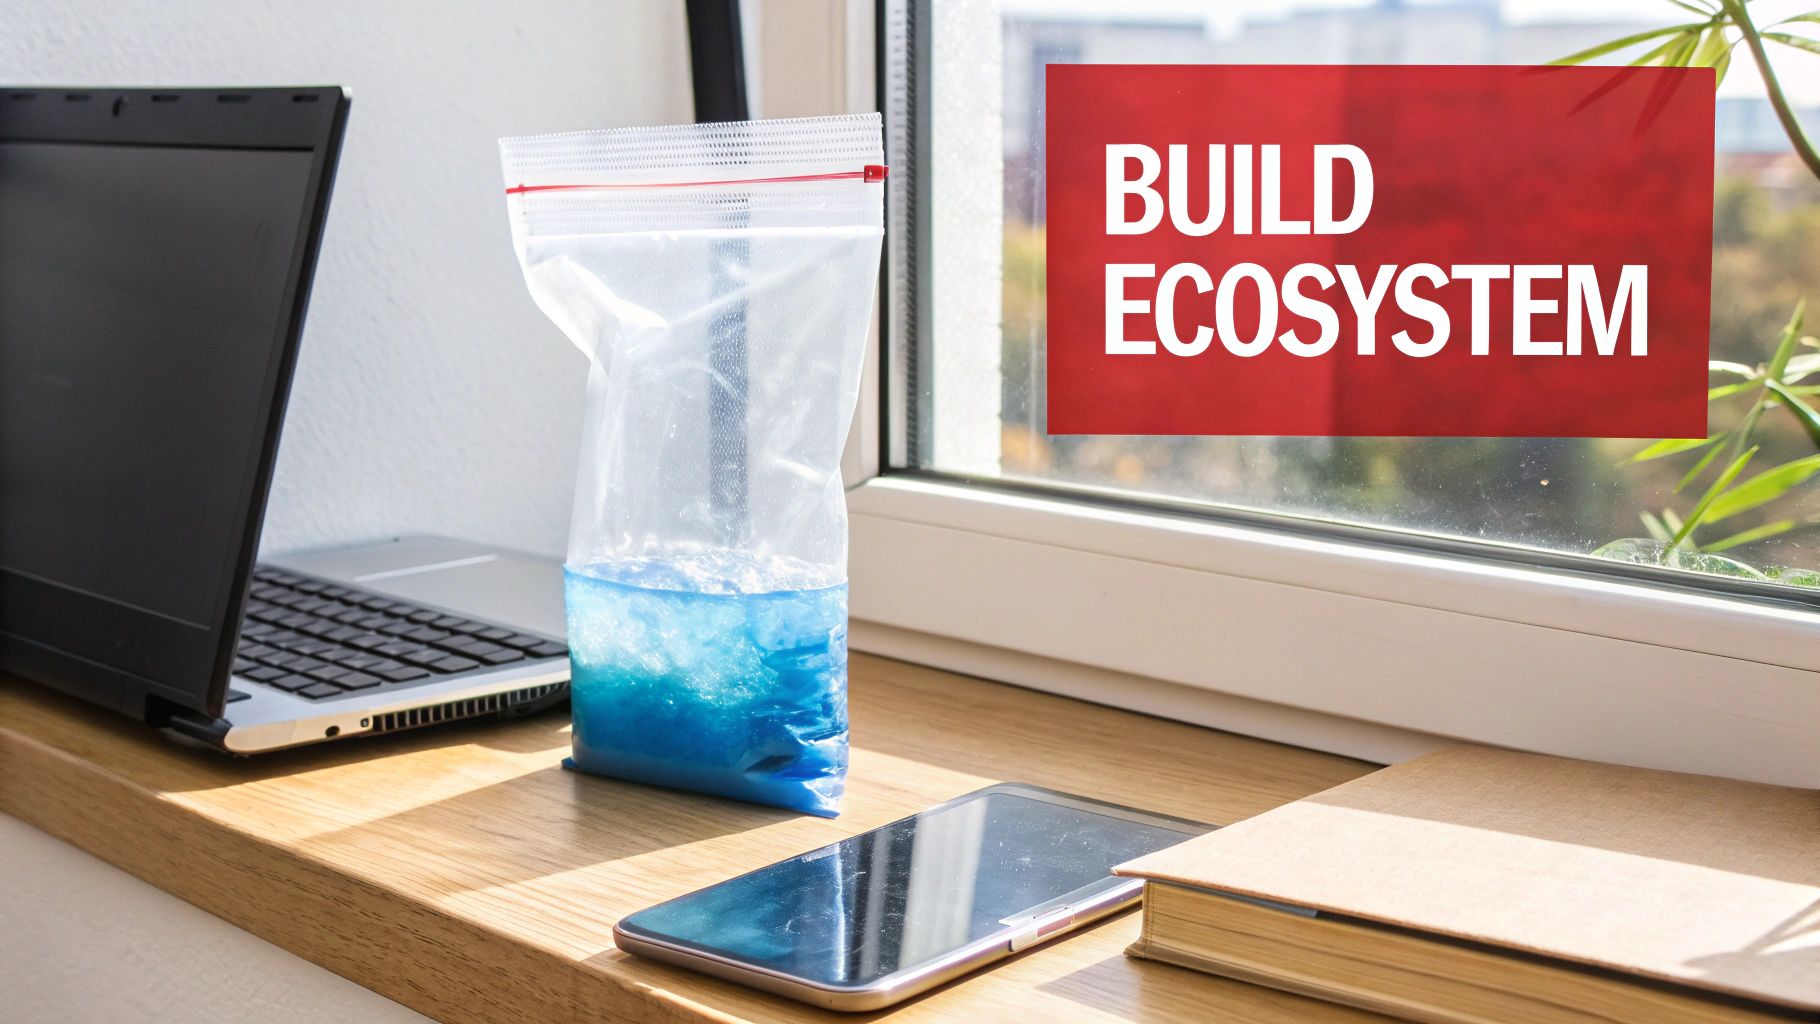
Forget needing a complicated lab. We're going to build a tiny, self-contained ecosystem using just a resealable plastic bag. This project is a fantastic, actionable way to get curious minds engaged and transform your home into a science lab for an afternoon.
Key Stages You'll Observe
Inside the sealed bag, you’ll watch the core stages of the water cycle play out, mimicking the massive systems that create Earth's weather. Here’s a quick preview of the science you're about to witness:
- Evaporation: The sun's warmth will turn the liquid water at the bottom of the bag into an invisible gas called water vapor.
- Condensation: As that warm water vapor rises and cools against the plastic, it will change back into tiny liquid droplets, forming your own mini-clouds.
- Precipitation: Eventually, these droplets will merge, become heavy, and trickle down the sides of the bag—just like rain.
Key Takeaway: This isn't just a fun activity; it’s a powerful demonstration of how energy from the sun drives the movement of water on Earth. This is a fundamental concept for understanding our planet's climate and weather patterns.
Connecting the Bag to the Real World
As you observe your bag over the next few hours and days, you can directly connect what you're seeing to the global water cycle. This table breaks down exactly what to look for and what it represents.
| Stage | What You'll See in the Bag | What It Represents on Earth |
|---|---|---|
| Evaporation | The water level slowly drops as the sun warms the bag. | The sun heating oceans, lakes, and rivers, turning water into vapor. |
| Condensation | Tiny water droplets form on the upper parts of the bag, like fog. | Water vapor rising, cooling, and forming clouds in the atmosphere. |
| Precipitation | The droplets merge and run down the sides of the bag. | Clouds becoming heavy with water and releasing it as rain, snow, or sleet. |
Seeing these processes on a small scale helps solidify the concepts. It's one of those hands-on science activities that makes learning more memorable and effective. By recreating this natural phenomenon, you'll gain a new appreciation for the forces shaping our world.
Gathering Your Simple Lab Supplies
One of the best things about this water cycle experiment is its accessibility. You almost certainly have everything you need in your kitchen already. No need for complex lab equipment to become a household meteorologist!
The core items are simple: a clear, resealable plastic bag, tap water, and a few drops of blue food coloring. The food coloring isn't just for looks—it makes your miniature "ocean" easier to see, which helps highlight the evaporation process. A zipper-style sandwich or freezer bag works best as they provide a tight seal and a great window for observation.
Pro Tips for an Engaging Setup
To make the project even more engaging, grab a permanent marker. This is where you can add creative flair that also enhances the scientific visualization.
Draw a bright sun in one top corner of the bag and some fluffy clouds in the other. This small, artistic touch is fantastic for helping kids connect the drawing to where the real condensation will happen.
This infographic breaks down just how simple the preparation is.
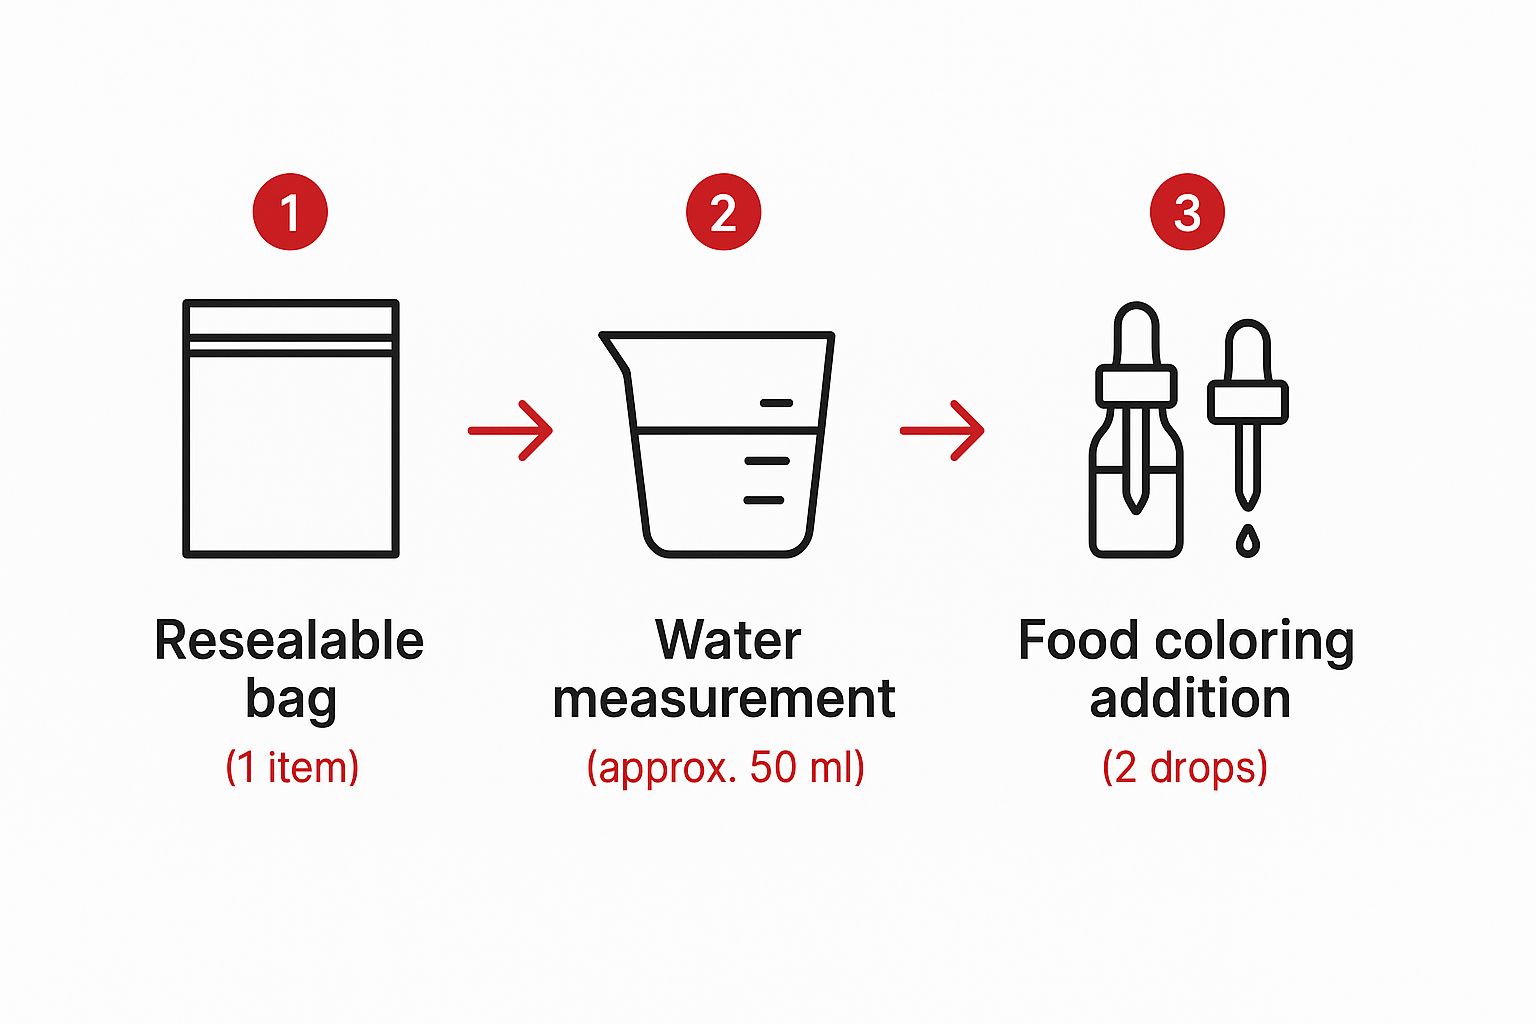
As you can see, it only takes a couple of minutes to prepare your materials for a powerful scientific demonstration.
Actionable Insight: This simple setup reinforces a key principle: you don't need a complex laboratory to observe fundamental natural processes. Curiosity and a few common household items are often all it takes to start exploring.
Once you have your supplies, you're ready to start building. If this activity sparks a love for hands-on learning, there are tons of other great science experiments for kids at home that use everyday materials.
Step-by-Step: Assembling Your Mini-Ecosystem
Alright, you've got your supplies. Now for the fun part—let's build your desktop ecosystem. This is where a simple plastic bag transforms into a working model of our planet's water cycle.
Step 1: Create Your Ocean
First, every ecosystem needs water. Pour about a quarter-cup of your blue-tinted water into the bag, creating a small "ocean" at the bottom. You only need enough to cover the bottom by an inch or so. This ensures there's enough water to evaporate without making the bag too heavy to hang.
This step is a perfect example of why hands-on learning activities are so effective. Abstract ideas, like the vastness of an ocean, become tangible and easier to grasp.
Step 2: Seal the System
Next, and this is the most critical step, seal the bag completely. You are creating a closed system. On Earth, our atmosphere traps water vapor; in this experiment, the sealed zipper does the same job.
Pro Tip: Before you zip that last inch, gently press out most of the air. A good, tight seal is essential for trapping the water vapor that will eventually form your clouds.
Step 3: Find the Perfect Spot
With your bag sealed, it's time to find a home for it. Your experiment needs an energy source, and the sun is the perfect engine to kickstart the water cycle.
- Pick a sunny window: Find a spot that gets direct sunlight for at least a few hours each day. South-facing windows are often a great choice.
- Tape it up securely: Use clear tape to fasten all four corners of the bag flat against the windowpane. You want it smooth and taut for a clear view of the action inside.
By placing the bag in the sun, you're mimicking how our sun heats Earth's oceans and lakes. This warmth gives the water molecules the energy they need to escape as a gas—evaporation. With that, your desktop ecosystem is officially up and running.
Observing Your Water Cycle in Action
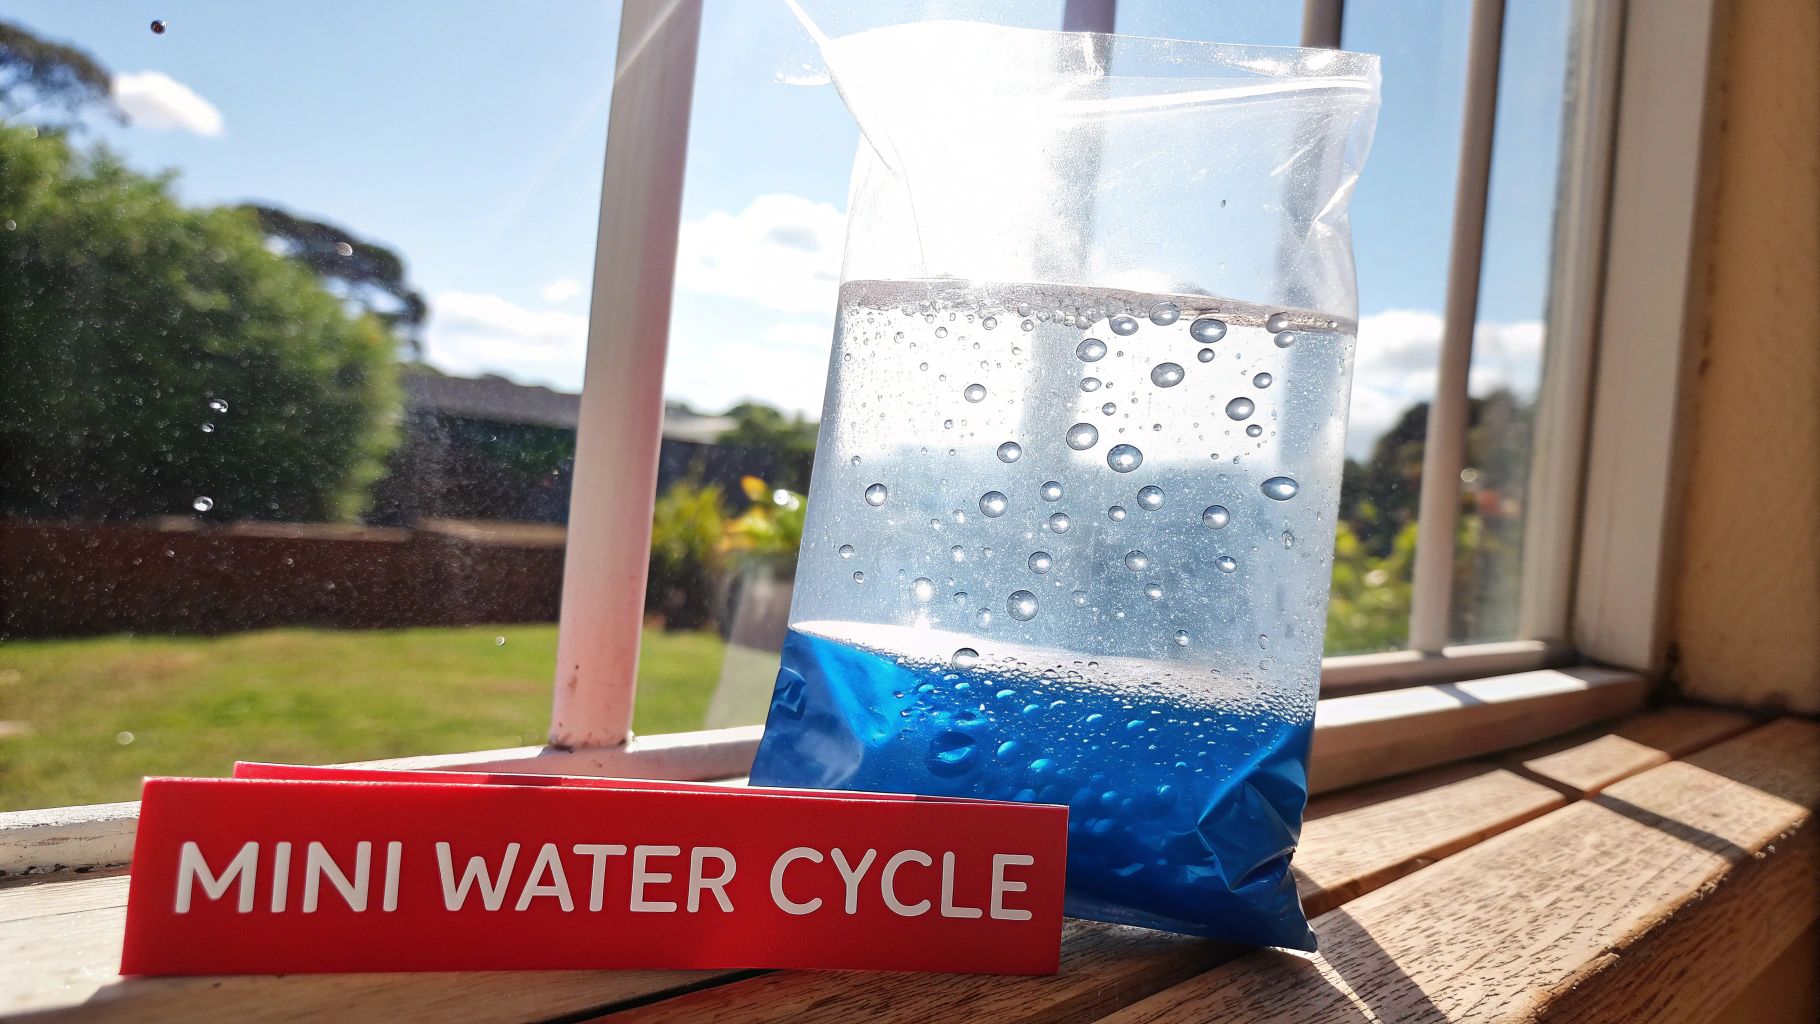
You've set up your experiment, and now for the best part—watching science happen in real time. This little plastic bag has become a miniature model of Earth's water cycle, and you have a front-row seat.
The first process you’ll observe is evaporation. As the sun warms the blue "ocean," the liquid water absorbs heat energy. This makes its molecules move faster and escape into the air inside the bag as an invisible gas—water vapor.
From Water Vapor to Visible Clouds
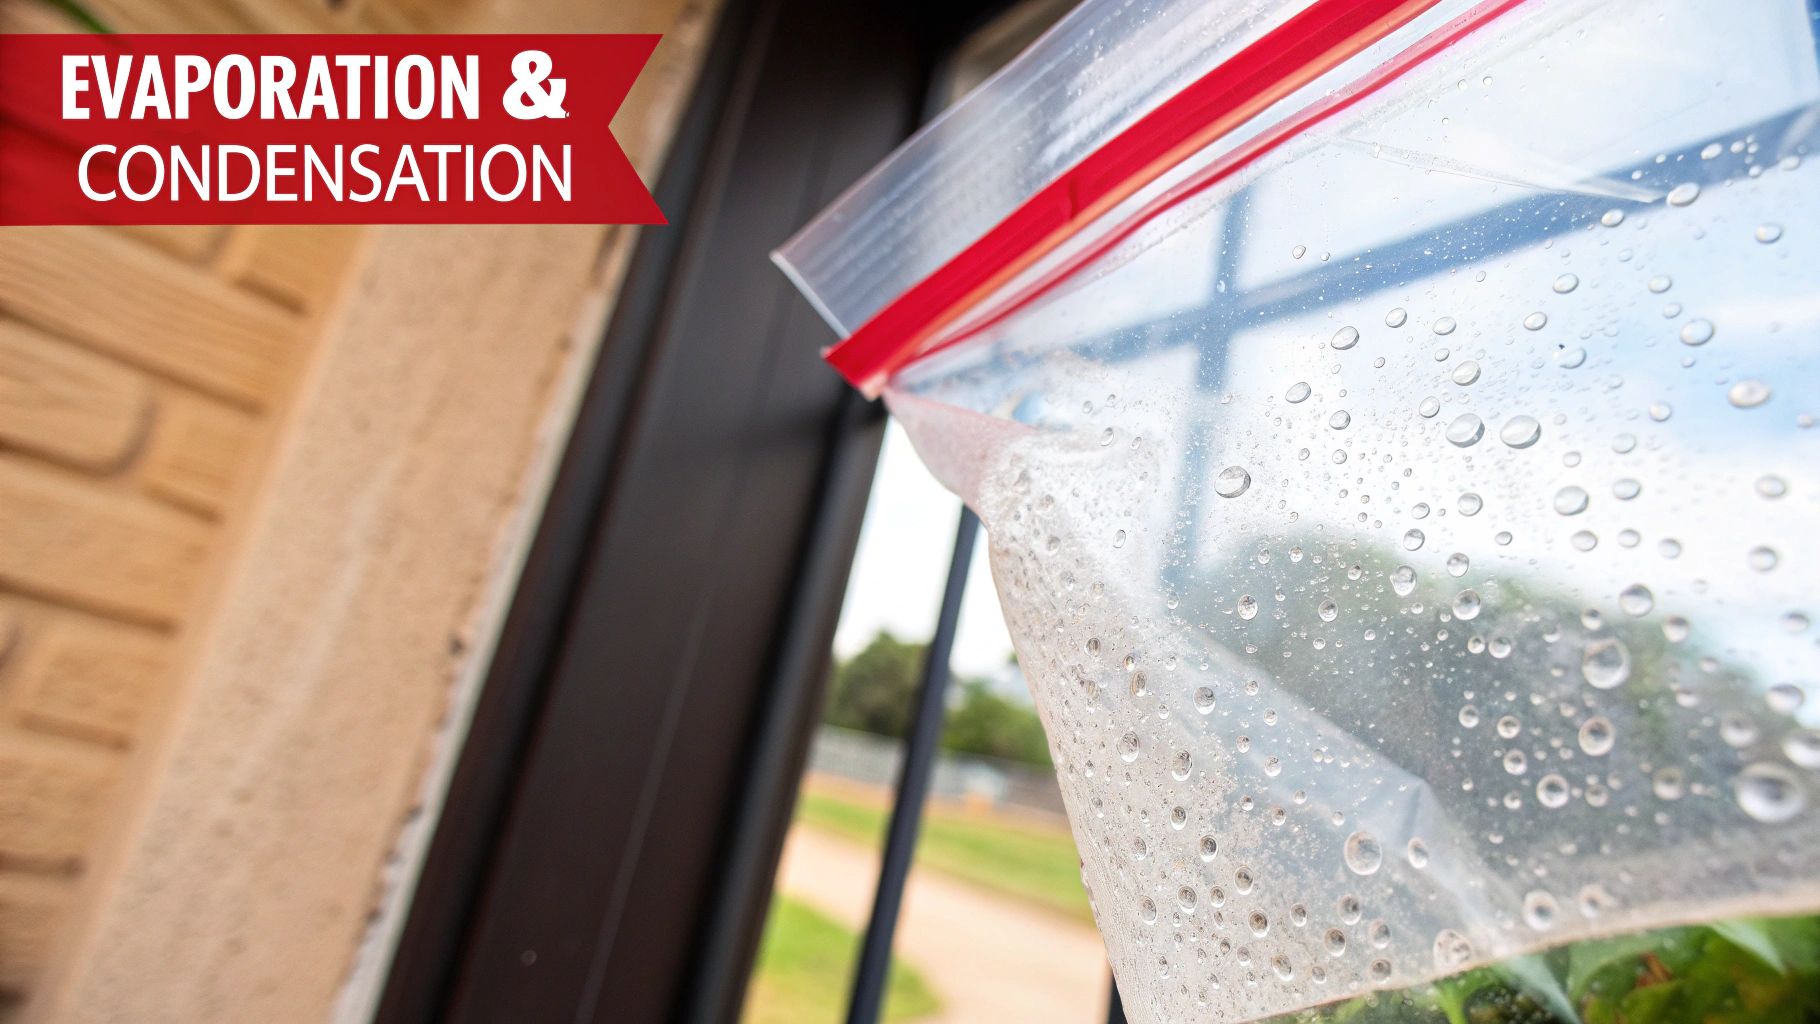
Soon, you will start seeing the magic of condensation. Look closely at the upper parts of the bag, especially the areas not in direct sun. You'll begin to notice a faint fog or tiny water droplets forming on the plastic. Congratulations, you've just made clouds!
This happens because the warm, moist air rises and hits the cooler surface of the plastic. The water vapor loses energy and turns back into liquid. This is the exact same process that forms clouds high in our atmosphere.
Key Takeaway: The experiment is powered by a temperature difference. The sun-warmed water creates vapor, and the cooler plastic surface provides a place for that vapor to condense back into liquid.
This simple setup mimics the work of major climate studies. Global initiatives like the Global Energy and Water Exchanges (GEWEX) project use satellites and instruments to collect data on clouds and rainfall to understand our planet's climate. You can learn more about these large-scale studies on Wikipedia and see how your experiment connects to the big picture.
Witnessing Precipitation (Miniature Rain)
Now, keep watching those little droplets. As more water vapor condenses, they'll merge and grow bigger and heavier. This is where the final stage kicks in: precipitation.
Look for these signs:
- Droplet Growth: Watch as tiny specks of moisture combine to form more noticeable drops.
- The Tipping Point: Eventually, a droplet will get so heavy that the plastic can no longer hold it.
- Miniature Rain: A heavy drop will streak down the side of the bag, rejoining the "ocean" below. You've just witnessed precipitation!
The Science Behind Your Water Cycle Experiment
You've successfully built a self-contained water cycle. Now, let’s connect what you saw in the bag to the massive forces shaping our planet.
The sun is the engine for this entire show. When sunlight provides energy, water molecules speed up and escape into the air as water vapor—that's evaporation. As that warm air rises, it cools, causing the vapor to slow down, clump together, and turn back into liquid droplets—that's condensation. You just made clouds!
From Tiny Drops to a Global Connection
Eventually, those droplets get too heavy and fall as precipitation, or "bag rain." This miniature process mirrors the weather engine that powers our entire planet.
This is where your experiment gets really important. When we talk about a warming planet, we're discussing this same process on a massive scale. A warmer global temperature puts the real water cycle into overdrive, often leading to more extreme weather.
Real-World Connection: A warmer atmosphere can hold more moisture. For every 1°C rise in global surface air temperature, experts expect global precipitation and evaporation to increase by 1-3%. That's a significant change. You can read the full research from the Intergovernmental Panel on Climate Change (IPCC) to dive deeper.
This accelerated cycle also affects plant life, which releases water vapor through transpiration. If you're curious about that, check out other hands-on science projects on plants. Your simple bag experiment isn't just a fun activity—it’s a hands-on lesson about our environment's delicate balance.
Frequently Asked Questions (FAQ)
Even the simplest science projects can spark fantastic questions. Here are answers to common queries about the water cycle experiment to help you get the best results.
Why is nothing happening in my bag?
If your bag is just sitting there with no condensation, the most common issue is a lack of warmth. The experiment relies on a temperature difference to drive evaporation. Try moving the bag to a window that gets more direct, intense sunlight. Also, double-check the seal; it must be completely airtight to trap the water vapor.
Key Insight: This mini-model reflects Earth's climate system. Just as scientists study detailed historical datasets to track long-term changes in global evaporation, you're observing the same principles on a small scale.
Can I do this experiment without sunlight?
Yes, you can! While sunshine is the most natural heat source, you can improvise. Place the bag near a gentle source of warmth, like a desk lamp. Safety First: Be extremely careful not to let the plastic bag touch the hot bulb. The goal is simply to create a temperature contrast between the water at the bottom and the air at the top.
This project is a fantastic introduction to scientific principles. To keep the discovery going, check out this example of a science fair project.
At Playz, we believe hands-on learning is the best way to spark a lifelong love for science. Explore our full range of engaging science kits and creative toys designed to make learning an adventure at https://www.playzusa.com.