

In a world buzzing with screens, the simple, tactile joy of crafting offers a powerful way to connect, learn, and create. Construction paper, a staple in every craft box, is the perfect starting point. It's affordable, versatile, and opens up a universe of creative possibilities for little hands. This guide is designed for parents and educators seeking meaningful, screen-free activities that do more than just pass the time—they build essential skills.
We will explore eight fantastic construction paper easy crafts that transform simple sheets into everything from vibrant paper chain garlands to playful animal masks. Each project is carefully selected to be a mini-lesson in STEAM (Science, Technology, Engineering, Art, and Math), disguised as pure fun. You will find that these activities are more than just crafts; they are opportunities to enhance fine motor skills, encourage problem-solving, and spark imagination.
Get ready to cut, fold, and glue your way to hours of purposeful play. Each entry in this listicle includes a straightforward materials list, time and difficulty estimates, a step-by-step summary, and the specific learning benefits involved. Let’s dive in and make something amazing together!
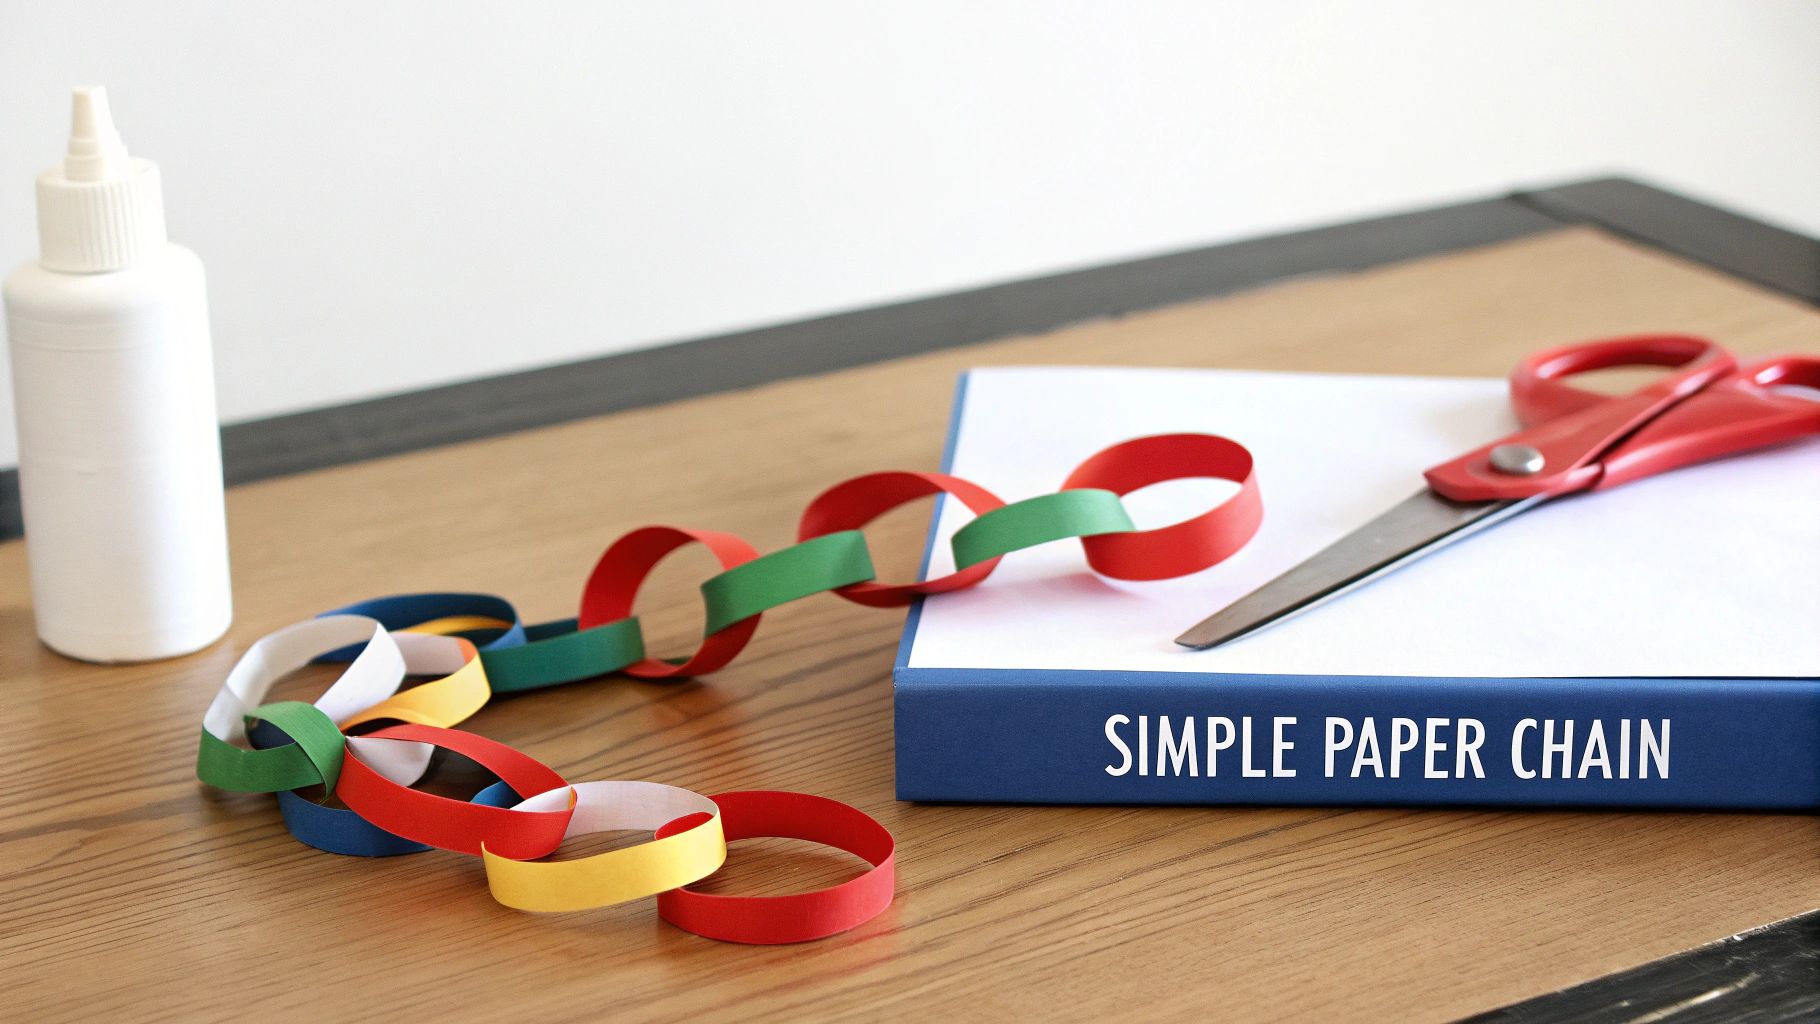
1. Paper Chain Garland
The paper chain garland is a timeless and wonderfully simple construction paper easy craft, perfect for introducing young children to the joys of creating. It involves looping colorful paper strips into interconnected rings, forming a long, decorative chain. Its simplicity is its strength, making it an ideal first craft for preschoolers and a relaxing, repetitive activity for older kids.
This classic craft is incredibly versatile. It can be used to count down the days to a holiday, decorate a room for a celebration, or simply as a collaborative classroom project to brighten up the space. For even more fun with paper, check out these other engaging paper activities for kids.
Project Snapshot
- Difficulty: Very Easy
- Estimated Time: 15-20 minutes
- Core Materials: Construction paper, child-safe scissors, glue or tape.
- Learning Benefits: Develops fine motor skills, teaches color recognition and patterning, introduces basic counting.
Getting Started: Tips and Variations
The process is straightforward: cut strips, form one into a loop, and then thread the next strip through before securing it into its own loop.
- Prep for Little Hands: For toddlers and preschoolers, pre-cut the paper strips to about 1.5 inches wide. This actionable tip allows them to focus on the gluing and looping, which builds hand-eye coordination.
- Pattern Play: Encourage older kids to create patterns with alternating colors (e.g., red, white, red, white) to introduce sequencing concepts.
- Countdown Fun: Create a 24-link chain for a holiday countdown, removing one link each day. This makes the concept of time more tangible for children.
- Celebration Ready: Paper chains are a budget-friendly way to add a personal touch to any event. When you're brainstorming, be sure to explore other creative DIY birthday decoration ideas that can pair beautifully with your handmade garlands.
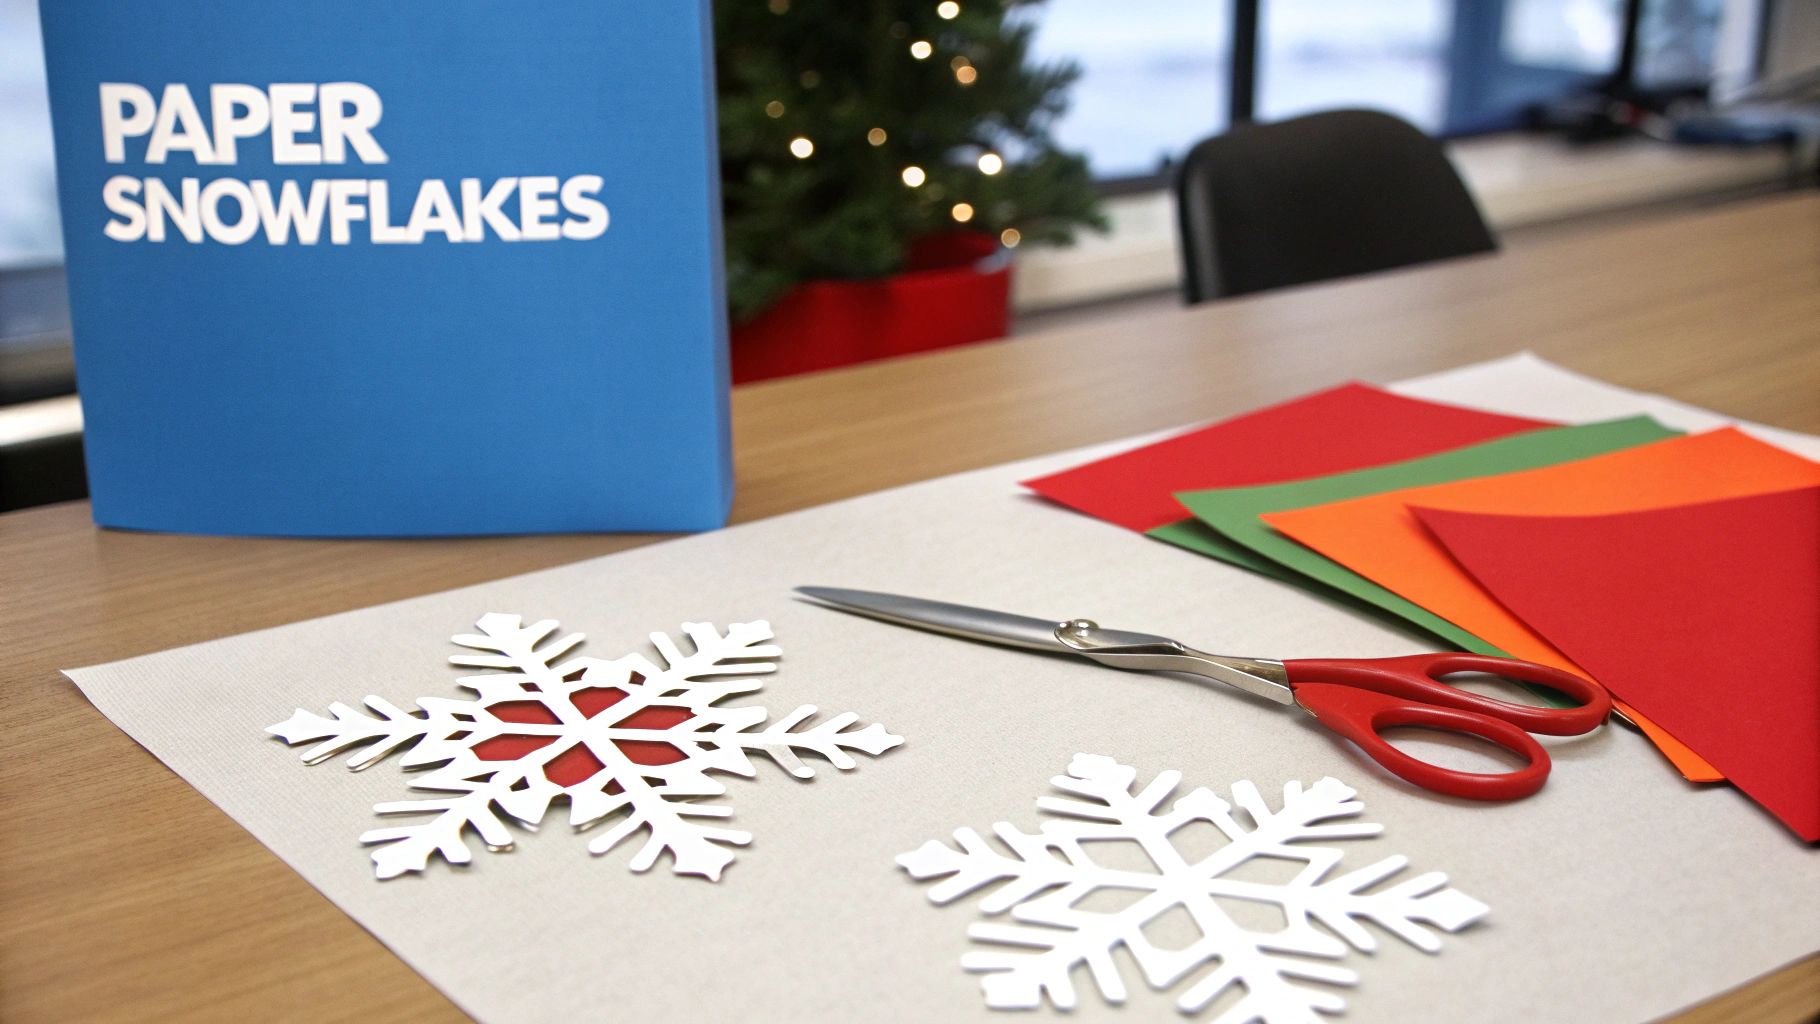
2. Paper Snowflakes
Paper snowflakes are a classic construction paper easy craft that magically transforms a simple folded square into an intricate, symmetrical design. By folding a piece of paper several times and making strategic cuts along the edges, children can create unique and beautiful patterns that mimic the crystalline structure of real snowflakes. This activity is a fantastic way to introduce concepts of geometry and symmetry in a hands-on, creative way.
The wonder of unfolding the paper to reveal the final design is a rewarding experience for crafters of all ages. These delicate creations are perfect for decorating windows during winter, hanging on a holiday tree, or adding a frosty touch to a "Frozen"-themed birthday party. The process is simple, but the results are always impressive.
Project Snapshot
- Difficulty: Easy
- Estimated Time: 10-15 minutes per snowflake
- Core Materials: Construction paper (white, light blue, or silver), child-safe scissors.
- Learning Benefits: Teaches symmetry and basic geometric principles, enhances fine motor skills and scissor control, encourages creativity and patience.
Getting Started: Tips and Variations
The core of this craft is the fold-and-cut technique. A square piece of paper is folded in half multiple times to create a small triangle wedge, which serves as the canvas for cutting.
- Practice Makes Perfect: Before using your best construction paper, let children practice on scrap paper or old newspaper to get a feel for how their cuts will affect the final design.
- Fold with Precision: Start with simple folds (folding a square into a triangle two or three times). For older children, introduce more complex six-sided snowflake folds to create more authentic patterns.
- Safety First: Ensure you are using child-safe scissors, but make sure they are sharp enough to cut through several layers of paper to avoid frustration and tearing.
- Display Your Art: Use clear thread or fishing line to hang the finished snowflakes from the ceiling or in a window, creating a magical floating effect. For added durability, you can laminate them to use year after year.
3. Paper Collage Art
Paper collage art is a fantastic and forgiving craft that allows creators of all ages to build vibrant images from simple pieces of paper. It involves tearing or cutting construction paper into various shapes and gluing them onto a background to form a picture, pattern, or abstract design. This technique is a perfect construction paper easy craft because it doesn't require precise drawing or painting skills, focusing instead on color, shape, and texture.
This mixed-media approach is highly adaptable, making it suitable for creating anything from a simple mosaic landscape to a greeting card or an abstract piece of decor. The creative freedom it offers makes it a staple in school art classes and a wonderful activity at home. You can find more inspiration by exploring other creative crafts for preschoolers that encourage open-ended play.
Project Snapshot
- Difficulty: Very Easy
- Estimated Time: 20-30 minutes
- Core Materials: Construction paper in various colors, background paper (cardstock or construction paper), glue stick or liquid glue, child-safe scissors.
- Learning Benefits: Enhances fine motor skills (tearing and gluing), promotes color and shape recognition, encourages creative expression and composition.
Getting Started: Tips and Variations
The basic process is to gather your paper pieces and arrange them on a background before gluing them down. This simple craft can be adapted in countless ways.
- Torn vs. Cut: Encourage children to try both tearing and cutting the paper. Tearing creates soft, organic edges, while cutting yields sharp, geometric shapes. This contrast introduces an element of texture and design.
- Guided Creation: For younger children, lightly sketch a simple outline (like a heart or a flower) on the background paper. They can then fill in the shape with their paper pieces, which helps build confidence.
- Create Texture: Show kids how to layer pieces of similar colors to create depth and a textured, mosaic-like effect. Overlapping shades of blue can make a beautiful sky or ocean scene.
- Theme It Up: Use collage art to explore themes. Create a "seasonal" collage with autumn colors (reds, oranges, browns) or a "space" collage with dark blues, black, and glittery star shapes.
4. Pop-Up Paper Cards
Pop-up paper cards transform a simple greeting into an exciting, three-dimensional surprise, making them a fantastic construction paper easy craft for kids. This activity blends art with basic engineering, as simple folds and cuts create elements that spring to life when the card is opened. It’s an engaging way to introduce concepts of mechanics and symmetry in a fun, creative context.
This craft is perfect for birthdays, holidays, or just to say hello. Creating a card with a pop-up heart for Valentine's Day or a pop-up birthday cake adds a memorable and personal touch to any occasion. For more projects that give paper a new dimension, you can explore these creative cardboard craft ideas.
Project Snapshot
- Difficulty: Easy to Medium
- Estimated Time: 20-30 minutes
- Core Materials: Construction paper, child-safe scissors, glue stick, ruler.
- Learning Benefits: Introduces basic engineering principles, enhances spatial reasoning, develops precision in cutting and folding, encourages creative expression.
Getting Started: Tips and Variations
The basic mechanism involves folding a piece of paper in half and making two parallel cuts into the folded edge. Pushing this cut section inward creates a platform that pops up when the card is opened, to which you can attach your designs.
- Start Simple: Begin with a basic rectangular pop-up platform to understand the mechanics before moving on to more complex shapes like spirals or mouths.
- Precise Folds: For crisp, clean folds, use a ruler to draw light pencil lines. Gently scoring the lines with a butter knife or the edge of a ruler before folding will create a professional-looking crease.
- Symmetry is Key: Encourage children to design symmetrical shapes like hearts, butterflies, or trees, as they work exceptionally well with the pop-up format and are easier to cut.
- Layer for Effect: Create depth by gluing smaller construction paper shapes onto the main pop-up element. A simple green rectangle can become a Christmas tree with the addition of small, colorful circles for ornaments.
5. Paper Masks and Costumes
Transforming a simple sheet of construction paper into a wearable piece of art is a magical experience for any child. Crafting paper masks and costumes opens up a world of imaginative play, allowing kids to become their favorite animals, superheroes, or fantasy characters. This activity is a staple for dress-up, school plays, and holiday celebrations like Halloween or Mardi Gras.
The beauty of these construction paper easy crafts lies in their blend of creativity and function. A simple paper plate can become the base for a lion's face, or a carefully folded sheet can turn into an intricate Venetian-style mask. This project encourages children not only to design but also to think about form and fit, making it a fantastic hands-on activity.
Project Snapshot
- Difficulty: Easy to Medium
- Estimated Time: 25-40 minutes
- Core Materials: Construction paper, child-safe scissors, glue or tape, elastic string or a craft stick.
- Learning Benefits: Fosters creativity and imagination, develops spatial awareness, enhances fine motor skills through cutting and decorating.
Getting Started: Tips and Variations
The basic process involves drawing a mask shape, cutting it out, adding eye holes, and decorating it before attaching a string or handle.
- Comfort is Key: Before cutting, lightly sketch the mask shape on paper and hold it up to the child's face to mark where the eyes and nose should be. Start with larger eye holes for safety and visibility, then trim them down if needed.
- Add Dimension: Don't just draw on features. Encourage kids to create 3D elements, like a folded beak for a bird mask or curled paper strips for a lion's mane, to make their creations pop.
- Superhero Cuffs: Expand beyond masks by creating matching costume pieces. Roll sheets of construction paper into tubes and decorate them to make superhero arm cuffs or robot leg pieces.
- Reinforce the Structure: For masks that will see a lot of action, reinforce the areas where the elastic string attaches with a small piece of clear tape on both sides to prevent tearing.
6. Paper Weaving
Paper weaving is a classic art-class favorite that translates the basic principles of textile weaving into a vibrant, construction paper easy craft. The technique involves interlacing strips of colorful paper through a slotted base sheet, creating beautiful checkered patterns and textures. Its rhythmic, over-and-under motion makes it a calming yet engaging activity for children.
This craft is not only visually striking but also serves as a fantastic introduction to patterns and geometry. Finished pieces can be turned into placemats, decorative wall art, or unique greeting card covers. The structured nature of weaving is a powerful way to build concentration and patience in young creators.
Project Snapshot
- Difficulty: Easy
- Estimated Time: 20-25 minutes
- Core Materials: Construction paper in multiple colors, child-safe scissors, ruler, glue.
- Learning Benefits: Enhances fine motor skills, teaches pattern creation, improves hand-eye coordination and spatial reasoning.
Getting Started: Tips and Variations
The basic process involves cutting parallel slits into a folded piece of paper (the loom) and then weaving contrasting strips through those slits.
- Prep for Success: For younger children, pre-cut the base paper and the weaving strips. Use a paper cutter to ensure the strips are straight and uniform, which makes the weaving process much smoother.
- Secure the Edges: When cutting the slits in your base paper, be sure to leave at least a one-inch border on all sides to keep the frame intact and prevent tearing.
- Pattern Planning: Encourage kids to lay out their colored strips beforehand to plan their design. This introduces the concept of forecasting and sequencing in a visual, hands-on way.
- Boost Dexterity: The precise movements of paper weaving are excellent for building hand strength and dexterity. Explore other ways to improve fine motor skills with fun, hands-on activities.
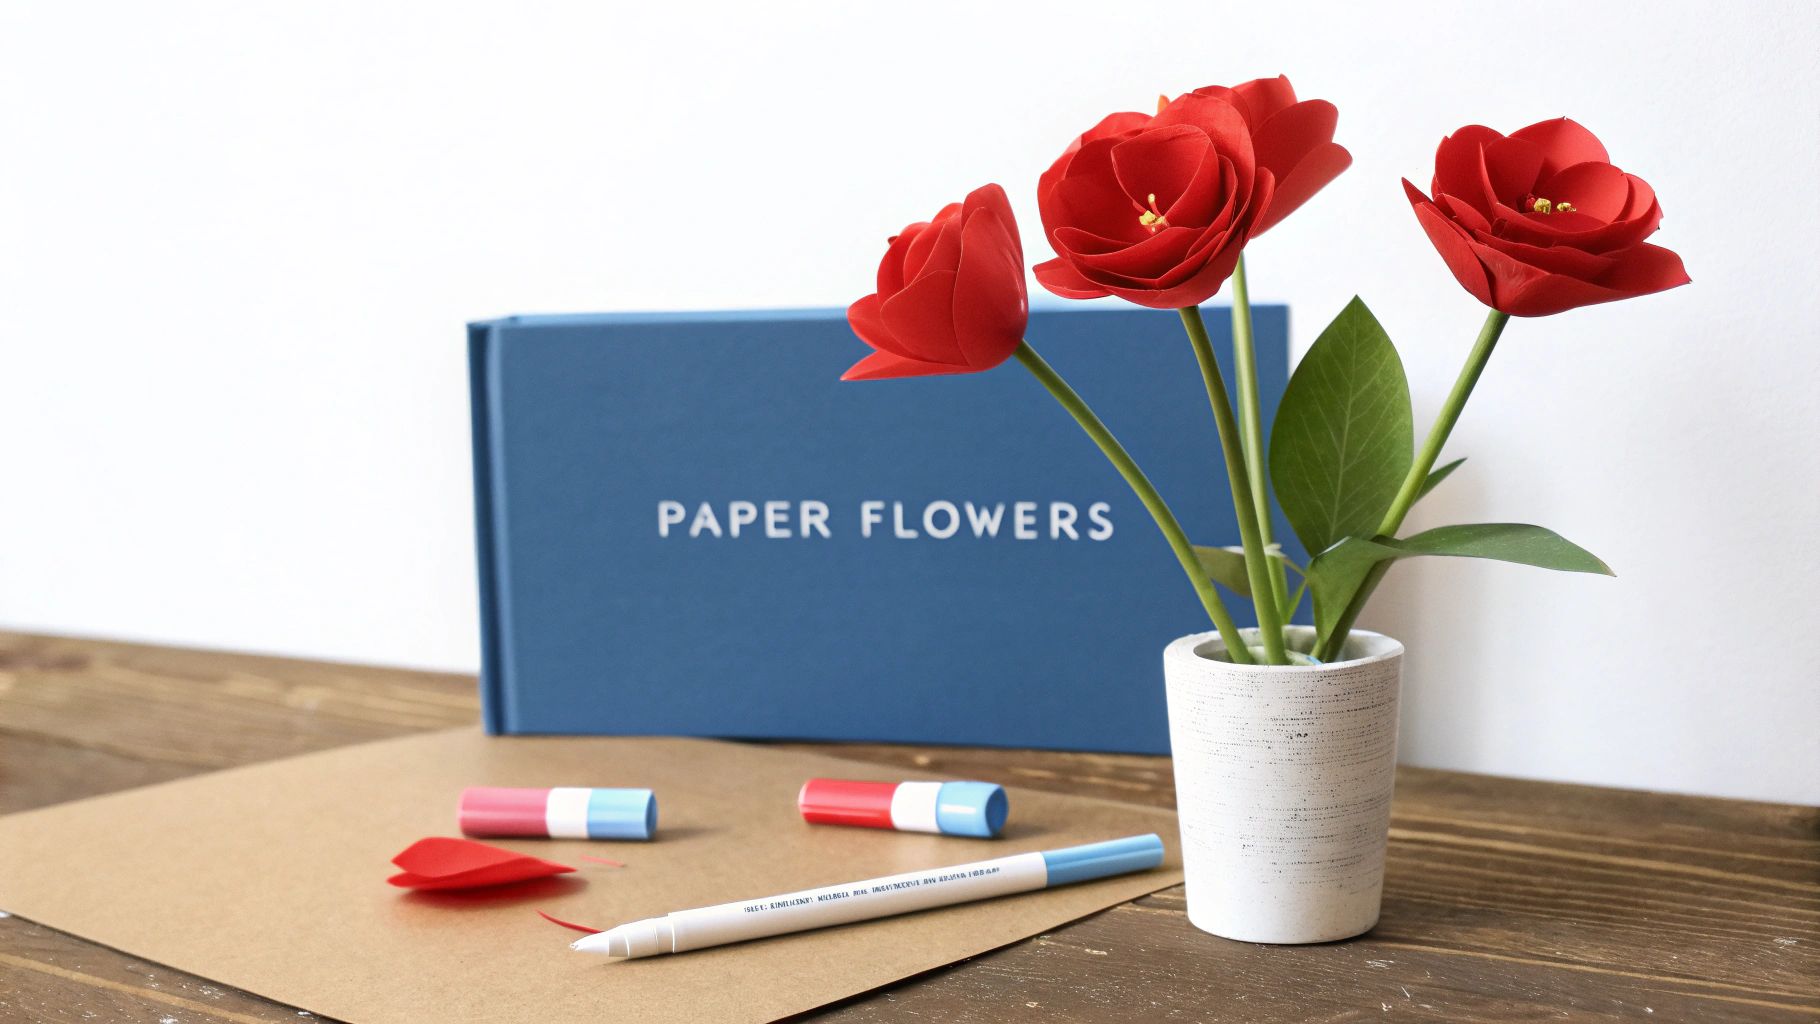
7. Paper Flowers and Bouquets
Creating paper flowers and bouquets is a delightful construction paper easy craft that allows kids to shape vibrant, flat sheets into beautiful, three-dimensional blooms. This project involves cutting, layering, and shaping paper to mimic the look of real flowers, which can then be assembled into lovely arrangements for display or as heartfelt gifts. Its artistic nature makes it a favorite for special occasions like Mother's Day, spring celebrations, or simply as a cheerful room decoration.
This craft scales wonderfully from simple, stylized flowers for young children to more intricate designs for older, more patient crafters. The finished products make wonderful gift toppers, centerpieces, or classroom decor. They also serve as a fantastic hands-on introduction to botany; you can use the activity to spark a discussion and learn more about how do flowers grow in the natural world.
Project Snapshot
- Difficulty: Easy to Medium
- Estimated Time: 20-30 minutes
- Core Materials: Construction paper (various colors), child-safe scissors, glue, pipe cleaners or green paper straws for stems.
- Learning Benefits: Enhances fine motor skills and scissor control, encourages creativity and artistic expression, introduces concepts of symmetry and 3D shapes.
Getting Started: Tips and Variations
Creating a basic flower often involves cutting out several identical petal shapes and gluing them in a layered circle around a central point. For a more detailed guide, this video offers a great visual starting point:
- Add Dimension: Gently curl the edges of the paper petals around a pencil before gluing them together. This simple step creates a more realistic, organic look.
- Layer for Fullness: For a fuller-looking bloom, cut out petal layers in graduating sizes (large, medium, and small) and stack them on top of each other.
- Textured Petals: For a more natural texture, you can lightly crumple the construction paper before cutting out your petal shapes and then smooth it out again.
- Create a Bouquet: Make several different types of flowers using various colors and shapes. Attach each one to a green pipe cleaner or paper straw stem and gather them together with a ribbon to form a complete bouquet.
8. Construction Paper Picture Frames
Creating personalized picture frames is a wonderful construction paper easy craft that allows kids to showcase their favorite photos, drawings, or even small mirrors. This project involves making a sturdy border from construction paper, which can then be decorated to match any theme or personality. It's an excellent way to turn a simple piece of paper into a meaningful keepsake or a heartfelt handmade gift.
These frames are perfect for preserving school pictures, displaying a child's latest masterpiece on the fridge, or as a special gift for grandparents and friends. The process of designing and embellishing the frame provides a fantastic canvas for creativity, making each creation truly unique. For more inspiration on creating personalized items, explore these fun DIY gift ideas for kids to make.
Project Snapshot
- Difficulty: Easy
- Estimated Time: 20-25 minutes
- Core Materials: Construction paper, child-safe scissors, glue stick or white glue, ruler.
- Learning Benefits: Teaches measurement and geometry, encourages creativity and design skills, develops fine motor control.
Getting Started: Tips and Variations
The basic idea is to cut a frame shape from one piece of construction paper and glue it onto a solid backing piece, leaving an opening to slide a photo in.
- Make it Sturdy: For a more durable frame, create a double-layer border by gluing two identical frame shapes together. You can also glue the construction paper frame onto a piece of cardboard or craft foam for extra support.
- Decorate Creatively: Let kids unleash their creativity by decorating the border. They can use markers, crayons, glitter, stickers, buttons, or even small pasta shapes to add texture and personality.
- Add a Stand: To make the frame stand on its own, create a simple easel back. Cut a trapezoid shape from a sturdy piece of cardboard and glue the wider end to the top center of the frame's back, folding it at a slight angle.
- Matting for a Pro Look: Create a professional-looking mat by cutting a slightly larger border from a contrasting color of construction paper and layering it behind the main frame. This adds depth and makes the artwork or photo pop.
8 Easy Construction Paper Crafts Comparison
| Craft | Complexity 🔄 | Resource requirements ⚡ | Expected outcome ⭐ | Ideal use cases 📊 | Key advantages & tips 💡 |
|---|---|---|---|---|---|
| Paper Chain Garland | Very low — simple loop & glue | Minimal — construction paper, scissors, glue; very quick (5–10 min) | Colorful, lightweight garland; immediate visible results | Holiday decor, classroom countdowns, parties | Extremely budget-friendly and child-friendly; pre-cut strips or double-sided tape speeds assembly |
| Paper Snowflakes | Low–Medium — folding precision, detailed cuts | Minimal — paper and scissors; sharp scissors improve results | Unique symmetrical patterns with strong visual impact | Winter displays, ornaments, classroom projects | Teaches symmetry/geometry; start simple and laminate for durability |
| Paper Collage Art | Low–Medium — cutting/tearing and composition | Low cost — glue stick advised; requires workspace | Customizable artwork with layered texture; forgiving medium | School art, home decor, greeting cards | No drawing skill required; uses scrap paper; seal with clear spray for protection |
| Pop-Up Paper Cards | Medium — folding mechanics and precise measurement | Minimal but precise — ruler, scoring tool, light-weight paper; more time | Memorable 3D cards; interactive surprise element | Greeting cards, special occasions, gifts | Impressive gift impact; practice folds on scrap and score lines for clean operation |
| Paper Masks and Costumes | Medium — fitting, cutting, and decoration | Moderate — paper, embellishments, elastic or tape; hot glue optional | Wearable props that are lightweight but can be fragile | Theater, Halloween, parties, festivals | Highly customizable and inexpensive; reinforce eye holes and test fit before decorating |
| Paper Weaving | Medium — careful cutting and patient weaving | Low — paper strips; paper cutter and flat workspace helpful | Geometric, framed flat pieces with bold patterns | Placemats, framed wall art, classroom displays | Teaches spatial/math skills; use a cutter for uniform strips and glue ends for security |
| Paper Flowers and Bouquets | Medium–High — shaping, layering for realism | Moderate — paper, wire/tape, glue; time-intensive | Long-lasting decorative blooms; realistic if detailed | Weddings, centerpieces, gifts, home decor | Allergy-free, highly customizable; curl edges and layer petals for realism; reinforce stems |
| Construction Paper Picture Frames | Low — measuring and cutting accuracy | Low — paper, backing board (cardboard), adhesives | Personalized frames suitable for display; may need backing for stiffness | Kids' art display, gifts, school projects, dorm rooms | Quick and budget-friendly; double-layer or add backing for sturdiness and a professional look |
Your Next Creative Adventure Awaits
From simple Paper Chain Garlands that teach patterns to intricate Paper Weaving projects that refine motor skills, we have explored the incredible versatility of a humble stack of construction paper. This roundup of eight construction paper easy crafts demonstrates that you don’t need expensive supplies or complicated instructions to unlock a world of creativity, learning, and connection with your child. Each activity, whether it's crafting a 3D Pop-Up Card or designing a colorful Paper Mask, is a building block for essential developmental milestones.
The true magic of these projects lies not just in the finished product but in the creative process itself. As you guide your child through folding, cutting, and gluing, you are actively nurturing their fine motor skills, spatial reasoning, and problem-solving abilities. You’re providing a screen-free outlet for self-expression and a valuable lesson in following multi-step directions. These hands-on experiences are fundamental to building a strong foundation for future STEAM (Science, Technology, Engineering, Art, and Math) learning.
Key Takeaways for Your Crafting Journey
To make the most of your crafting time, remember these core principles we've discussed:
- Embrace Imperfection: The goal is exploration, not perfection. A crooked cut or a mismatched color is just part of the unique character of your child’s creation. Celebrate their effort and individual style.
- Focus on the “Why”: Each craft is a learning opportunity. Highlighting the geometric shapes in a snowflake or the color theory in a collage turns a simple activity into a memorable, hands-on lesson.
- Extend the Play: The fun doesn't stop when the glue dries. Use the Paper Masks for a costume party, the Picture Frames to gift to family, or the Paper Flowers to decorate for a special occasion. This extends the creative experience and gives your child's work a sense of purpose.
Your Actionable Next Steps
Feeling inspired? Don't let that creative momentum fade. Your next step is simple: pick one project from this list that excites you and your child the most. Gather the basic materials, set aside a small window of time, and dive in. Start with the Paper Collage Art for a freeform exploratory session or tackle the Paper Weaving for a more structured challenge. The most important step is simply to start. By regularly engaging in these construction paper easy crafts, you are building more than just paper creations; you are building confidence, curiosity, and a powerful bond with your child, one colorful project at a time.
Ready to expand your world of hands-on, educational fun? The spirit of these screen-free, STEAM-focused crafts is at the heart of everything we do at Playz. Explore our award-winning science kits at Playz to discover even more ways to make learning an unforgettable adventure.