

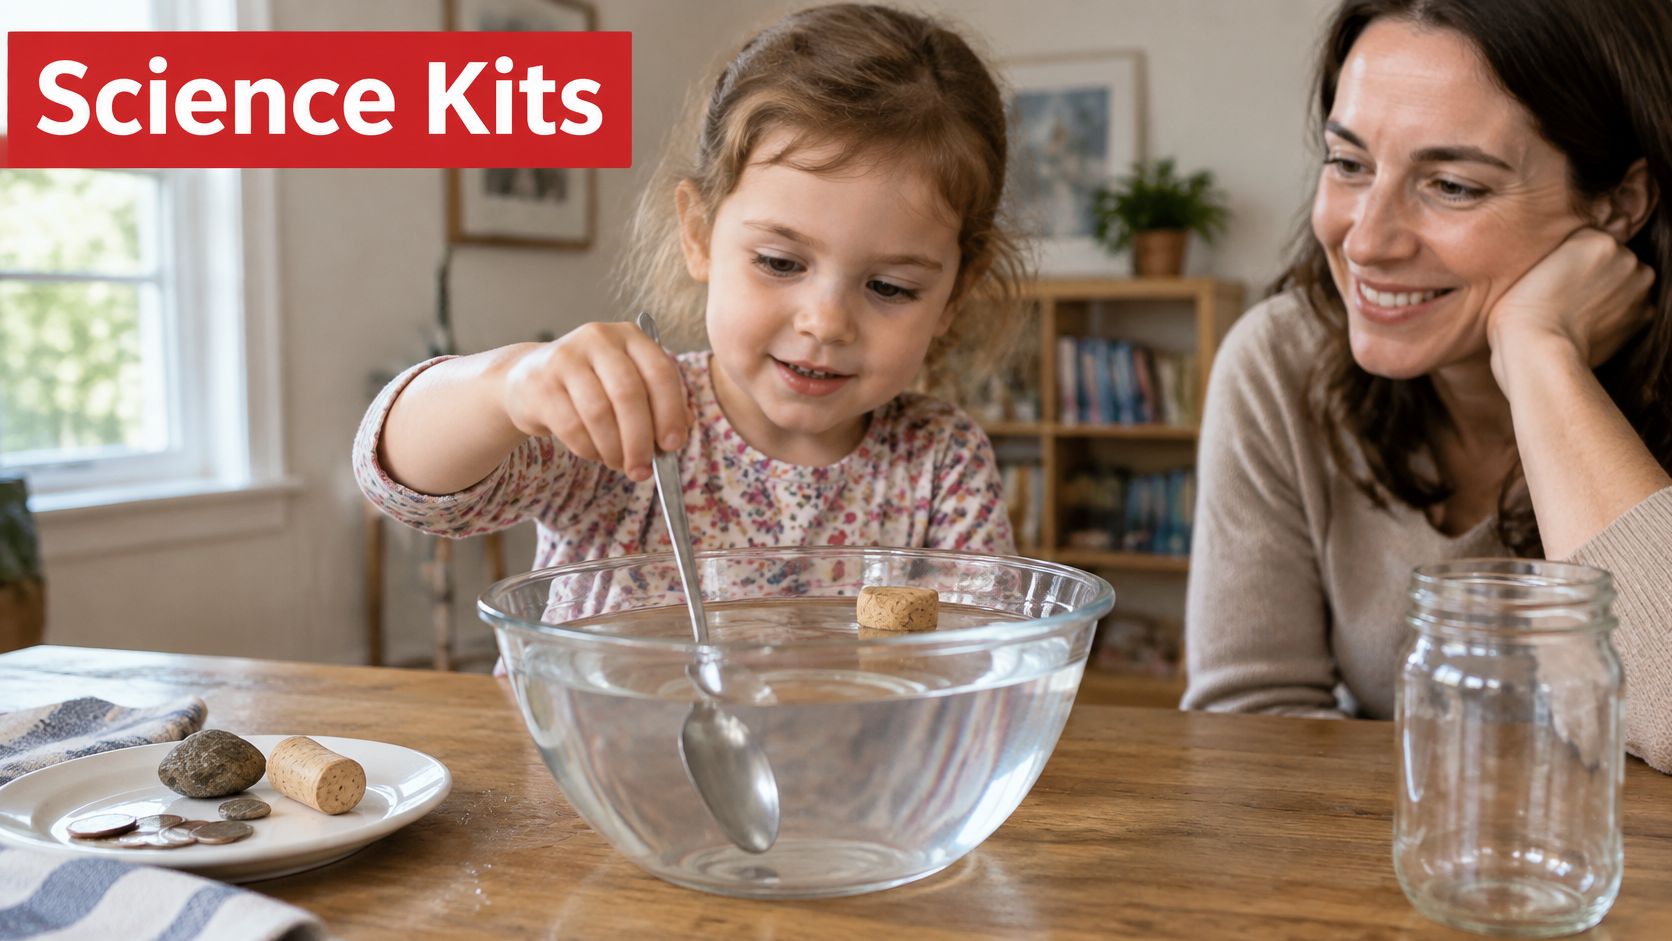
Your four-year-old is standing at the kitchen sink, dropping a spoon, a cork and a grape into a bowl of water, and asking why only one of them stays on top. You're trying to cook, a younger sibling is reaching for the bowl, and you don't have a lesson plan. That crowded, curious moment is exactly where science kits for preschoolers either help or get in the way. The useful ones don't ask you to become a teacher for an afternoon. They give you safe materials, one clear question and a quick way to clean up, so the child's question gets tested instead of talked away.
What a Preschool Science Kit Is and Why It Matters
Watch that sink test closely and you'll see the whole idea. The spoon drops, the cork bobs, and your child says, "The spoon is too heavy." That's a prediction waiting for a second test. A preschool science kit is built to create more moments like that, on purpose, with less hunting for supplies.
In plain terms, a kit for roughly ages 3 to 6 is a small, self-contained set of safe materials, short picture instructions and a few repeatable experiments. Typical contents include clear containers, droppers, measuring cups, colored water, magnifiers, sorting trays and picture recording cards. Think of it as a starter toolbox, not a full workshop. It works best when it gives a child one question to test, not twenty activities to rush through.
Why Short Tests Matter
Time is tight in real classrooms. A large observational study of 65 preschool classrooms in PMC found children averaged 26 minutes of science learning opportunities per day, about 25% of observed instructional time in its comparison of mathematics and science. A kit that structures a short window is therefore more useful than one that needs a long lesson.
There's also a reason to protect that window. A preschool science program followed 272 children across seven Head Start centers during the 2023–2024 school year, according to Learning Community School, and children receiving the program showed greater gains in science knowledge and vocabulary than peers receiving standard instruction. Hands-on work can build interest too. A quasi-experimental study of 25 children aged 5 to 6 found hands-on activities increased motivation toward science for both girls and boys.
Every good kit has three parts: materials a child can handle, prompts that invite prediction, and an adult who asks follow-up questions. If you're weighing texture and touch alongside testing, a parent's guide to sensory play from Guiding Growth is a helpful companion for choosing materials young children want to explore.
A kit is only as good as the questions it prompts.
Age Ranges and Safety Checks Before You Buy
Start with the table, not the marketing on the box. Find your child's row, check what the kit should contain, then look at what you'll be doing beside them.
| Age | What to Look For | Adult Role | Safety Check |
|---|---|---|---|
| 3 years | Large pieces, no small detachable parts, washable materials | Hands-on supervision; adult handles liquids | Confirm no part fits the small-parts cylinder |
| 4 years | Chunky blunt tools, pre-measured materials, picture cards | Sit beside the child, narrate and ask predictions | Check tools are blunt and containers are sealed |
| 5 years | Simple measuring tools, short multi-step tasks, recording sheets | Set up the activity, then step back to observe | Check small magnets and beads are secured in their packaging |
| 6 years | Two-step experiments, simple data charts, reusable parts | Guide with questions and let the child run each trial | Confirm age range and safety documentation are included |
How to Read the Age on the Box
The age label is a starting point, not a guarantee. Fine-motor skill and mouthing habits vary widely at this age, and a child who's ready to pour carefully may still put a bead in their mouth when they're tired. Match the kit to the child in front of you, and to the youngest child in the room.
The small-parts rule makes that concrete. Under the CPSC small-parts regulation in 16 CFR Part 1501, a small part is any object that fits completely, without compression and in any orientation, inside a test cylinder about 2.25 inches (57.10 mm) long by 1.25 inches (31.70 mm) wide. That cylinder approximates the fully expanded throat of a child younger than three. Beads, tokens and detachable model pieces therefore need careful age matching and supervision, especially with younger siblings nearby.
Hazards to Screen For
Check beyond choking size. Look for sharp points and edges, liquids and powders that can be swallowed or rubbed into eyes, chemical ingredients you don't recognize, and battery compartments that a child can open without a tool. An activity can be educationally simple and still carry physical risk. A color-mixing cup is easy to understand and easy to drink from.
Run three quick checks before you pay:
- Confirm the age range: Match it to your child and any younger sibling who'll be present.
- Scan every included part: Picture each piece against the small-parts cylinder test.
- Look for safety documentation: Find the product's safety paperwork or children's product certificate, and read Playz guidance on toy safety for children if you want help interpreting labels.
Practical rule: If a two-year-old shares the room, shop as if you're buying for the two-year-old.
Say you're choosing a bead-sorting kit. For a focused five-year-old at a table, it's a fine sorting and counting task. For that same child with a toddler pulling up on the chair, it's a spill of mouth-sized pieces at exactly the wrong height. Same kit, different answer. Match your child to one row of the table before you buy, and let that row decide.
How to Choose a Kit That Fits Your Routine
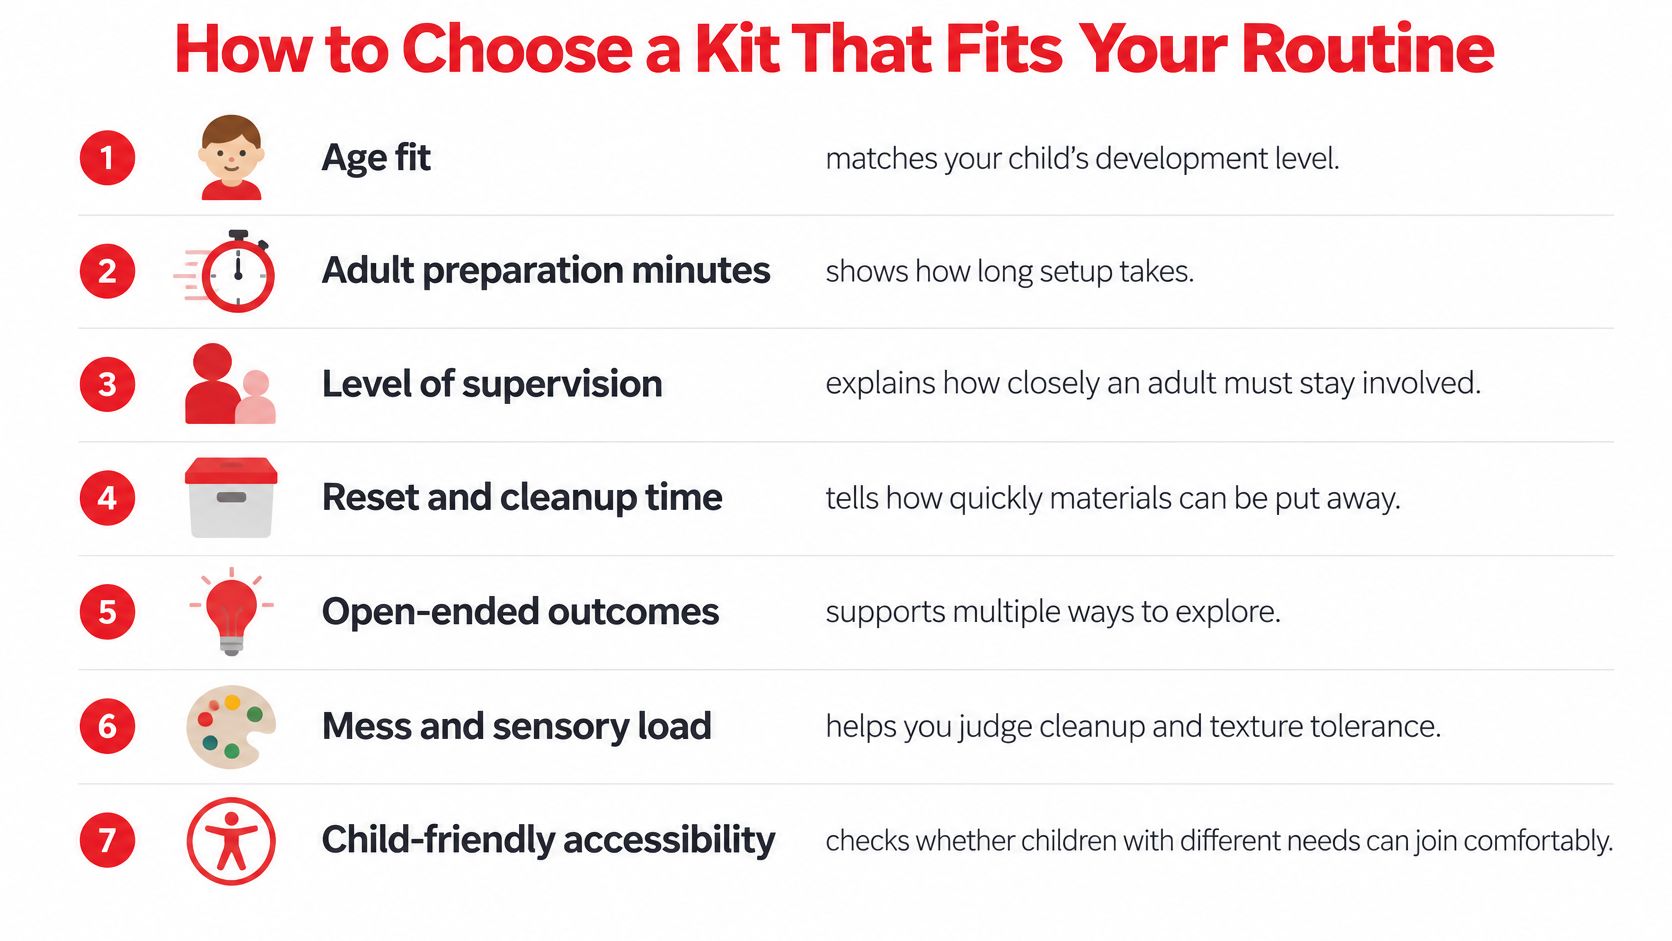
Experiment count is the wrong ranking. A box promising forty activities that needs twenty minutes of setup will lose to a five-activity kit you can open, run and reset while dinner cooks. Judge science kits for preschoolers by adult workload, whether every child can take part, and how well they prompt safe, repeatable questions.
Score each kit on seven criteria first: age fit, adult preparation minutes, level of supervision, reset and cleanup time, open-ended outcomes, mess and sensory load, and whether children with different abilities can join in. If a listing won't tell you prep or cleanup time, assume it's longer than you hope.
| Option | Adult Prep Time | Independent Play | Best For | Watch Out For |
|---|---|---|---|---|
| Single-experiment kit | 5 to 10 minutes | Low to moderate | Gifts and a first try | Novelty fades after one use |
| Monthly subscription | 10 to 20 minutes per box | Moderate | A steady home routine | Unfinished projects piling up |
| Open-ended materials kit | 5 to 15 minutes | High | Classrooms and mixed ages | Little learning without adult questions |
Pros and Cons by Kit Type
A single-experiment kit is quick, gift-friendly and easy to store. Its weakness is obvious once the volcano erupts or the crystal forms. If the materials can't be reused with a new question, it's one-and-done.
A monthly subscription builds a routine because the next box arrives whether you planned or not. That's also its risk. Miss two months during a busy term and you've bought a cupboard of guilt, not a science habit.
An open-ended materials kit with containers, droppers, magnets and sorting trays suits classrooms and mixed ages because children can test their own variations. It needs you, though. Without an adult supplying questions, it becomes water play, which is fine, but it isn't yet science.
A Verdict by Situation
- Busy parent of one child: Pick a single kit or a small open-ended set with prep under ten minutes.
- Teacher managing twenty children: Choose durable open-ended materials you can reset between groups.
- Birthday gift-buyer: Choose a single-experiment kit with reusable parts, so it survives past the party.
Copy this six-item checklist into a shopping note: age fit confirmed, prep time stated, supervision level clear, cleanup under ten minutes, at least one repeatable experiment, and parts a child with developing hand control can handle. Compare every brand against the same list, in the same order, and the right choice usually becomes obvious.
Simple Experiments Parents and Teachers Can Run
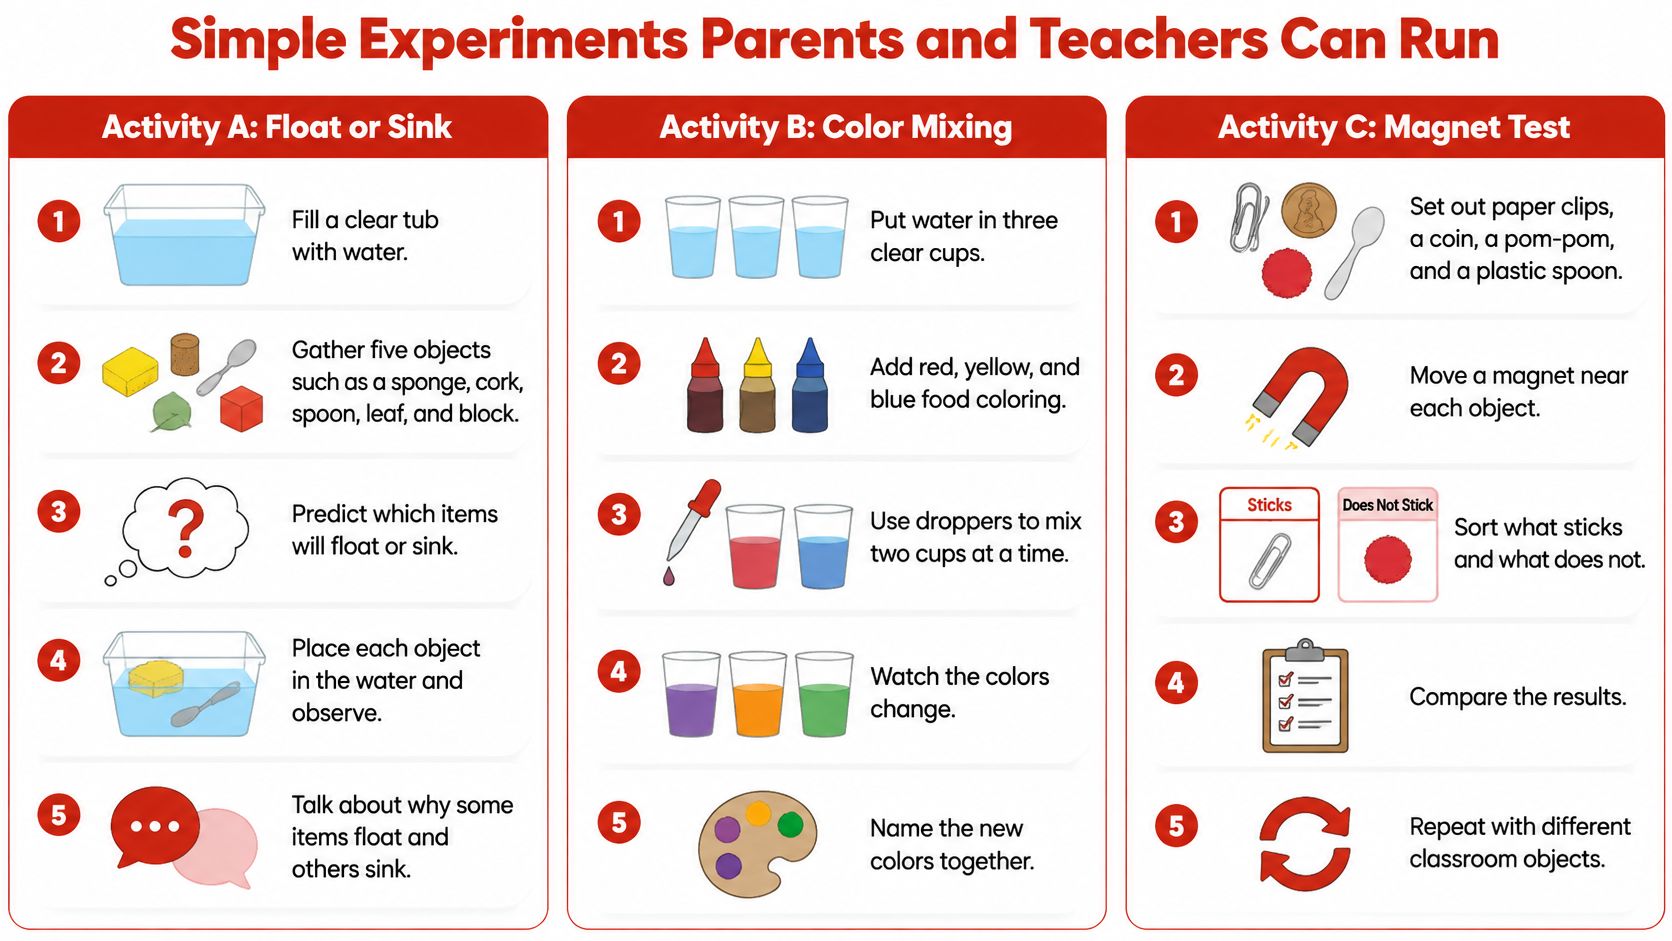
You don't need a themed unit. You need three experiments you can run in 10 to 15 minutes, reset quickly, and repeat next week with one change. Keep three prompts on a sticky note where you can see them: What do you predict? What changed? How could we test it again? For more starting points, Playz hands-on science activities collects simple setups that use the same predict, test and talk pattern.
Activity A Float or Sink
- Fill a clear tub with water.
- Gather five objects such as a sponge, button, cork, spoon and pebble.
- Ask the child to predict which objects will float.
- Test each object and sort them into two trays.
- Record results on a picture card.
- Squeeze the sponge, test it again, and ask what changed.
Children often predict by size, so a big sponge floating and a small pebble sinking surprises them. That surprise is the teaching moment. Don't correct it with an explanation about density. Ask, "You thought big things sink. What will you predict for the big leaf?"
Activity B Dissolve or Not
- Put water into three clear cups.
- Add salt to one cup, sugar to the second and sand to the third.
- Stir each cup for 30 seconds.
- Ask what disappeared and what stayed.
- Draw each cup before you tip the water away.
Salt and sugar are food, but during play they still stay out of mouths. Say that rule before you start, not after a finger goes in. If your child then asks what else drinks up water, that's a natural bridge to plants, and Little Green Leaf's root care guide explains absorption in terms you can borrow for a celery-in-colored-water follow-up.
Activity C Shadow Tracing
- Set a flashlight on a table, pointing at a wall.
- Place a toy between the light and the wall.
- Trace the shadow outline with a crayon on taped paper.
- Move the light closer and trace again.
- Ask which shadow is bigger and how the child knows.
If you'd like to watch an adult pace the questions before you try it yourself, this short demonstration shows the rhythm of predicting first and explaining after.
The most common slip is changing too many variables at once. If you switch the object, the water temperature and the container in one trial, neither of you can tell what caused the new result. Change one thing, test again, and let the child spot the difference. That's the whole scientific habit at this age, and it fits inside a bath, a water table or a washing-up bowl.
Adapting Activities for Every Child
A kit that only works for a child with neat hand control, fluent English and a love of messy textures isn't a good preschool kit. It's a narrow one. Before each activity, ask three questions: Can a child take part without fine-motor precision? Can the instructions be followed without fluent English? Can a child show understanding by drawing, pointing or narrating instead of producing one expected result?
Those questions matter because good intentions don't automatically become good access. Research on early-childhood STEM inclusion reports in STEM for Inclusive Excellence and Equity that practitioners generally value both STEM and inclusion, yet their specific inclusive practices vary considerably. A shared three-question checklist closes that gap better than another age label.
| Barrier | Adaptation | Who It Helps |
|---|---|---|
| Fine-motor difficulty | Pre-filled containers; pointing or adult-assisted pouring | Children still developing hand control |
| Sensory sensitivity | Low-mess, low-smell options; quieter tools; a break space nearby | Children sensitive to texture, sound or smell |
| Limited English | Picture cards, gestures and labeled materials | Dual-language learners and children with speech delays |
| Mixed developmental levels | Open-ended outcomes: sort, draw or narrate instead of one answer | Mixed-age groups and multi-level classrooms |
Low-Tech Adaptations That Work
Most adaptations are cheap. Picture cards replace written steps. Pre-filled containers remove the measuring barrier while keeping the testing. Spoons or wide tongs make pouring and sorting possible for hands that can't yet manage a small dropper. For children who need to understand texture before they can test with it, Playz explanation of what sensory play is helps you separate sensory exploration from the science question that follows it.
In a classroom, pair strengths. A child who loves talking can narrate predictions while a partner who prefers building arranges the test objects. Each child then explains one observation to the group, so both contribute science, just through different routes.
Adaptations never remove safety steps. Supervision, secure containers and small-part checks apply exactly as before, even when an adult is pouring for a child. Judge success by whether a child observed, compared and explained in some form, not by whether their result matched the picture on the box.
Extending Learning and Cutting Passive Screen Time
Hands-on science isn't automatically effortless, and it isn't automatically screen-free learning either. You still set up, you still supervise, and you still wipe the table. A kit only replaces passive screen time when an adult runs it at the moment a screen would otherwise go on.
Use a clear benchmark. The World Health Organization guidance for children ages three to four recommends sedentary screen time be no more than one hour per day, with less considered better. That doesn't mean every activity must eliminate screens. It gives you a daily budget to balance against active, interactive play, and Playz advice on how to limit screen time can help you plan the rest of the day around it.
Extensions That Take Minutes
- Keep a science journal: One drawing per experiment, dated, with the child's words written underneath by an adult.
- Repeat with one household variation: Try warm versus cold water in the dissolve test, or salt versus sugar.
- Take a 15-minute nature walk: Collect leaves, stones and sticks, then sort them by float, texture or size.
- Ask why and how do you know: Follow every answer with one request for evidence the child can point to.
- Rotate one experiment a week: Repetition with a small change beats a new box every time.
Say a family swaps one evening screen block for a 15-minute float-or-sink test at the kitchen table, then repeats it at bath time with bath toys. Nothing extra was bought, and the child tested the same idea in two settings. Count your sedentary screen blocks this week and swap just one. That single swap is a more honest measure than calling a kit screen-free.
Gift Buying and Childcare Setups
A grandparent is buying a birthday kit for a four-year-old who has a two-year-old sibling at home. Across town, a childcare director is stocking a room for twelve children. Both are shopping for science kits for preschoolers, but they need almost opposite things.
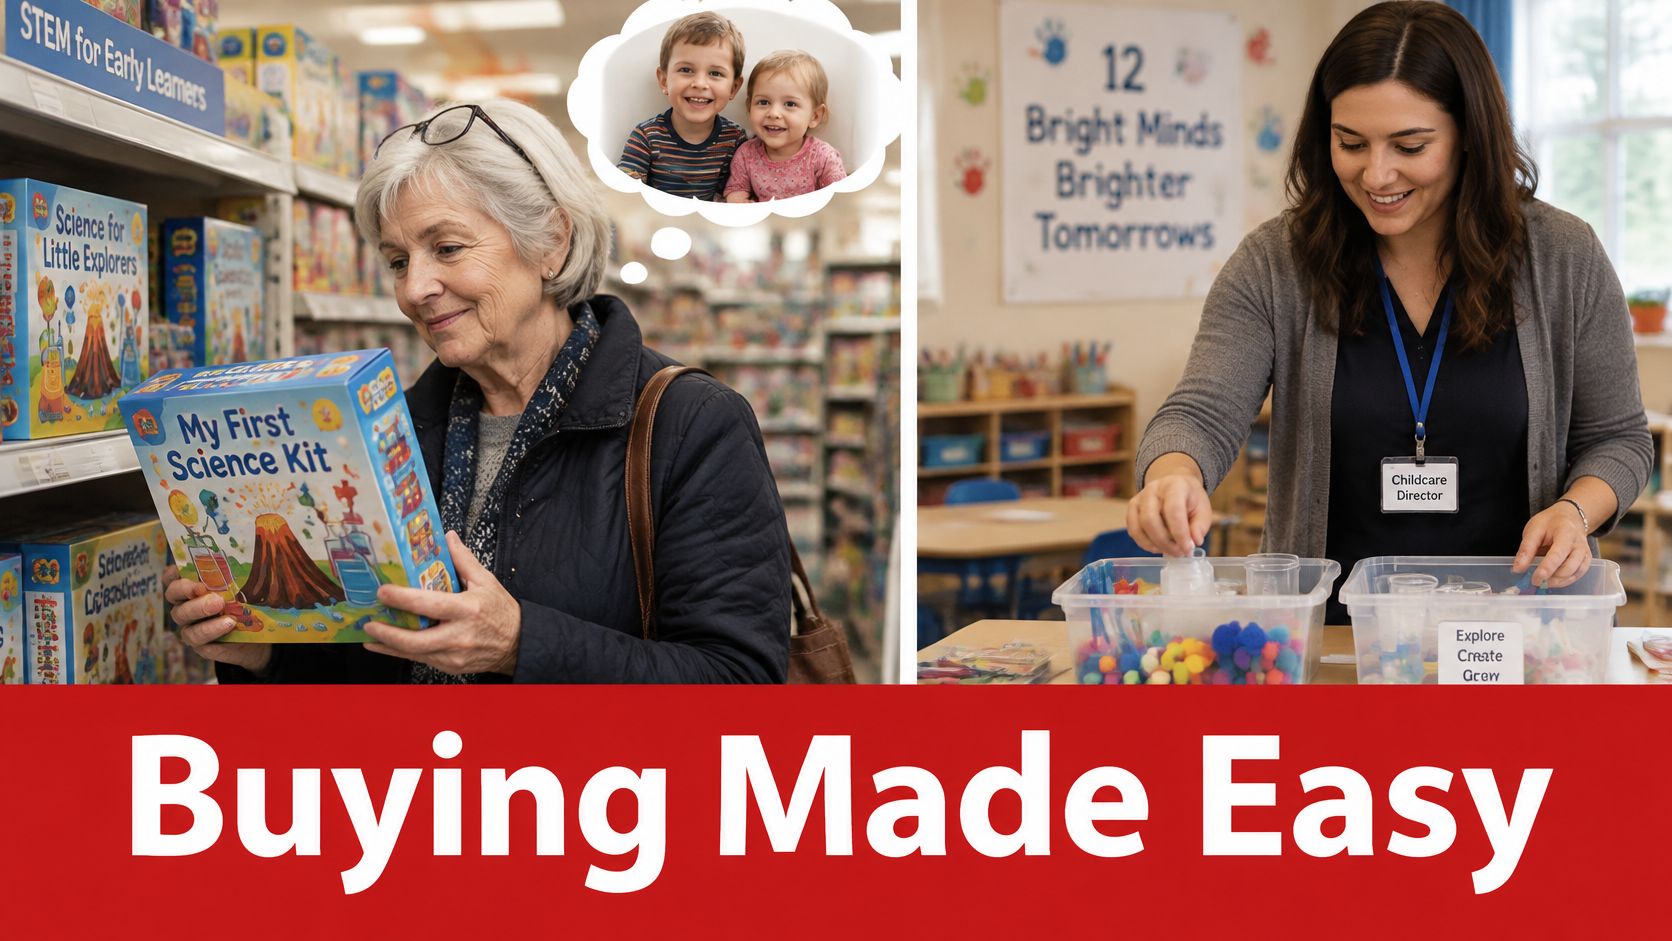
For gift-buyers, check the age band against the child's real age, then ask whether younger siblings live in the home, since small detachable pieces must stay out of their reach. Choose reusable parts or included refills so the gift lasts beyond one afternoon, and match the theme to the child's interest in animals, water or light. Tuck in a card with a first activity: fill a clear tub, drop in a sponge and a button, and ask which will float. If you're pooling money with other families instead, ideas for a group teacher gift from EasyRegistry can help you coordinate a classroom kit rather than duplicates.
Gift checklist item: Confirm the age band and whether small parts are included before you wrap it. For broader present ideas by age, Playz science gifts for kids is a useful cross-check.
For childcare providers, paperwork comes before purchase. In the United States, toys intended primarily for children age 12 or younger must undergo testing by a CPSC-accepted third-party laboratory, and the manufacturer or importer must issue a Children's Product Certificate, as the CPSC toy safety FAQ explains. Request that documentation, store kits out of reach, check every component before the first session, and keep allergy and ingredient notes for any edible material.
Group checklist item: Set group size per adult, a cleanup station, labeled bins and a weekly rotation schedule before the first session. A group kit succeeds when one staff member is free to ask the next question.
Frequently Asked Questions
What Age Is a Preschool Science Kit For
Most target roughly ages 3 to 6. Treat the age on the box as a starting point and match your child to the age-band table, paying attention to mouthing habits and hand control rather than birthdays alone.
Are Science Kits Safe for Toddlers
Only with care. Any piece that fits inside the small-parts cylinder, about 2.25 by 1.25 inches, should stay away from children under three. Liquids, powders and batteries also need secure closures and an adult within arm's reach.
How Much Adult Time Do They Need
Single-experiment kits take about 5 to 10 minutes of preparation. Subscription boxes take about 10 to 20 minutes each. Add supervision throughout and a few minutes to reset, and choose accordingly.
Do Science Kits Replace Screen Time
Not automatically. The WHO benchmark of no more than one hour of sedentary screen time a day for ages 3 to 4 still applies, and an adult has to run the activity. A kit helps when you schedule it in place of a screen block.
How Often Should We Repeat an Experiment
Repeat it with one change, such as warm versus cold water, so your child can compare results. Weekly repetition of a familiar test usually teaches more than a brand-new activity every time.
Is a Subscription Worth It
Only if your household will finish each box before the next arrives. If unfinished projects already pile up in your home, single kits will serve you better.
Can Children With Different Abilities Take Part
Yes, with picture cards, pre-filled containers and options to point, draw or narrate. Offer multiple ways to show an observation instead of requiring one expected result.
Choose Your First Kit and Start This Week
Keep four takeaways in mind. A preschool kit is a starter toolbox that works when it gives one clear question. You check the age band and small parts before buying. You pick the lowest-prep kit that fits your routine. You use the same three prompts in every session.
- Match your child's age to one row of the age-band table.
- Choose the kit type that fits your routine, using the six-item checklist.
- Confirm the age range and check the safety documentation before you buy.
- Schedule a 15-minute first session on the day the kit arrives.
- Ask what do you predict, what changed, and how could we test it again, then write down one thing your child said.
Playz offers science kits across several age groups, and you can compare age ranges and product details at Playz before purchase. Choose one kit today, run one experiment this week, and let your child's questions decide what comes next.
Browse the science kits at Playz, compare each one against the age, prep time and supervision checklist in this guide, and order the kit your child can test first this week. Pick one experiment, ask what they predict, and start with the question already waiting at your kitchen sink.