

Ready to take on the classic egg drop challenge? This project is far more than a fun classroom activity—it’s a hands-on crash course in physics, engineering, and creative problem-solving. To succeed, you'll need a well-designed egg drop project parachute. It's your ticket to transforming a potential splat into a soft, gentle landing.
Why Your Parachute is the Key to Winning the Egg Drop
The egg drop project is a classroom staple for a reason. It masterfully blends creativity with core scientific principles, making abstract concepts feel real and exciting. You're not just protecting an egg; you're learning to understand and manipulate the very forces that govern our world.
This guide will walk you through everything, from picking the right materials to understanding the physics that make a soft landing possible. The goal is to build a parachute that not only saves your egg but also demonstrates a real grasp of science in action.
The Real-World Science in Your Project
At its heart, this challenge is about managing two fundamental forces: gravity and air resistance. Gravity relentlessly pulls your egg downward, accelerating it. Your parachute's job is to fight back by creating as much air resistance, or drag, as possible. This upward-pushing force slows the descent, dramatically softening the final impact.
Success boils down to a few key factors:
- Maximizing Drag: A large, lightweight canopy is essential to catch the most air.
- Ensuring Stability: Your design must float down smoothly without tumbling or collapsing.
- Absorbing Impact: A good protective cradle provides the final cushion at the moment of truth.
Key Takeaway: Winning isn't just about padding the egg—it's about engineering the slowest, most stable landing possible. Your parachute is the number one tool for achieving this.
More Than Just a Fun Activity
Engaging in projects like the egg drop does more than teach physics; it builds critical thinking and problem-solving skills. When a design fails, it’s not a loss; it's data. You learn to analyze what went wrong and tweak your design, just like real-world engineers do every day.
This hands-on approach is incredibly powerful. For more ideas, you can learn more about the complete egg drop experiment and its educational benefits. It turns a simple challenge into a memorable lesson, making science something you do, not just something you read about. This guide will set you up for a successful build and a deeper understanding of the science that makes it all work.
Gathering Your Mission-Critical Materials and Tools
Every successful engineering project starts with the right gear. For an egg drop, you're creating two critical systems that must work together perfectly: an Egg Protection Unit (EPU) and a Deceleration System (your parachute). A soft landing is rarely achieved by just one component alone.
Stocking Your Engineering Bay for the Egg Protection Unit
Think of the EPU as your egg's personal crumple zone. Its purpose is to absorb and distribute the force of the landing. While bubble wrap is a classic, some of the most clever designs use everyday household items.
- Structural Elements: Build a lightweight yet sturdy cage around the egg using drinking straws or popsicle sticks. The goal is to suspend the egg in the middle, away from the container's outer walls.
- Cushioning Materials: Get creative here. Cotton balls, sponges, and shredded paper are fantastic for soft padding. For a lighter option, try un-popped popcorn kernels or puffed cereal—they add cushioning with almost no weight.
- Containment: You need something to hold it all together. A small cardboard box, a plastic cup, or a disposable food container works great. For inspiration, check out our guide on cool things to make out of cardboard.
Pro Tip: The best protection systems combine materials. A rigid straw frame provides structure, while soft cotton balls fill the interior to absorb shock. It's the best of both worlds.
Choosing Your Parachute Canopy and Rigging
Your parachute is your primary weapon against gravity. Its job is to maximize drag by catching air. The secret here is surface area: the bigger your canopy, the more air it catches, and the slower your descent. The material you choose is a huge decision. You need something lightweight (so it doesn't add to the downward pull) and non-porous (so air can't slip through).
To help you decide, here’s a quick comparison of common materials.
Parachute Material Comparison for Your Egg Drop Project
This table compares common materials for your parachute canopy, helping you decide which is best based on drag, weight, and durability.
| Material | Pros (Advantages) | Cons (Disadvantages) | Best For |
|---|---|---|---|
| Plastic Trash Bag | Lightweight, durable, non-porous, and cheap. It creates fantastic drag. | Can be slippery and a little tricky to cut into a perfect shape. | The all-around best choice for both beginners and seasoned pros. It's just so reliable. |
| Fabric Scraps | Very durable and reusable. Plus, it gives you that classic parachute look. | Can be heavier than plastic, and some fabrics are porous, which lets air escape. | Projects where you need extra durability, or if you're aiming for a more stable, premium feel. |
| Coffee Filters | Extremely lightweight and conveniently pre-shaped. Great for small-scale tests. | The small surface area really limits drag, and the material is porous. | Quick experiments or for younger kids building smaller, lighter devices from the get-go. |
After you've picked your canopy material, you'll need shroud lines (the strings) and a few basic tools.
- Shroud Lines: Thin string, yarn, or dental floss will work. The most important thing is to cut at least four lines of the exact same length to ensure the parachute opens symmetrically for a stable drop.
- Essential Tools: Grab scissors, a ruler for precise cuts, and plenty of tape. A hole punch is also great for attaching lines to the canopy for a cleaner, more durable connection.
Constructing a High-Performance Egg-Saving Parachute
With your materials laid out, it's time to move from the drawing board to the construction zone. This is where ideas about physics become a real-life device with one critical mission: protect the egg. We'll walk through building a reliable egg drop project parachute system, piece by piece. The process breaks down into two main builds: the secure egg housing and the parachute itself.
This flowchart breaks down the key stages of prepping your egg drop project, from protecting the egg to grabbing the right tools and building the parachute.
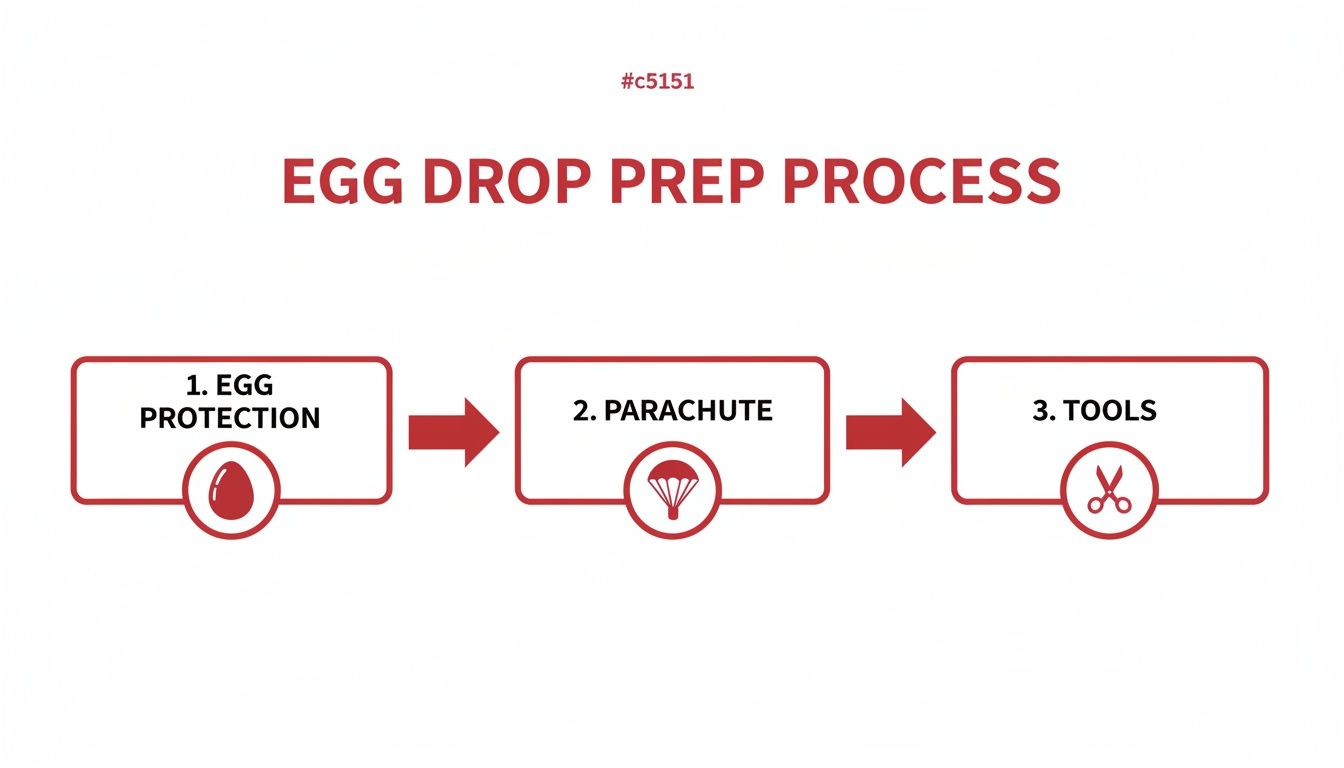 This highlights that success isn't about one single action but a sequence of thoughtful steps. You have to focus as much on the egg's safety cradle as you do on the parachute's design.
Building a Secure Egg Protection Unit
First, build a safe home for your egg passenger. The goal is to create an Egg Protection Unit (EPU) that not only cushions the egg but holds it securely in the safest position.
Many people assume dropping an egg on its pointy end is best, but research from MIT's Department of Civil and Environmental Engineering proved otherwise. Their study showed that eggs are far more resilient when they land on their side. In a series of 180 controlled drops, a horizontal orientation slashed breakage by up to 90% at lower heights. That's a game-changing insight.
Key Takeaway: Always orient your egg horizontally. Its curved, long side is naturally stronger and better at distributing impact forces than its fragile ends.
To take advantage of this, build a simple cradle that keeps the egg sideways. A small cardboard box, a plastic cup tipped over, or a custom straw frame can work perfectly. The inside of your EPU needs both structural support and soft cushioning.
- Create a Suspension System: Use rubber bands or string to weave a web inside your container that suspends the egg in the center. This is key—it ensures the egg never directly hits the hard outer walls.
- Fill the Gaps: Pack the empty space with lightweight, shock-absorbing materials like cotton balls, shredded paper, or packing peanuts. The material should be snug enough to prevent rattling but not so tight that it can't compress and absorb shock.
Crafting the Parachute Canopy
Now for the star of the show—the parachute canopy. Its job is to create as much air resistance as possible. The rule is simple: the bigger the surface area, the more drag you generate.
Start with your material, like a plastic trash bag. Lay it flat and cut it into a large square or octagon. A good starting size is a diameter of about 18 to 24 inches (45-60 cm). This provides plenty of surface area without being too unwieldy.
To prevent the shroud lines from tearing through the canopy, reinforce the attachment points.
- Reinforce the Corners: Cut small squares of tape (about 1x1 inch) and stick one on each corner of your canopy.
- Create Holes: Use a hole punch to make a clean hole through the center of each piece of tape. This simple step prevents the plastic from ripping under stress.
Attaching Shroud Lines and Connecting the System
Your shroud lines are the critical link between the canopy and your EPU. For a stable descent, it is essential that all shroud lines are the exact same length. Uneven lines will cause the parachute to tilt, wobble, or even collapse mid-air.
Measure and cut at least four pieces of string. A good rule of thumb is to make each line roughly the same length as the diameter of your canopy. For an 18-inch parachute, use 18-inch lines.
Thread one line through each reinforced hole and tie a secure knot. Once all lines are attached, gather the free ends, pull them taut to double-check they're even, and tie them into a single, strong knot. Secure this central knot to the top of your EPU with tape or by looping it through a hole in the container. Make sure the connection is centered and strong.
Before you test, give your completed project a final once-over:
- Is the egg snug and oriented sideways?
- Are all shroud lines equal in length and securely attached?
- Can the parachute open freely without getting tangled?
With these steps done, you've transformed simple items into a well-engineered system ready for its first test flight. If you had fun, explore other projects with basic materials; check out our guide on easy crafts using construction paper for more creative ideas.
The Science Behind a Perfect Landing
What’s really happening when you drop your project? It’s a high-speed tug-of-war between two powerful, invisible forces. Understanding this scientific duel is the secret to engineering a contraption that ensures a soft touchdown.
The journey comes down to two key players: gravity and air resistance. Gravity is the relentless downward pull, always trying to accelerate your egg. If that were the only force, your egg would get faster and faster until it met a scrambled end. This is where your parachute becomes the hero.
The Upward Push of Air Resistance
As your device falls, it shoves air molecules out of the way, creating an upward force called air resistance, or drag. Think of sticking your hand out of a moving car window—the faster you go, the harder the air pushes back. A parachute is designed to maximize this effect.
Your parachute's large, non-porous canopy acts like a giant net, scooping up air molecules. This creates a powerful upward push that directly fights gravity.
- Large Canopy: More surface area to "catch" air, leading to higher drag.
- Small Canopy: Less surface area, resulting in lower drag and a faster fall.
A well-designed parachute doesn't eliminate gravity; it just puts up a very good fight.
Finding Balance with Terminal Velocity
So, gravity pulls down and drag pushes up. What happens next? As your parachute begins its descent, gravity is stronger, so the device speeds up. But as it gets faster, the upward push from drag increases dramatically.
Eventually, you'll reach a point where the upward force of drag equals the downward pull of gravity. At this balance point, the forces cancel each other out. Your device stops accelerating and falls at a steady, constant speed called terminal velocity.
Your number one goal is to design a parachute system with the lowest possible terminal velocity. A slow, controlled descent means a gentle, survivable landing.
Think of it like this: a skydiver in freefall has a very high terminal velocity. When they deploy their parachute, they drastically increase their surface area, creating immense drag that slams the brakes on their speed and lowers their terminal velocity to a safe landing speed. Your parachute does the exact same job for your egg.
Surviving the Final Moment of Impact
Even with a slow descent, the landing is still a sudden stop. The final piece of the physics puzzle is impact force. When your contraption hits the ground, all its kinetic energy (the energy of motion) has to go somewhere.
This is where your Egg Protection Unit (EPU) steps in. The cushioning—straws, cotton balls, or sponges—has one critical job: to absorb and spread out that impact energy. They create a "crumple zone" for your egg.
- Absorption: Soft materials like cotton balls compress on impact, soaking up the shock like a pillow.
- Distribution: A structural frame made of straws can bend or break, using up impact energy before it reaches the eggshell.
By stretching out the time it takes for the egg to come to a complete stop, even by a few milliseconds, you dramatically reduce the peak force it experiences. For a deeper dive into these principles, check out these awesome physics projects perfect for a science fair. It's this one-two punch—slowing the fall with a great parachute and cushioning the landing with a smart cradle—that creates the recipe for success.
Testing, Troubleshooting, and Leveling Up Your Design
The first drop is the moment of truth. But remember, this is a test, not a final exam. Real engineering is about learning from what happens—good or bad—and iterating on your design. This is where you transform a good idea into a great one.
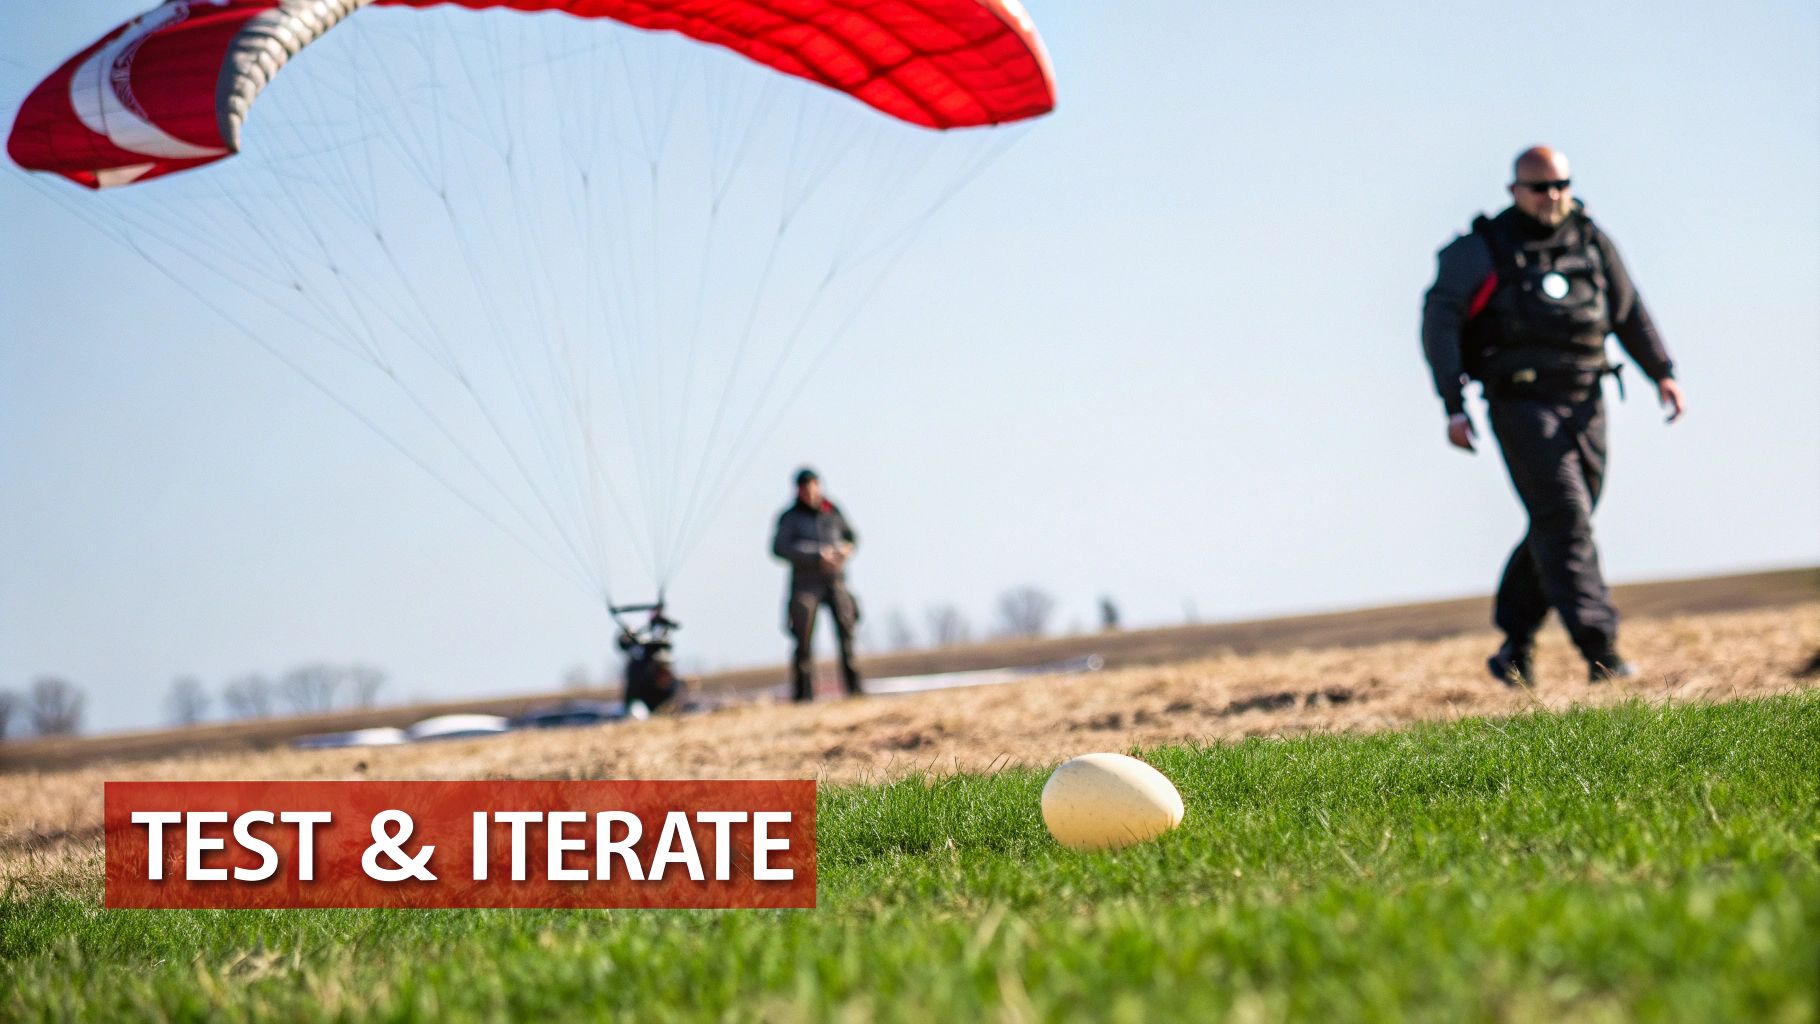
This process of refinement separates a lucky success from a reliable result. Let’s walk through how to test, fix glitches, and take your design to the next level.
Your Pre-Flight Checklist for the First Test
A quick pre-flight check can prevent an avoidable mishap and ensure your test provides useful data.
- Choose a Safe Location: Find an open, grassy area clear of people and fragile objects. Always have adult supervision, especially if dropping from a height.
- Check Your Rigging: Gently tug the shroud lines. Are they secure and free of tangles?
- Secure the Payload: Is your egg snug inside its housing and still sitting horizontally?
- Plan Your Observation: Know what to look for. Observe the entire descent: Does the parachute open quickly? Does it drift, wobble, or spin?
With your checklist done, you’re ready for the test drop.
Troubleshooting Common Egg Drop Disasters
When a test doesn't go as planned, don't get discouraged. Put on your detective hat and figure out what went wrong. Here are common issues and how to fix them.
Problem 1: The Parachute Fails to Open
This is a classic failure where the device plummets like a rock.
- The Cause: Often, the shroud lines are too short, preventing the canopy from catching air. It might also be packed too tightly.
- The Solution: Increase the length of your shroud lines—make them at least as long as the parachute’s diameter. When prepping for the drop, gently bunch the canopy material instead of folding it.
Problem 2: The Device Spins Wildly
An out-of-control spin can cause the parachute to collapse or tangle.
- The Cause: Spinning is almost always a sign of instability, usually caused by uneven weight distribution or unequal shroud lines.
- The Solution: First, ensure your shroud lines are exactly the same length. Second, be certain your egg container is perfectly centered under the parachute.
Problem 3: The Egg Breaks Despite a Slow Fall
This is the most frustrating outcome: the parachute worked, but the egg still cracked.
- The Cause: This points to a failure in your Egg Protection Unit (EPU). The impact force, though lessened, was still too concentrated.
- The Solution: Re-engineer your shock absorption. Add more cushioning like cotton balls or foam. Even better, create a suspension system with rubber bands to cradle the egg in the center of the container.
Key Insight: Every failed test provides valuable data. A cracked egg isn't a failure; it's information telling you exactly which part of your design needs improvement.
Leveling Up Your Design for Egg-cellence
Once you’ve mastered a successful drop, why stop there? Push your engineering skills further.
- Add a Vent for Stability: Many real-world parachutes have a small hole, or vent, in the center. This allows a bit of air to escape in a controlled way, reducing wobble and stabilizing the descent. Try carefully cutting a small circle in the middle of your canopy.
- Experiment with Shroud Lines: Try using more attachment points. Instead of four, what happens with eight? An octagonal parachute with eight equal lines often provides a more reliable and stable deployment.
Projects like this can ignite a real passion for science. UC San Diego's Youth Physics Program, for example, draws dozens of students for high-stakes egg drops that showcase incredible creativity. You can read about how these events inspire future engineers and see just how far this project can go. By testing and improving, you’re engaging in the same process as professional engineers. For more fun ways to build these skills, check out our guide on engineering activities for kids.
Got Questions About Your Egg Drop Parachute?
Even the best plans run into a few snags. Let's tackle some of the most common questions that pop up when building an egg drop parachute to help you nail your design.
The egg drop challenge has been a classroom favorite for decades, taking off in the 1970s thanks to NASA's outreach during the Apollo missions. By the 2000s, an estimated 90% of U.S. high schools used some form of it. A simple trash bag parachute dropped from 10-20 meters can achieve a survival rate between 70-85%. Modern surveys show that 65% of parents say their kids retain physics concepts twice as well through this kind of hands-on learning. It’s also fascinating to learn how much force an egg can actually take before it cracks.
What’s the Best Material for an Egg Drop Parachute?
You're looking for something lightweight but strong that creates a lot of drag. A plastic trash bag is a go-to for a reason: it's cheap, durable, and fantastic at trapping air.
Other great options include:
- Fabric from an old umbrella: This material is designed to be lightweight, strong, and non-porous.
- Large coffee filters: They are pre-shaped and work well for smaller, lighter containers, though they are slightly porous.
My advice? Steer clear of heavy or stiff materials like cardboard for the main canopy, as their weight will fight against the parachute's slowing effect.
How Big Should My Parachute Be?
When it comes to parachute canopies, bigger is almost always better. A larger surface area catches more air, creates more drag, and slows the descent. A great starting point is a canopy with a diameter of around 18 to 24 inches (45-60 cm). This provides significant drag without becoming so large that it gets unstable.
Does the Parachute Shape Actually Matter?
Yes, it absolutely does. The shape impacts stability during the fall. A simple square or circle is easy to cut and works reliably. For a more advanced design, a hexagonal or octagonal shape often provides a more stable, predictable descent with less wobbling.
Pro Tip: Some of the most successful designs include a small hole, called a vent, in the center of the canopy. This lets a bit of air escape in a controlled stream, which can dramatically reduce tilting and keep the parachute level.
How Do I Best Protect the Egg on Impact?
Your parachute is only half the battle; the protection system is just as critical. The main goal is to create a "crumple zone" to absorb and distribute the shock of landing. Pack the area around the egg with lightweight materials like straws, sponges, or cotton balls. It's crucial to build a cradle that holds the egg securely in the middle, far away from the container's hard outer walls. And don't forget the game-changing tip from MIT’s research: securing the egg on its side can make it far more resistant to cracking.
At Playz, we know that hands-on learning makes science stick. Our kits are designed to spark curiosity and turn complex principles into exciting, unforgettable experiences. To continue your child's journey of discovery, explore our full range of STEM toys and science kits at https://www.playzusa.com.