


When the curtains close, the room goes quiet, and children press their faces to the window, the night sky may still be missing. City lights, clouds, or an early bedtime can turn stargazing into a promise for another day. A homemade planetarium projector changes that. With a box, foil, a light source, and a little patience, you can bring a starfield indoors and turn an ordinary ceiling into a hands-on astronomy classroom.
The most rewarding version isn't just a pretty night-light. It gives children something to build, test, adjust, and explain. They can identify constellations, compare bright and faint stars, explore seasonal skies, and ask why a tiny hole can create a convincing point of light. For a cozy play space before or after the activity, a child-friendly indoor play tent can also create a focused setting for storytelling and sky observation.
Bringing the Night Sky Indoors
A rainy evening is a perfect test of a child's curiosity. The sky outside is hidden, the telescope stays in its case, and the usual bedtime routine is approaching. Instead of ending the astronomy conversation, place a cardboard box on the floor, turn off the lamps, and let the first small points of light appear across the ceiling.
That moment matters because children can see a direct connection between their actions and the result. They punched the holes, positioned the flashlight, and created the pattern themselves. The projector becomes less like a toy and more like a simple scientific instrument.
From decoration to discovery
The classic design copies the central idea used by traditional planetariums. A light shines through carefully placed openings, and each opening creates a star image on a surrounding surface. The homemade version is modest, but the underlying experience is powerful because children can change one feature at a time and observe what happens.
Use the projector as a conversation starter:
- Sky navigation: Ask children to follow one bright point to another and describe the route.
- Seasonal change: Recreate a different constellation arrangement and discuss why the visible sky changes through the year.
- Pattern recognition: Invite children to find shapes without suggesting that every pattern has to look like a familiar animal or object.
- Scientific language: Encourage words such as bright, dim, sharp, blurred, near, far, and rotate.
Practical rule: Build the first version quickly, then spend more time asking questions than decorating the box.
The best homemade planetarium projector leaves room for revision. A child might notice that the stars look fuzzy, discover a gap leaking light, or decide that a constellation needs a better pattern. Those small frustrations create useful opportunities to practice observation and problem-solving.
Building a Classic Star Box Projector
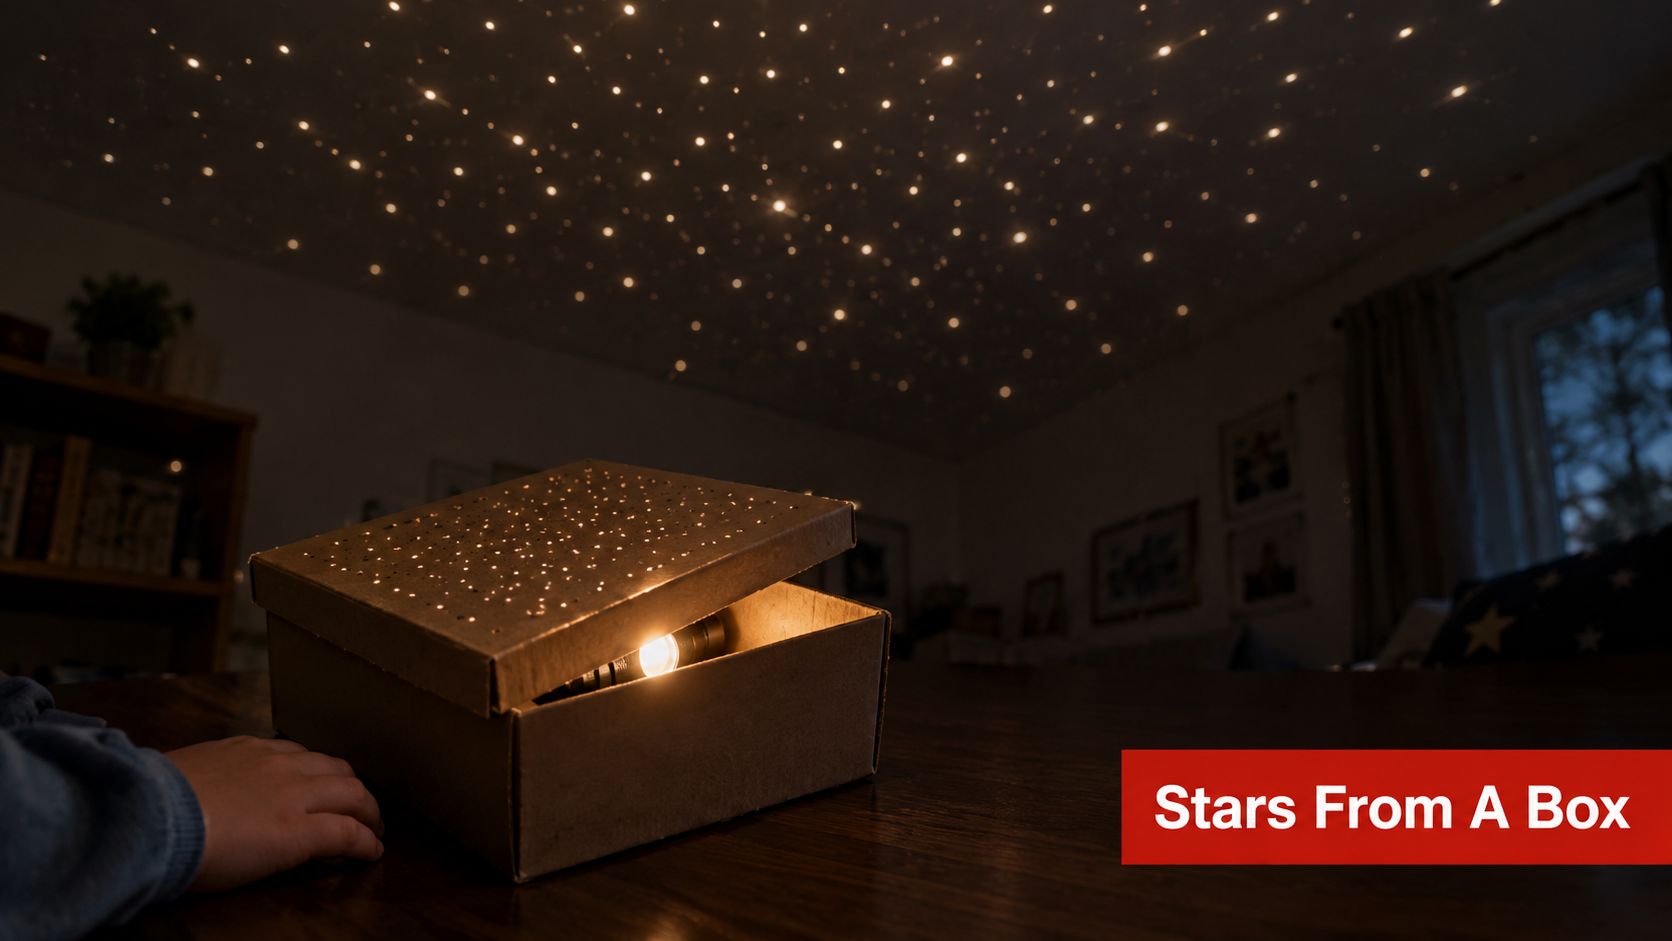
A cardboard star box works because it keeps the light inside and lets it escape only through deliberate openings. NASA's Starry Sky Projector activity uses aluminum foil over a box, holes made with a sharp pencil, and a light source facing upward inside the container.
Materials and setup
Gather a sturdy cardboard box with a lid, black card or aluminum foil, a pencil or pushpin, scissors, black tape, and a flashlight or headlamp. Choose a light source that fits safely inside the box and doesn't become excessively hot during use.
- Choose the projection face. Cover one opening or side of the box with foil or black card. A light-tight enclosure produces stronger contrast than a box with bright gaps around the edges.
- Plan a star pattern. Use a simple constellation drawing as a guide. Mark the principal stars first, then add smaller points around them.
- Make clean holes. Press the pencil or pushpin straight through the foil. Avoid twisting, tearing, or punching through several layers at once.
- Place the light inside. Position the flashlight or headlamp so it faces upward toward the perforated surface. Secure it so it won't roll into the foil.
- Seal unwanted openings. Apply black tape around the lid and corners. Even a narrow leak can wash out the projected stars.
- Darken the room. Aim the box at a ceiling or wall, then move it closer or farther away until the points look as sharp as possible.
Hole size controls the compromise between brightness and definition. NASA's activity uses a hole of about 5 mm as a midpoint between apertures that are too dim and openings that create blurred spots. That makes the adjustment meaningful for children: a bigger hole may look brighter, but it won't automatically look more like a star.
For additional hands-on projects, these cardboard craft ideas can help you find sturdy construction techniques without turning the projector into a complicated build.
Upgrading to a DIY Dome or Spherical Projector
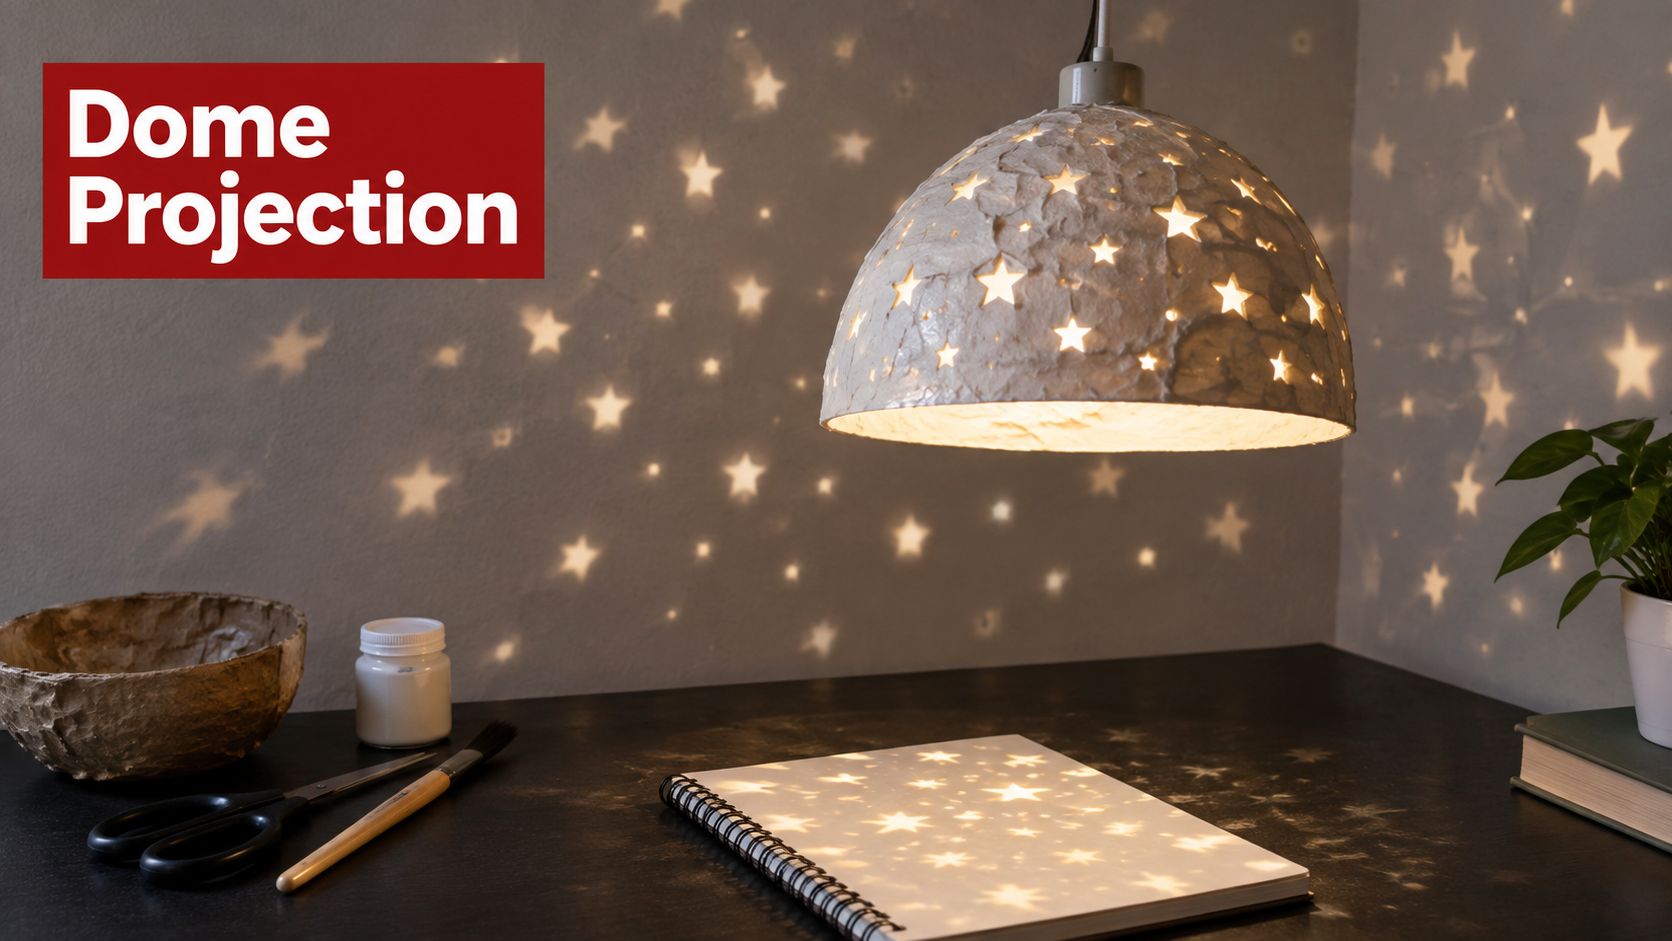
A flat ceiling is an excellent starting surface, but a curved surface changes the experience. A large white paper lantern, translucent beach ball, or carefully positioned curved wall can give children a more immersive view. The star pattern may stretch toward the edges, which isn't a flaw to hide. It's a useful introduction to how a flat pattern behaves on a curved surface.
A simple curved-surface method
Start with the star box and test it on the ceiling before adding a dome. This gives you a reliable reference point. Then place the lantern or translucent sphere in a dark area and aim the projector toward its surface, keeping the light source stable.
For a safer craft setup, keep the light outside the paper lantern if the lamp could heat the material. A cool LED flashlight or headlamp is the sensible choice. A beach ball can show the effect clearly, but its shiny surface may create unwanted reflections, so a matte or lightly frosted covering usually works better.
What the distortion teaches
Ask children to compare a star near the center with one near the edge. Does the spacing look the same? Does the point remain round? They can walk around the sphere and notice that the visible arrangement changes with their position.
More advanced spherical projector designs show how ambitious this idea can become. One low-cost project was designed to cover more than 90% of a sphere while staying under about 500 euros, as described in AstroGeo's account of a spherical projector project. A household dome won't match that optical precision, but it can introduce the same spatial idea with simple materials.
Turning the Build into a Science Lesson
A projector earns its place in a classroom or playroom when children use it to answer questions. Begin with one constellation, switch off the room lights, and ask learners to describe what they see before naming it. The activity becomes richer when the child has to observe first and receive the vocabulary afterward.
Lesson ideas that work
Star-hopping turns the projected pattern into a route. Choose a recognizable point and ask children to move from it to a second point, then a third. BBC Sky at Night describes homemade planetarium projectors as useful for learning star-hopping and exploring how the sky changes through the seasons. The University of Washington mobile planetarium demonstrated that a DIY setup can support real instruction, reaching over 1,500 people in six months, as reported in the same BBC Sky at Night guide to making a planetarium projector.
Stars and planets can become a classification exercise. Use smaller, sharper openings for most stars and a few larger openings for brighter objects, then explain that the projector is using visual symbols rather than reproducing scale. Children can sort the points by apparent brightness and discuss why a bright object isn't necessarily physically closer.
Constellation storytelling combines creativity with pattern recognition. Let each child design a small group of points, name it, and write a short navigation story. The important distinction is to separate the invented story from the actual astronomical pattern.
A repeatable classroom rhythm
Use the same sequence each time: observe, describe, predict, adjust, and explain. That structure connects naturally with the scientific method steps for kids, especially when learners test whether changing the box position affects focus.
Older children can rotate the box between observations and record which patterns appear to move. Keep the language precise. The box isn't changing the actual sky, but it can model changing viewpoints and seasonal visibility.
Understanding the Optics and Common Mistakes
A blurry projection usually has a physical cause, not a mysterious one. The aperture may be too large, the foil may be torn, the lamp may be poorly aligned, or stray light may be entering through the box. Treat each problem as a variable to isolate rather than rebuilding everything at once.
Traditional planetarium projectors use the same basic mechanic as a homemade pinhole design. Light passes through tiny openings, and each opening creates a star image on the dome. In larger systems, the opening can help control brightness, while brighter stars may use larger holes with small lenses to preserve sharpness, as explained in this overview of the planetarium optical principle.
Brightness versus sharpness
A tiny opening can produce a clean point but may let too little light through. A broad or irregular opening allows more light to escape, yet it can produce a fuzzy patch instead of a convincing star. The practical target is a clean, repeatable hole that gives enough brightness for the room without sacrificing the point-like shape.
Use these troubleshooting checks:
- Dim stars: Bring the projector closer to the ceiling, use a suitable LED light, or test a slightly larger clean aperture.
- Fuzzy stars: Replace torn foil, reduce oversized openings, and check that the lamp sits directly behind the pattern.
- Washed-out contrast: Turn off every room light and seal the lid, corners, and access flap with black tape.
- Uneven focus: Keep the box steady and adjust its distance from the ceiling rather than moving the light source randomly.
The shadow principle is closely related. Both a projected pinhole and a shadow depend on the path and spread of light, which makes this kid-friendly explanation of how shadows are formed a useful companion activity.
Optics insight: Don't chase brightness alone. A dim, crisp star teaches more about controlled apertures than a bright, shapeless blotch.
Comparing DIY Builds to Commercial Options
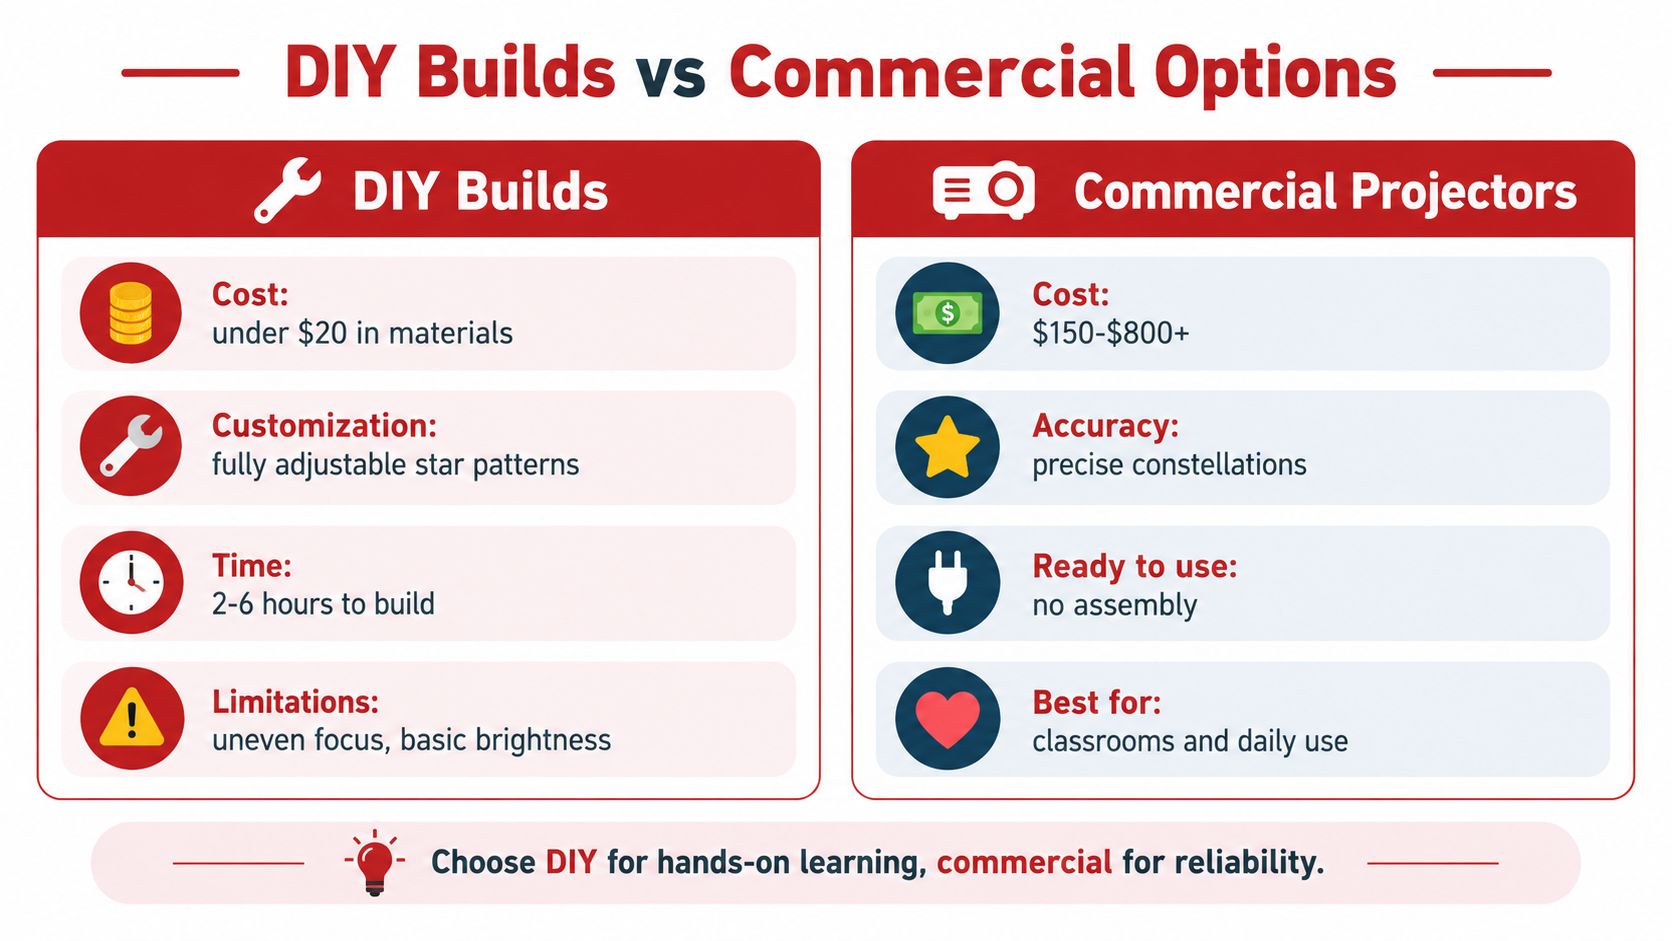
A homemade build gives children ownership of the result. They select the pattern, handle the tools with supervision, and see how each adjustment changes the ceiling. The tradeoff is inconsistency. Cardboard can flex, foil can tear, and a flashlight may not illuminate every opening evenly.
Commercial projectors solve many of those problems through prepared components and fixed optical systems. They're ready for repeated demonstrations, often provide more consistent constellation patterns, and may include moving mechanisms that are difficult to reproduce with household materials. They also reduce setup time, which matters when a teacher needs a dependable lesson rather than an open-ended engineering activity.
Choose by purpose
| Priority | DIY build | Commercial option |
|---|---|---|
| Hands-on learning | Strong choice because children build and revise the projector | More focused on using the finished device |
| Pattern flexibility | Easy to punch a new constellation pattern | Depends on the supplied discs or settings |
| Reliability | Requires testing and careful light sealing | Usually offers more predictable operation |
| Immersion | Works well on a ceiling or simple curved surface | May provide broader coverage or movement |
| Teaching depth | Encourages optics, design, and observation | Supports repeatable demonstrations |
For a decorative atmosphere rather than a construction lesson, a galaxy star night light may suit a bedroom or reading corner. It won't replace the reasoning involved in making and calibrating a projector, but it can provide a convenient starry setting.
Decision rule: Choose DIY when the building process is part of the lesson. Choose commercial equipment when dependable projection and quick preparation matter more.
Extending the Experience and Next Steps
The projector should lead somewhere. After the first successful demonstration, give each child a star journal and ask them to draw the pattern, record the brightest point, and describe where the constellation appeared on the ceiling. The drawings don't need to be artistically accurate. They need to show careful observation and change over time.
Pair the activity with a space story or an age-appropriate astronomy documentary, then return to the ceiling and ask which ideas the children can identify in the projection. A child who has learned to follow a constellation can begin connecting stories, directions, and recurring patterns rather than treating the stars as random decoration.
Projects for growing skills
- Observation journal: Record the constellation name, pattern, brightness, and any changes made to the projector.
- Seasonal model: Create separate patterns and discuss why different star groups can be visible at different times of year.
- Engineering challenge: Design a sturdier box with a removable aperture plate, then test whether the replacement pattern stays aligned.
- Motion experiment: Older children can explore a carefully supervised rotating platform to model the apparent movement caused by Earth's spin.
The history of planetariums gives the project a memorable context. Carl Zeiss developed the modern planetarium projector in Jena between March 1919 and July 1923, and the first public demonstration of the Zeiss Model I took place on 21 October 1923 at the Deutsches Museum in Munich. That device projected 4,500 stars, along with the Milky Way, the Sun, the Moon, and five planets, a foundational step for later dome-based starfield designs, according to Astronomy.com's history of the first projection planetarium.
A homemade model won't reproduce that machine, but it shares the central idea. For another hands-on route into celestial structure, explore these solar system model ideas and let children compare a projected sky with a physical model.
Playz offers science kits, creative toys, and a Premium Solar System Model Kit with an HD planetarium projector that projects the eight planets onto a surface. Visit Playz to find a hands-on way to continue your child's astronomy journey after the homemade planetarium projector is switched off.