


You drop the finished ball onto the kitchen floor, expecting a dull thud. Instead, it springs back into your hand. That small moment is the reward for getting the mixture right, but it's also the start of a useful lesson in polymers, elasticity, measurement, and experimental design.
A homemade bouncy ball is simple enough for a supervised kitchen or classroom activity, yet unpredictable enough to make children ask better questions. Why did one batch stay sticky? Why did another feel firm but bounce poorly? How does storage affect the result? This guide focuses on those practical details, so the activity produces more than a temporary craft. It becomes a manageable physics lesson with a ball you can test, compare, and improve.
The Joy of Making a Bouncy Ball at Home
The best batches have a recognizable finish. The mixture initially clings to your fingers, then gradually pulls together as you knead it. Once the surface feels smooth rather than tacky, you can roll it into a sphere, hold it over a hard floor, and watch it rebound. It may not behave exactly like a manufactured rubber toy, but that difference creates an opportunity to investigate how materials return energy after impact.
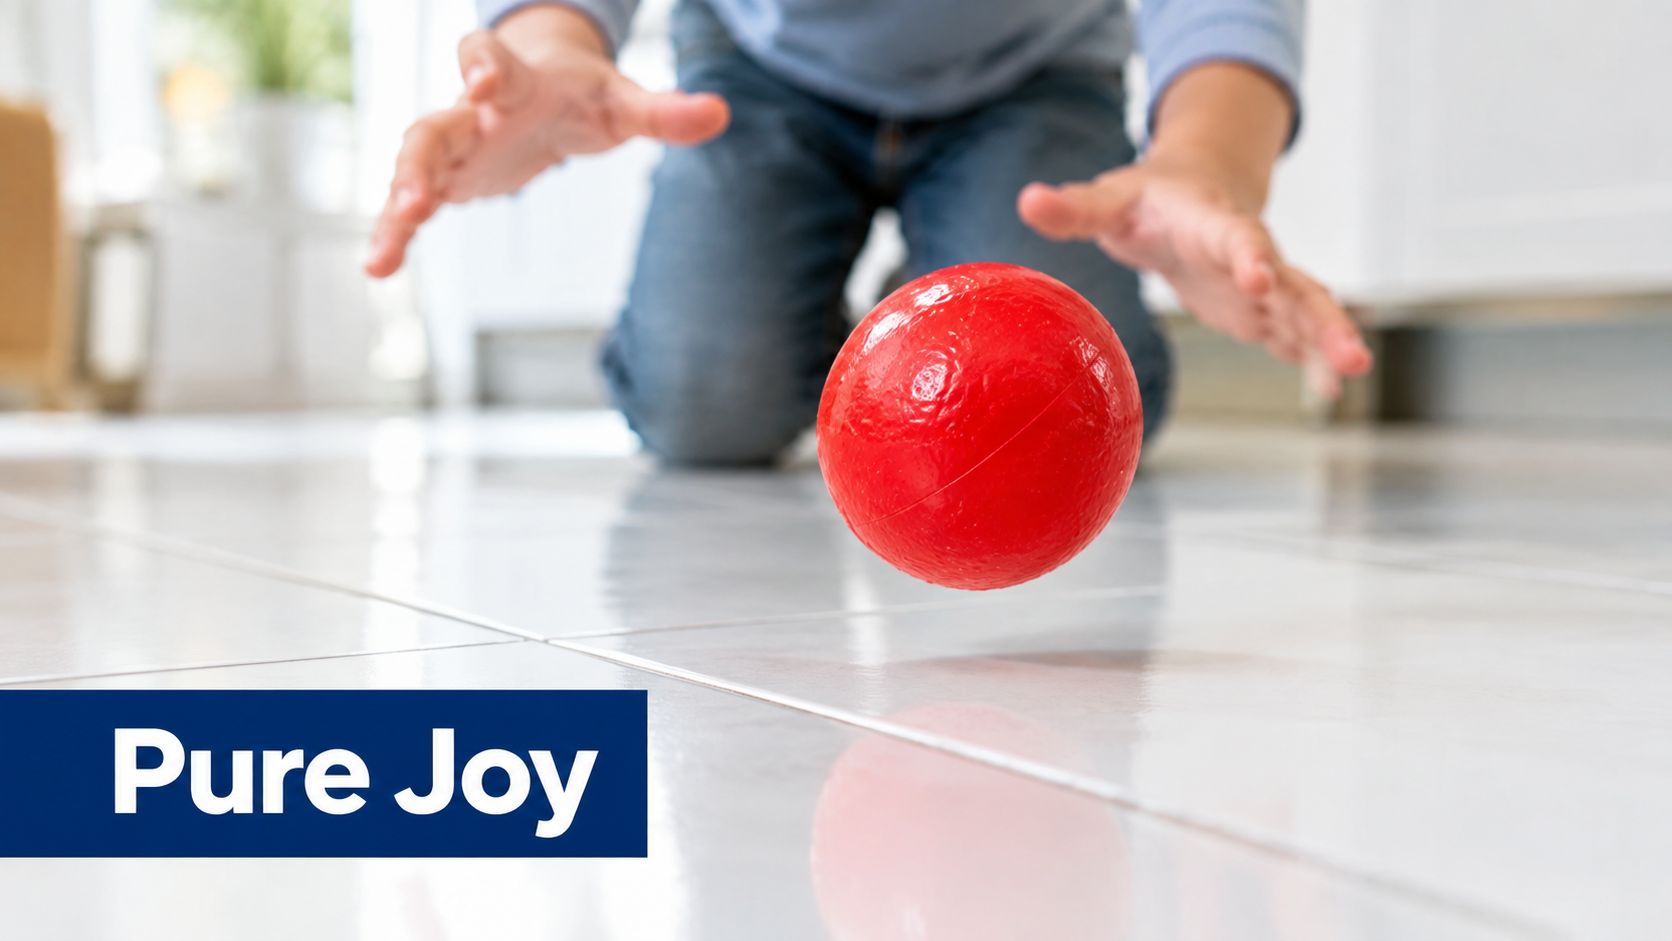
Making one also gives children control over the experiment. They measure ingredients, observe a change from liquid to solid, shape the result, and test it against a consistent surface. That sequence supports the kind of hands-on learning described in this activity-focused guide, because the child isn't only watching a demonstration. They're handling the material and making decisions based on what they observe.
A short history of the bounce
The modern bouncy ball traces to Norman Stingley, a California chemist who developed the Super Ball in 1964–1965 by compressing synthetic rubber. Wham-O later refined the material and launched the toy in 1965. Historical accounts describe polybutadiene or a similar synthetic rubber cured with sulfur and molded under very high pressure and heat. One account reports 6 million SuperBalls sold by December 1965, with peak output reaching 170,000 balls per day (historical background on the Super Ball).
A kitchen recipe doesn't reproduce that industrial process. It uses a glue-based polymer network instead, which is why the texture, bounce, and durability differ. That contrast is valuable: children can compare a homemade material with a commercial rubber product and ask what manufacturing changes.
Practical rule: Treat the first ball as a test specimen, not a failure-proof finished toy. Its behavior tells you what to adjust next.
Essential Ingredients and Measuring Guide
A successful batch starts before anyone stirs. Gather the ingredients, measure them separately, and use a small bowl that leaves enough room for mixing without splashing. The most reliable classroom-style formula uses a modest amount of glue, cornstarch, and prepared borax solution.
What to measure
For one ball, prepare:
- Glue: 1 tablespoon of white school glue.
- Cornstarch: 1 tablespoon.
- Borax solution: about 1/2 teaspoon, made by dissolving 1/2 teaspoon borax in 2 tablespoons warm water.
- Equipment: two small containers, a measuring spoon, a stirring tool, and a clean surface for kneading.
These proportions come from a classroom-grade method documented by Oregon State University Extension. The measurements matter because the glue supplies the polymer material, cornstarch helps give the mixture body, and the borax solution changes how the glue chains connect.
A 100 mL graduated cylinder isn't essential for this small recipe, but accurate measuring equipment can help older students investigate how small changes affect texture. For younger children, measuring spoons are easier to handle and provide enough precision for a first attempt.
Mix in the right order
First, dissolve the borax in the warm water. Stir until the powder is dispersed, then set the solution aside. In a separate container, combine the glue and cornstarch until the cornstarch is mostly incorporated.
Add the measured borax solution to the glue mixture. Don't rush into vigorous stirring. Leave the mixture undisturbed for about 15 seconds, then begin stirring. The short pause allows the mixture to start clumping instead of remaining a thin, slippery liquid.
At first, the mass may look uneven and sticky. That isn't a signal to add more powder immediately. Remove it when it becomes difficult to stir, then knead it until the surface loses its tackiness. Only after the texture improves should you roll it into a sphere.
Measurement matters: Changing the amount of solution changes the material, so record what you used if you want to compare batches rather than simply make another ball.
Step-by-Step Instructions for Perfect Results
The process works best when you follow the visual changes rather than relying on stirring time alone. The mixture passes through several stages, and each stage tells you what to do next.
- Prepare the solution. Mix 1/2 teaspoon borax with 2 tablespoons warm water. Warm water helps the powder disperse, but the solution should be handled by an adult or under close adult supervision.
- Combine the base. Put 1 tablespoon glue and 1 tablespoon cornstarch in a second container. Stir until the ingredients form a consistent paste.
- Add and pause. Add about 1/2 teaspoon of the borax solution. Leave the mixture alone for approximately 15 seconds before stirring. Some classroom instructions use a 10–15 second setting window before shaping or removing the clump, and that short threshold can affect whether the material forms cleanly (American Chemical Society classroom material).
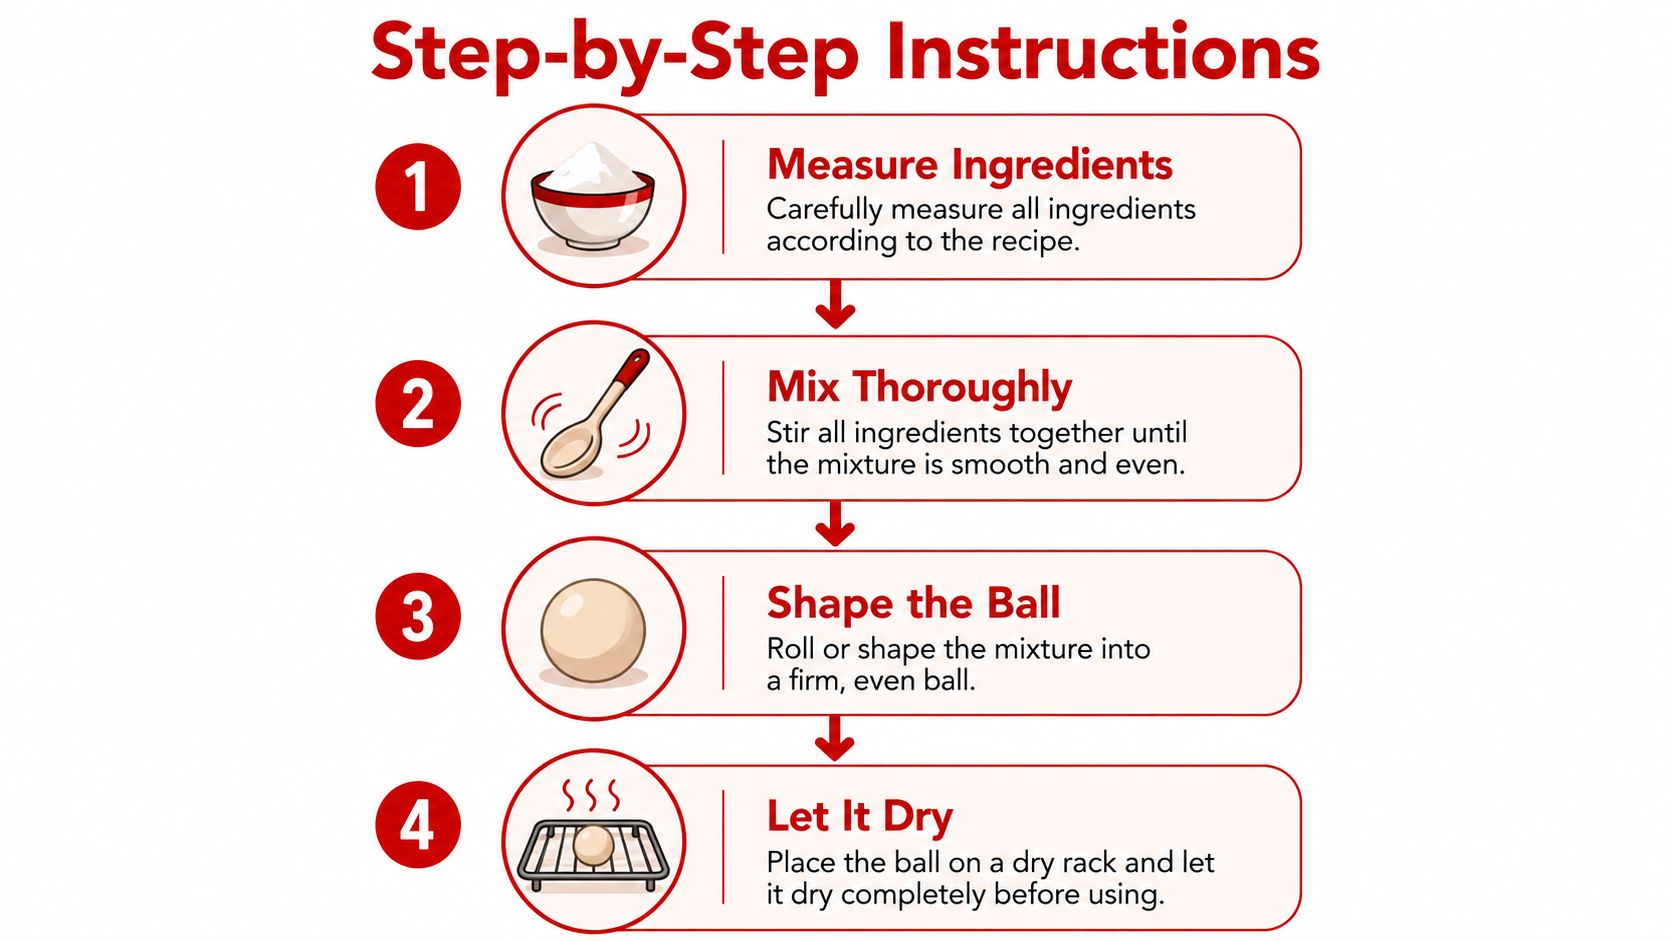
- Stir until the texture changes. The mixture should thicken and gather around the spoon. Stop when stirring becomes awkward rather than continuing until the clump turns completely dry.
- Knead patiently. Pick up the clump and roll it between your hands. It may feel sticky at first. Continued kneading distributes the cross-linking throughout the material and helps smooth the surface.
- Shape and test. Roll the material into a sphere, then drop it from a fixed height onto the same hard surface for each trial. A simple comparison can use three drops and an average bounce height, as recommended in the Oregon State classroom activity.
The most common mistake is stirring too early or too long before the mass begins to clump. If you want a related look at how borax changes a polymer mixture, compare this process with making slime with borax, while remembering that a bouncy ball needs to be kneaded and shaped rather than left as a loose gel.
The Science Behind the Bounce
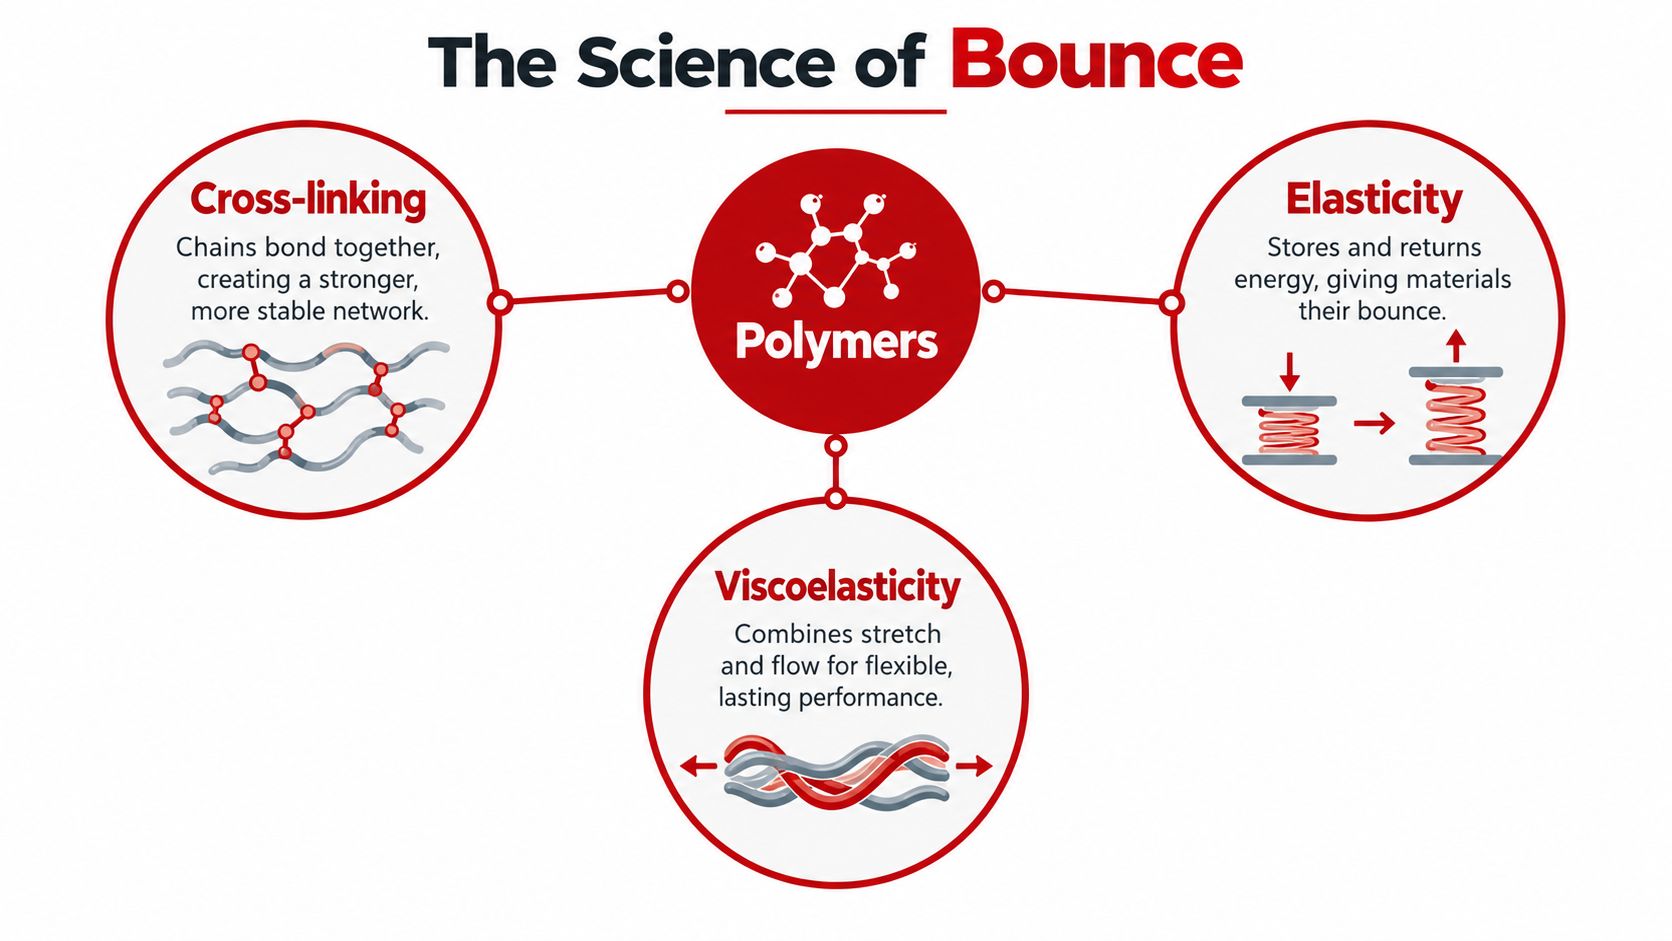
White school glue contains long polymer chains. Borax helps connect those chains, creating a loose network that changes the glue from a flowing liquid into a moldable elastic material. When the finished ball hits the floor, the network deforms, stores some of the impact energy, and then pushes back toward its original shape.
That response isn't perfectly efficient. Some energy is lost through internal movement and heat, which is why a homemade ball won't return all the way to its release height. The ball's size matters, but the material's elasticity and internal structure matter just as much.
More borax or less
Borax concentration creates a useful comparison:
| Mixture direction | Likely texture | Practical result |
|---|---|---|
| Less borax | Softer and gooier | Easier to deform, but harder to shape cleanly |
| More borax | Firmer and bouncier | Holds its form better, but can become less pleasant to knead |
| Balanced mixture | Elastic and moldable | Best starting point for testing |
One lab protocol compares versions by increasing borax from 0.5 teaspoon to 1.5 teaspoons, while educator resources describe the same general trade-off: more borax makes a firmer, bouncier ball, and less borax produces a softer, gooier one (comparison protocol). Change one variable at a time so children can connect the texture to the result. You can record the recipe, surface feel, shape, and bounce height in a simple notebook.
The history reaches much further back than the modern toy. Rubber balls were used in Mesoamerica as early as 1200 BCE, when the Olmec and later cultures developed latex-stabilizing techniques for ritual ball games. That tradition predates the toy market by more than 3,000 years, showing that people have been exploring elastic materials for a very long time (historical account of rubber bounce). For an extended activity, connect this experiment to other chemical reaction experiments and ask children to identify the visible evidence of a material change.
Troubleshooting and Customizing Your Ball
A sticky ball usually needs more kneading before it needs more ingredients. The polymer network continues to organize as you handle the mixture, so give the clump time to change texture. If it remains too soft after thorough kneading, the next batch can use a slightly stronger borax mixture rather than an unmeasured pour.
Match the problem to the adjustment
- Too sticky: Knead longer and check whether the mixture was allowed to sit before stirring. If the next batch still stays gooey, increase the borax concentration cautiously.
- Too firm: Reduce the borax concentration in the next batch. A ball that feels hard may hold its shape but lose the soft elasticity that makes it enjoyable to handle.
- Misshapen: Continue rolling the material while it's still workable. Incomplete kneading often leaves a rough, uneven sphere that bounces inconsistently.
- Low bounce: Check the sphere's symmetry and test it on a hard, consistent surface. A flat spot can redirect the ball instead of returning energy upward.
The documented comparison between 0.5 teaspoon and 1.5 teaspoons of borax gives older students a clear variable to investigate, but it shouldn't be treated as a promise that every glue brand will respond identically. Educator guidance consistently describes the direction of the effect, more borax produces a firmer and often bouncier result, while less creates a softer texture (educator comparison).
Add creativity without losing control
Food coloring can make the experiment more inviting, but add it to the glue before the dry ingredients so the color distributes evenly. Glitter changes the surface and may interfere with smooth shaping, so use it sparingly and keep it away from eyes and mouths. For a meaningful science comparison, make one colored ball and one plain ball while keeping the measurements the same.
Troubleshooting insight: Adjust one ingredient at a time. If you change the water, glue, borax, and kneading method together, you won't know which choice caused the improvement.
Safety Tips and Long-Term Care
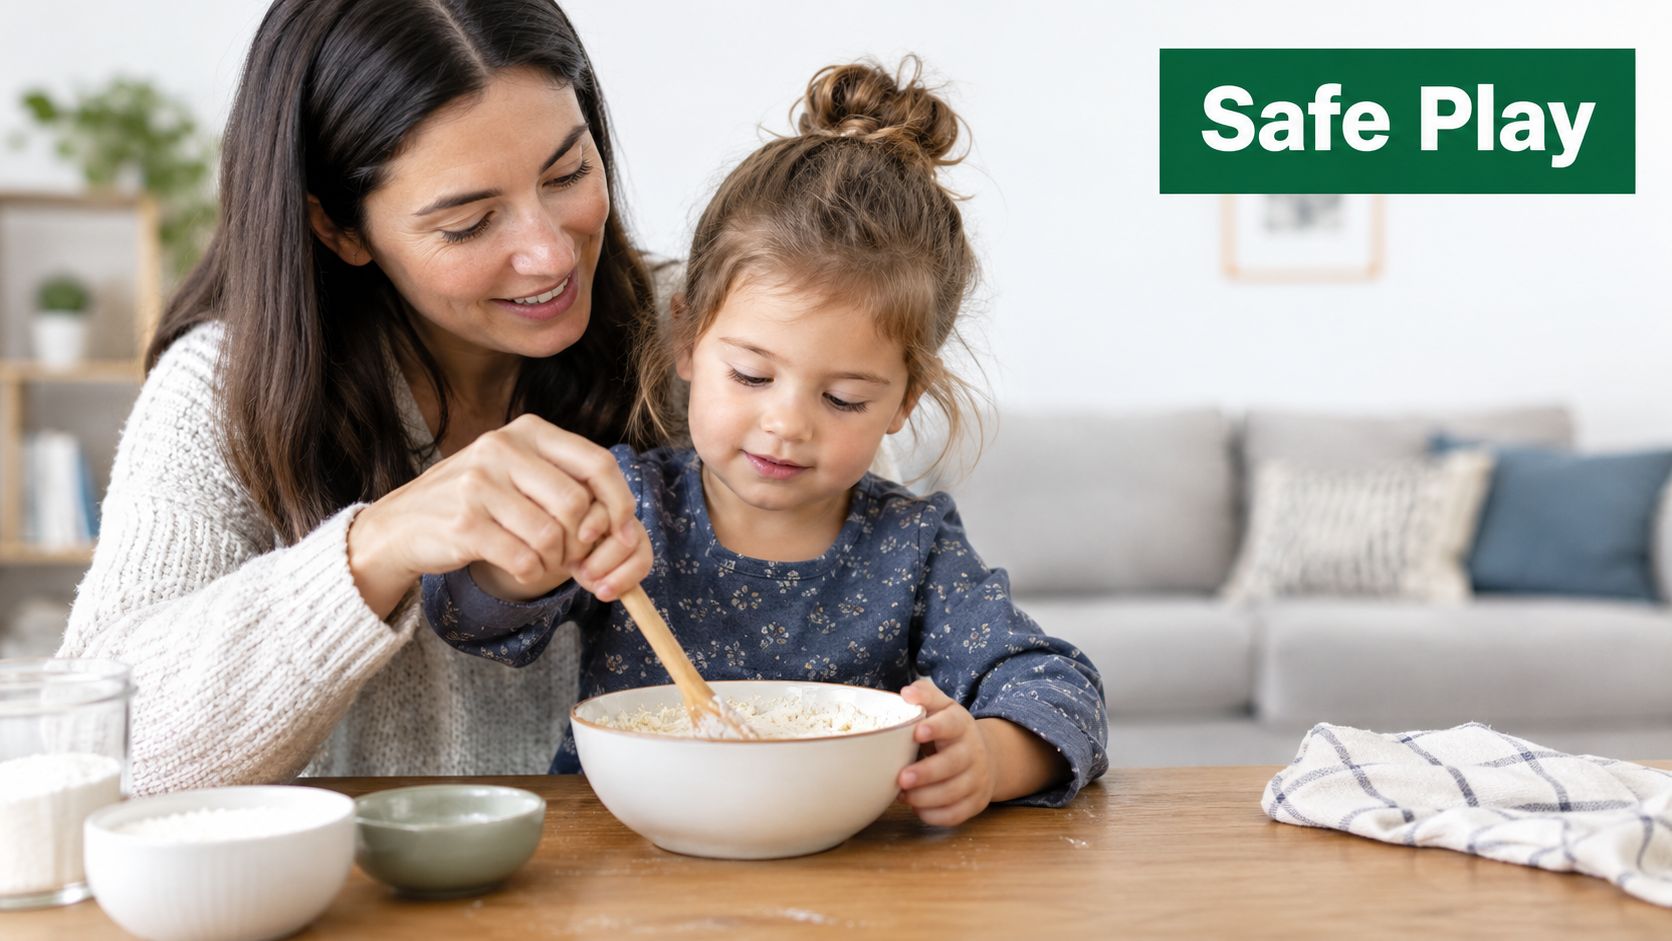
Borax requires responsible handling. An adult should measure the powder and prepare the solution, children shouldn't taste or inhale any ingredient, and everyone should wash hands after kneading the finished ball. Keep the powder, solution, and finished material away from mouths and eyes, and stop the activity if a child has skin irritation.
Choose participants based on behavior rather than a label alone. A child should be able to follow the no-tasting rule, keep small materials away from their face, and accept direct supervision. Younger children can participate in observation, color selection, and bounce testing while an adult handles the measuring and mixing.
Storage determines the useful life
Most homemade bouncy balls don't have the stable formulation of a commercial rubber toy. An independent DIY guide reports that they typically remain usable for several days to a few weeks when kept in an airtight container (storage guidance for DIY bouncy balls). Leaving the ball exposed can let the surface dry, become less flexible, or develop cracks.
Use a clean, airtight container and keep the ball away from direct heat and dirt. Check the surface before play. If it has become cracked, excessively dry, or contaminated, discard it rather than trying to restore it with added water.
That limited lifespan can become part of the lesson. Label each ball with its recipe, storage method, and test observations. Compare a plain ball with a colored one, or compare a carefully kneaded sphere with a rushed batch. A child who tracks those changes is learning about elasticity, material aging, and experimental controls, not simply making a disposable toy.
For families who want more structured tactile projects, slime-making kits can provide another way to explore how ingredients change polymer texture, always with the same supervision and handling standards.
Playz offers science kits and creative toys designed to turn questions into hands-on activities, making them a natural companion to a homemade bouncy ball experiment. Visit Playz to find materials that help children keep testing, building, and learning through purposeful play.