


The mixing starts before the table is fully cleared. A child squeezes glue into a bowl, chooses a bright color, and reaches for glitter while an adult checks the instructions and moves the activity away from the carpet. Within minutes, the liquid changes into something stretchy, squishy, and surprisingly scientific.
That combination explains the lasting appeal of slime making kits. They turn a familiar household material into a hands-on lesson about polymers, texture, measurement, and cause and effect. Slime also has a long history as a toy category. Mattel introduced an original slime toy line in 1976, and later academic work described slime as a reversible cross-linking gel that developed into many popular variants. You can read more about the wider value of sensory play when deciding how this activity fits your child's routine.
A good kit, however, needs more than vivid colors and fun add-ins. Parents and educators should be able to check the ingredients, understand the age guidance, prepare a suitable workspace, and recognize when a homemade or edible alternative makes more sense. This guide covers the chemistry, kit formats, safety labels, boron limits, supervision, storage, cleanup, and activity ideas that help slime stay both enjoyable and responsible.
Introduction to Slime Making Kits and Sensory Play
Slime is appealing because it gives children immediate feedback. Pull it slowly and it stretches. Squeeze it quickly and it may resist. Add the activator gradually and the texture changes in front of them. Those small reactions invite children to observe, predict, test, and adjust instead of just following a finished craft project.
The activity works for several audiences. A parent may want a screen-free birthday activity, a teacher may need a tactile demonstration for a lesson, and an older child may enjoy creating unusual textures or ASMR-style sounds. Retail-trend coverage also describes slime as a continuing sensory staple, with searches reported as up 35% quarter over quarter in 2026, while 2025 toy-trend coverage continued to list slime kits among viral toy categories. These figures come from Faire trend coverage reported by The Toy Book, so they should be treated as market signals, not a guarantee that every kit will suit every child.
The most useful way to judge a kit is to balance three questions:
- What will the child learn? Look for opportunities to measure, compare textures, mix colors, and record observations.
- How will the child use it? A calm-down tool, classroom activity, party station, and collectible sensory product have different practical needs.
- Can the adult manage the risks and mess? Ingredient disclosure, age guidance, protective surfaces, and handwashing matter as much as appearance.
Slime kits remain valuable when adults frame them as guided exploration rather than unsupervised chemistry. Children can enjoy the novelty while learning that a product's label, formulation, and instructions deserve attention before play begins.
How Slime Works and What Kits Contain
Most classic slime kits rely on a simple transformation. Washable glue contains polyvinyl alcohol, or PVA, a polymer made of long molecular chains. An activator supplies borate ions, often from borax or sodium tetraborate. Those ions connect separate PVA chains, creating a loose three-dimensional network that traps water and changes the mixture from a liquid into a stretchy, viscoelastic gel. The American Chemical Society's slime activity explains this cross-linking process in educational terms.
A useful analogy is a bowl of loose pieces of string. Before the activator, the strings slide past one another. Borate ions act like small connectors that fasten some strings together, forming a flexible net. The net still bends and moves, but it no longer flows like the original glue solution.
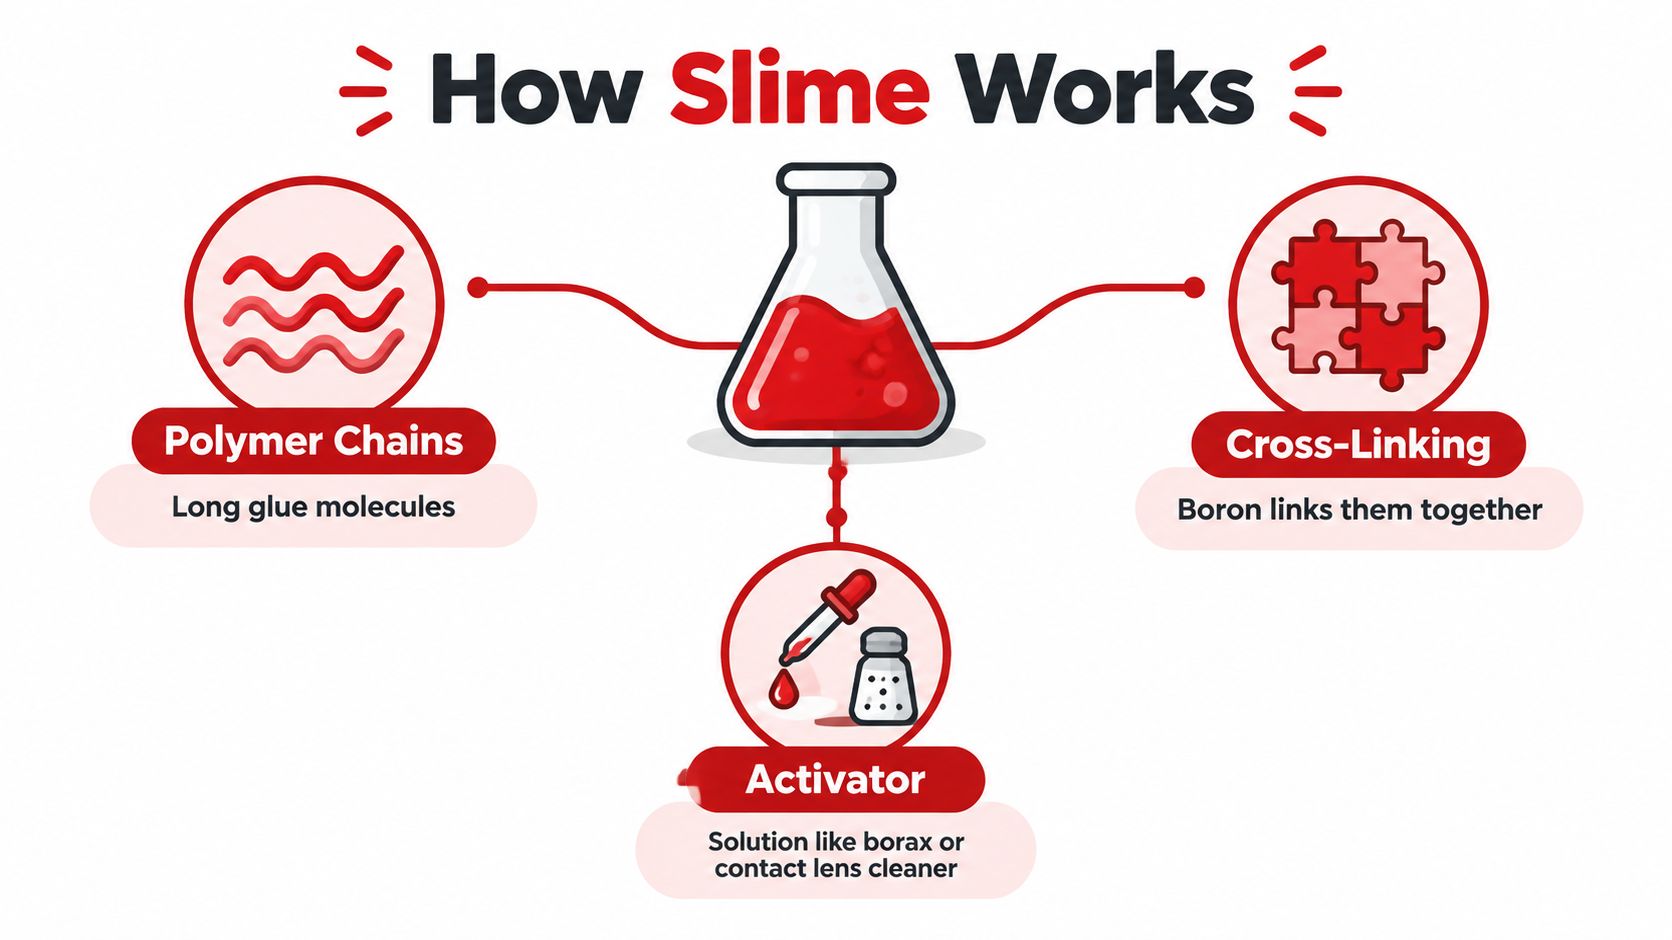
Why the activator changes the texture
Activator concentration controls the balance between flow and structure. Too little borate leaves too few connections, so the mixture stays runny or sticky. Too much encourages rapid over-cross-linking, producing a firmer, rubberier material that stretches less easily.
That gives children a visible lesson in proportion. Adding a small amount, mixing thoroughly, and observing the result is more useful than pouring in a large quantity at once. A well-designed kit should make this process clear and provide tools that help the child add the activator gradually.
Practical rule: Add the activator slowly and mix between additions. Texture tells you what the chemistry is doing.
What belongs in a kit
Contents vary, but many kits include:
- PVA-based washable glue, the polymer source for classic stretchy slime.
- A borate activator, supplied directly or prepared according to the instructions.
- Colorants and glitter, which support visual customization but don't create the gel.
- Mixing cups, stirrers, measuring tools, or storage pots, which make the activity easier to control.
- Texture add-ins, such as foam pieces, beads, or soft clay, depending on the format.
Parents comparing options should distinguish between ingredients that create the slime and decorations that change its appearance or feel. A kit connected to broader experiments can also support measurement and observation skills, much like other science kits for kids. Clear instructions, sealed components, sensible age guidance, and ingredient information are stronger quality signals than a long list of decorative extras.
Types of Slime Kits and How to Compare Them
Not every child wants the same sensory experience. One child may prefer a smooth, slow stretch, while another may seek crunch, cloud-like resistance, glowing colors, or a firm material that can be shaped. The right choice depends on the purpose of the activity, the child's tolerance for mess, and the amount of adult support available.
| Kit Type | Sensory Experience | Best For | Mess Level |
|---|---|---|---|
| Classic stretchy slime | Smooth, elastic, and pullable | First experiments and demonstrations | Medium |
| Fluffy slime | Light, airy, and soft | Children who enjoy squeezing and expanding textures | Medium to high |
| Butter slime | Dense, moldable, and clay-like | Shape-making and slower tactile play | Medium |
| Crunchy slime | Textured and noisy because of inclusions | Older children and ASMR-style play | High |
| Glow or color-changing slime | Visual changes paired with a familiar gel texture | Themed gifts and observation activities | Medium |
Classic slime is often the easiest format for teaching the basic PVA and activator relationship. Children can see how mixing changes the material and compare a runny batch with a firmer one. It may be less distinctive as a gift, but it offers a clear starting point for STEM learning.
Fluffy and butter varieties shift the focus toward sensory contrast. Fluffy slime feels lighter and may require more space because it expands during play. Butter slime is often easier to shape, which can suit children who prefer making objects over stretching a material. Neither format is automatically safer, so the same label and supervision checks still apply.
Crunchy slime can be engaging for older children and teens because it combines touch with sound. The trade-off is cleanup. Small add-ins may scatter, cling to clothing, or become difficult to remove from soft furnishings. Glow and color-changing versions add an observation element, especially when children compare how the material looks under different lighting or after mixing.
For a classroom, choose a predictable texture with simple tools and contained quantities. For a birthday activity, visual variety may matter more, but individual work mats and storage pots can prevent a shared bowl from becoming chaotic. A child who uses slime to calm down may benefit from a smooth, consistent material rather than one filled with hard pieces. Browse craft kits for kids alongside slime options if the child enjoys making and decorating more than repeated tactile squeezing.
Safety Age Guidance and What to Check Before You Buy
Safety begins before the package reaches the checkout. Slime products have faced chemical compliance concerns in several markets, so a child-friendly design or colorful package isn't enough evidence on its own. A European review analyzed 15 boxed slime kits and found 2 with boron content above the authorized limit, resulting in recalls and store withdrawals, according to the French food, environmental, and occupational health agency ANSES.
Another EU-aligned investigation examined 27 slime products and measured boron migration between 116 and 4,275 mg/kg. 13 of those 27 products failed to meet a 300 mg/kg limit. An Asian study of 127 products found that 70.1% exceeded the EU boron migration limit, and Korean rules on boron in slime took effect in January 2019. These findings show why parents should assess formulation and compliance, not just ask whether a product is called slime.
Read the label like a safety checklist
Use the packaging and product listing to verify:
- Age rating: Match the recommended age to the child's ability to follow instructions, avoid mouthing, and keep materials away from eyes and clothing.
- Ingredient disclosure: Look for a clear list of glue, activator, colorants, fragrances, and texture add-ins. Be cautious when the listing hides the formulation behind vague wording.
- Boron information: Where the manufacturer provides a migration or compliance statement, check that it relates to the market where you'll use the product. The EU limit referenced in safety reporting is 300 mg/kg, as described by the BBC's report on tested slime products.
- Phthalate status: UK authorities have seized children's slime kits containing illegal phthalates. BBC reporting notes official concerns about potential cancer and reproductive harm from frequent skin contact, so parents should look for explicit phthalate-free information and avoid products with incomplete disclosures. See the BBC report on seized slime kits.
- Regional conformity marks: Check the safety marking and responsible manufacturer information required in your market, then confirm that the product listing identifies the applicable standard rather than displaying an unexplained logo.
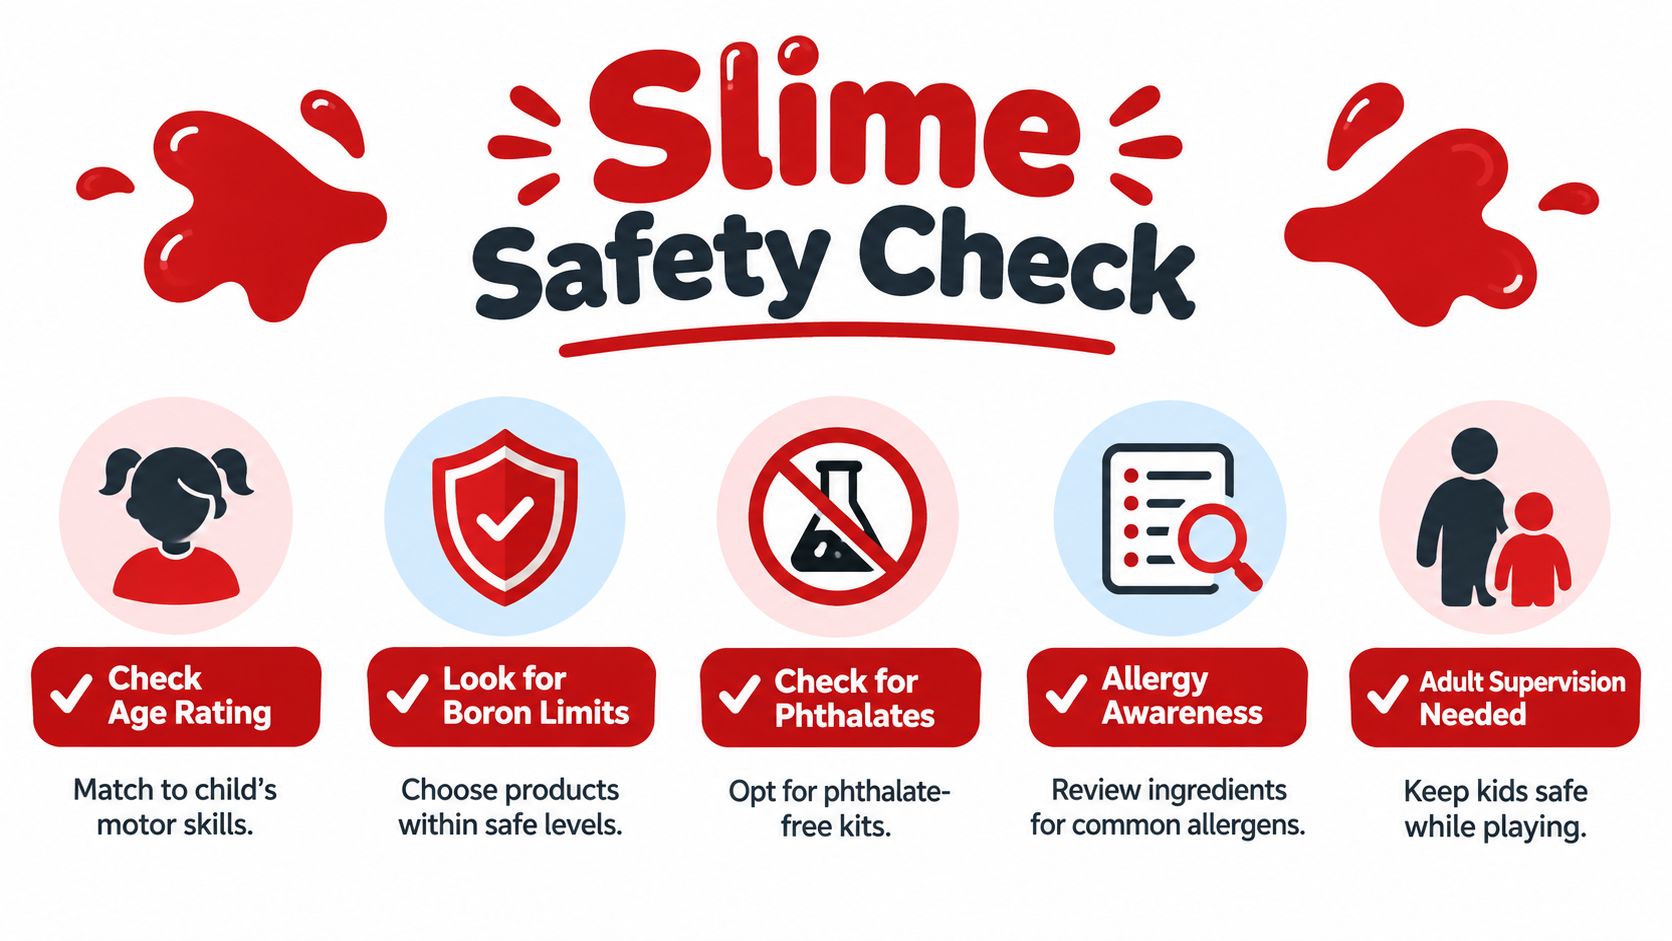
Supervision is part of the activity
Borax-based slime needs adult supervision. Stanford Children's Health advises keeping borax out of reach, wearing gloves while mixing, washing hands afterward, and avoiding eating or drinking during the activity because borax dust can irritate the eyes, throat, and nose. The Stanford safety guidance also supports treating the process as a chemical activity rather than an ordinary craft.
The Missouri Poison Center identifies the basic homemade formula as borax, white school glue, and water, and recommends edible slime made from food ingredients for young children who may mouth materials. Its homemade slime safety advice says an adult should always supervise borax slime.
Children younger than high school age should not use borax or other hazardous chemicals at home or school under guidance summarized by the University of Waterloo from Health Canada. Read the Health Canada borax advisory summary when planning classroom activities. For toddlers and mouthing children, choose a taste-safe food-based activity, keep all slime away from the mouth, and supervise continuously.
Parents seeking broader guidance on material selection can also review non-toxic toys for babies, while remembering that slime often requires more active supervision than a finished toy.
Choosing Storing and Cleaning Up Slime Without the Mess
A slime kit can be chemically suitable and still be a poor household choice if it dries quickly, stains surfaces, or arrives without a practical storage container. Before buying, inspect reviews for comments about stretch, breakage, stickiness, container quality, and whether the included tools are useful. A child who plays at the kitchen table may manage a wetter formula, while a classroom needs something that can be portioned and returned to labeled containers.
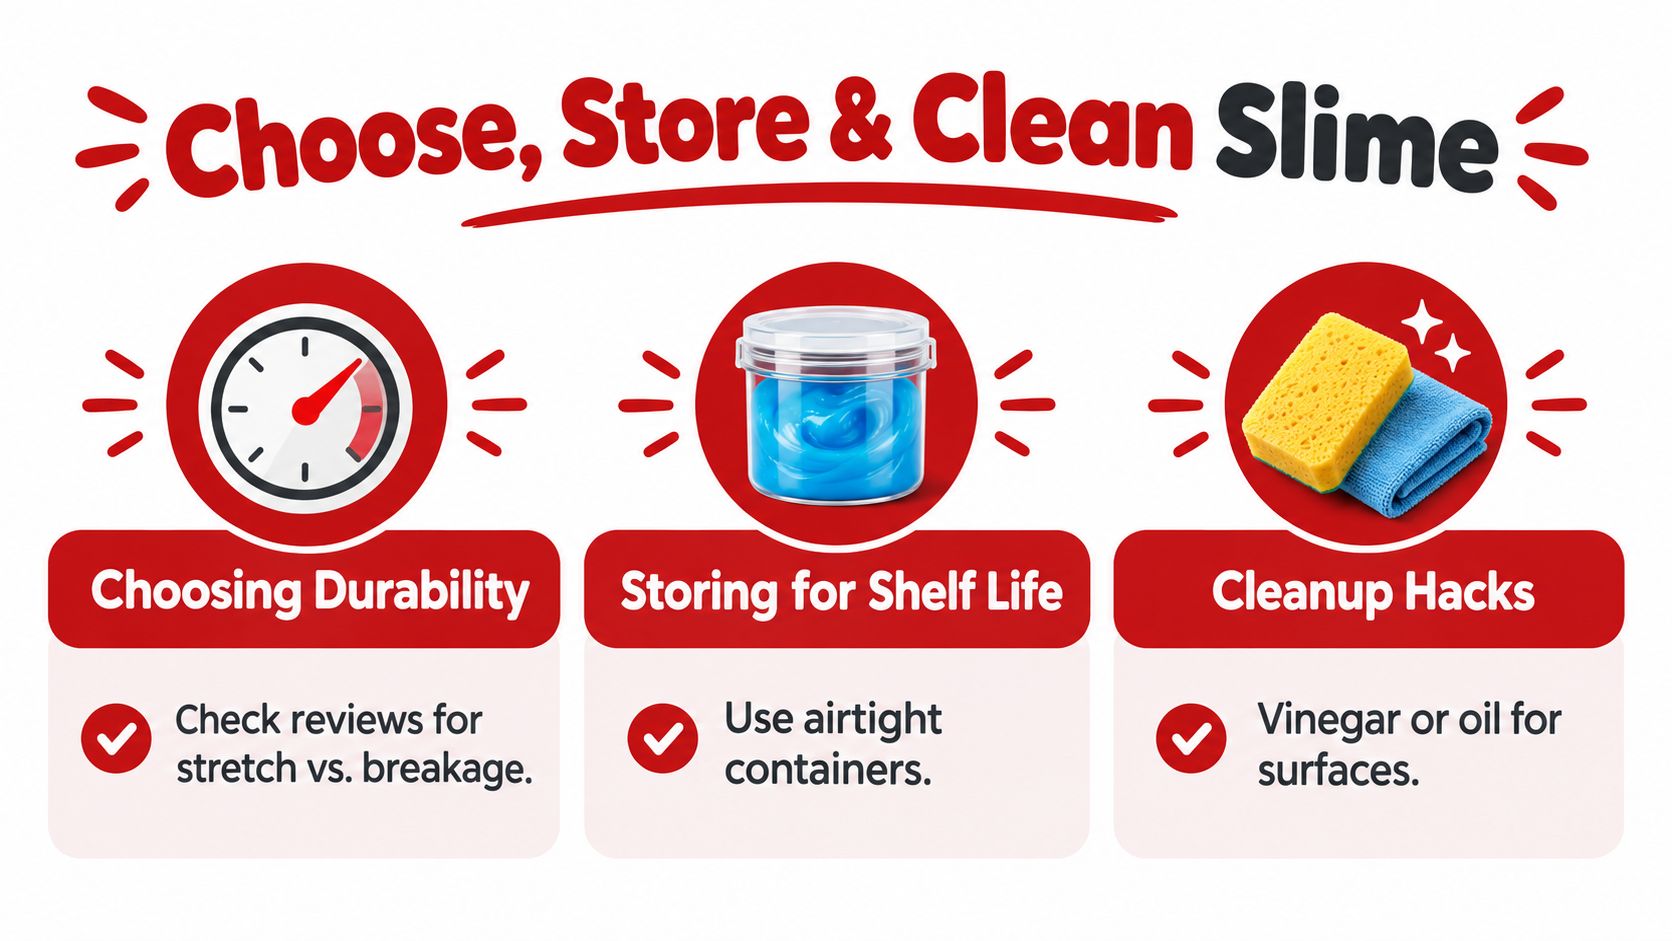
Build a controlled play area
Use a silicone mat, washable tray, or plastic table cover. Keep slime away from rugs, upholstered furniture, unfinished wood, and clothing that could hold colorants or glitter. Give each child a defined amount, one container, and a place for tools before opening the kit.
A short routine prevents most problems:
- Prepare the surface before mixing.
- Tie back long hair and remove loose fabric accessories.
- Keep slime on the mat rather than carrying it from room to room.
- Count tools and add-ins before packing away.
- Wash hands and wipe the surface when the activity ends.
Store it airtight
Air exposure changes texture and encourages drying. Put slime into a clean, sealed container as soon as play finishes, and label separate colors or textures so they don't merge accidentally. Store the container away from direct heat and sunlight, and inspect the material before the next session.
If slime becomes slightly dry, kneading may restore some flexibility. Adding liquid isn't automatically appropriate for every formulation, so follow the kit's instructions rather than experimenting with household chemicals. Discard slime if it develops an unusual odor, visible mold, or a texture that no longer seems usable.
For a small home, shallow bins can hold mats, cups, gloves, and sealed pots together. More ideas for keeping activity materials contained appear in these toy storage solutions for small spaces.
For an example of how a slime activity can be presented visually, view the video below before setting up your own station.
DIY Alternatives and Simple Recipes to Try at Home
DIY slime can be a useful teaching choice when an adult wants to demonstrate measurement and texture changes. It also gives families more control over color and batch size. The disadvantage is that the adult must evaluate every ingredient, prepare the workspace, and manage the activator rather than relying on a packaged instruction set.
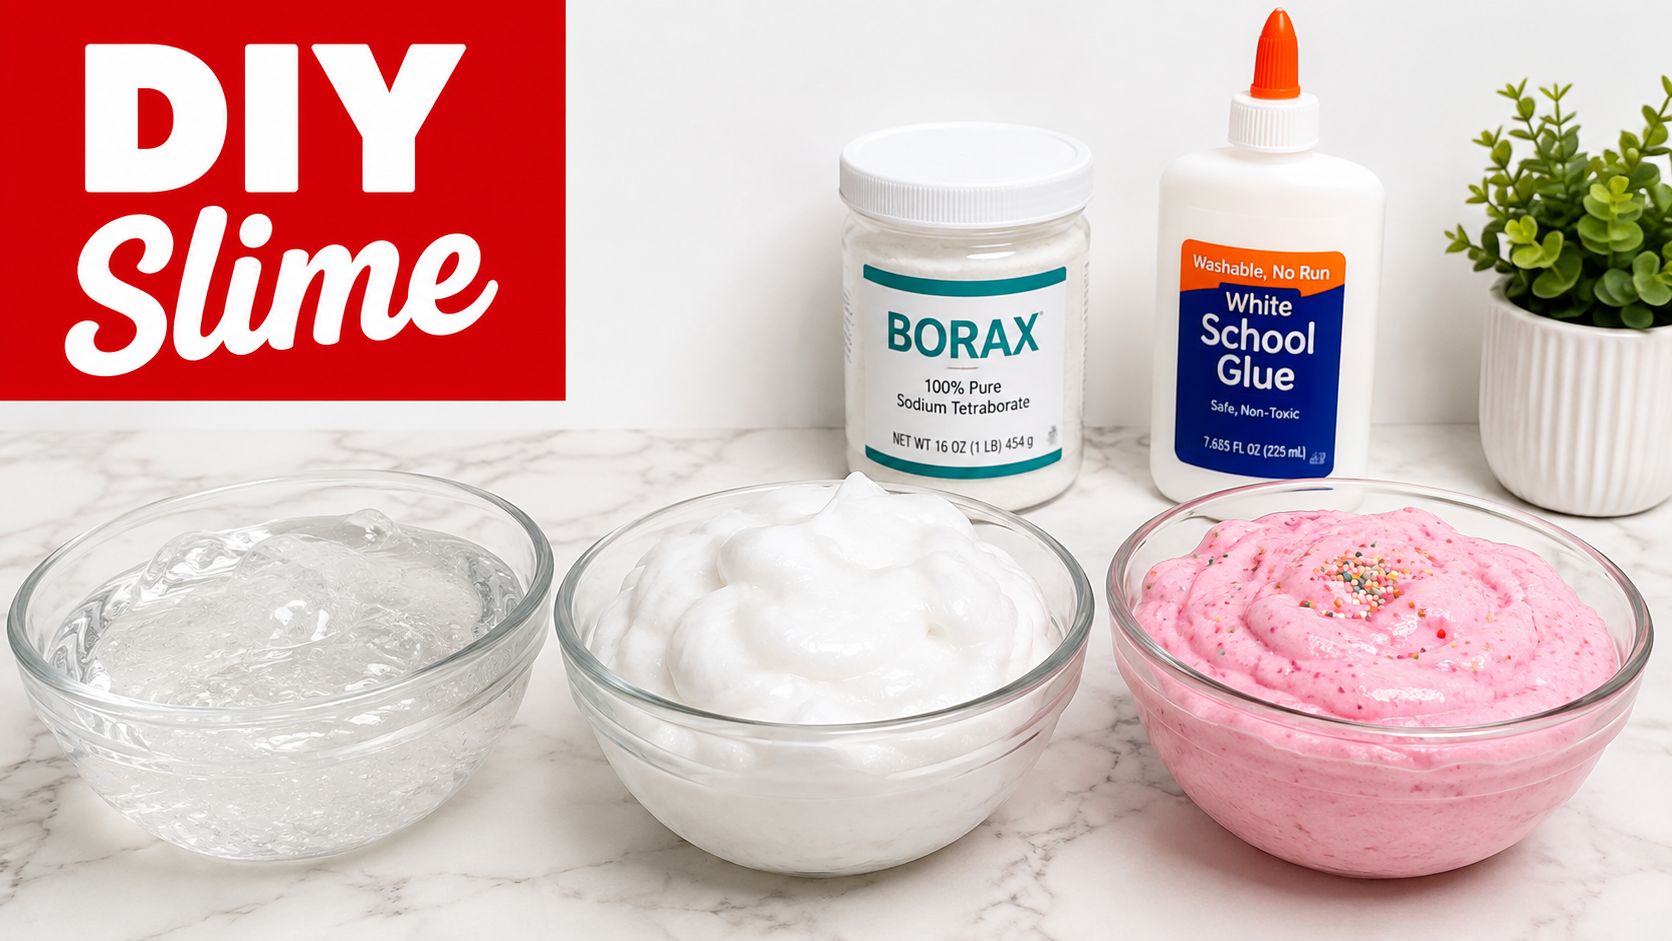
A classic borax-based activity
The familiar formula uses white school glue, water, and borax. Because borax is a chemical activator, an adult should handle preparation, keep the powder away from children, use gloves during mixing, and follow the same handwashing and no-food rules described in the safety guidance above.
Add the activator gradually rather than all at once. The child can observe the mixture move from liquid to gel and compare what happens when the mixture remains under-activated or becomes too firm. This is a learning activity, not a recipe for unsupervised play.
A taste-safe alternative
For a child who may mouth the material, a food-based mixture is a more appropriate direction than borax slime, although “taste-safe” doesn't mean it should be eaten. One simple option combines one-half cup cornstarch, one-half of a 1.55-ounce package of sugar-free gelatin, and water added gradually. Stir the dry ingredients, add two tablespoons of water, then continue adding small amounts until the mixture clumps rather than sticking to the bowl.
This produces an oobleck-like putty, not the same elastic slime created by PVA and borate cross-linking. Add cornstarch if it's too runny, or a little more water if it's too thick. A silicone mat supports cleanup, and a sealed zipper bag can contain the mixture for children who dislike sticky hands. The recipe and its safety cautions are described in this edible silly putty guide.
Food allergies still matter. Check every ingredient, avoid shared utensils when needed, and supervise young children even with an edible formulation.
Creative Activity Ideas and Your Next Steps With Playz
Slime becomes more educational when the adult gives children a question to investigate. Ask them to create two colors and predict the final shade, compare slow stretching with quick pulling, or sort textures from smoothest to crunchiest. Older children can keep a simple observation sheet with the ingredients used, the texture produced, and the change they noticed after adding more activator.
A few activity formats work especially well:
- Color lab: Mix primary colors and describe the result using careful observation.
- Texture station: Compare classic, fluffy, butter, and crunchy materials by stretch, resistance, and sound.
- Sensory calm corner: Offer a small sealed pot and a quiet surface for short, supervised squeezing sessions.
- Party science table: Set out individual mats, measured ingredients, labels, and take-home containers.
- Design challenge: Invite children to invent a themed slime concept, then explore toy product design software as a way to think about colors, packaging, tools, and user experience.
The strongest activity is not necessarily the most elaborate one. It's the one that matches the child's age, sensory preferences, attention span, and ability to follow safety rules. Choose transparent ingredients, use adult supervision for chemical formulations, contain the mess from the start, and make room for children to explain what they observe.
Playz offers slime-focused options, including the Unicorn Slime & Crystals Science Kit and edible slime-themed food science activities, alongside wider STEM and creative toys. Visit Playz to explore kits that can turn supervised slime play into an inviting hands-on learning experience at home or in the classroom.