

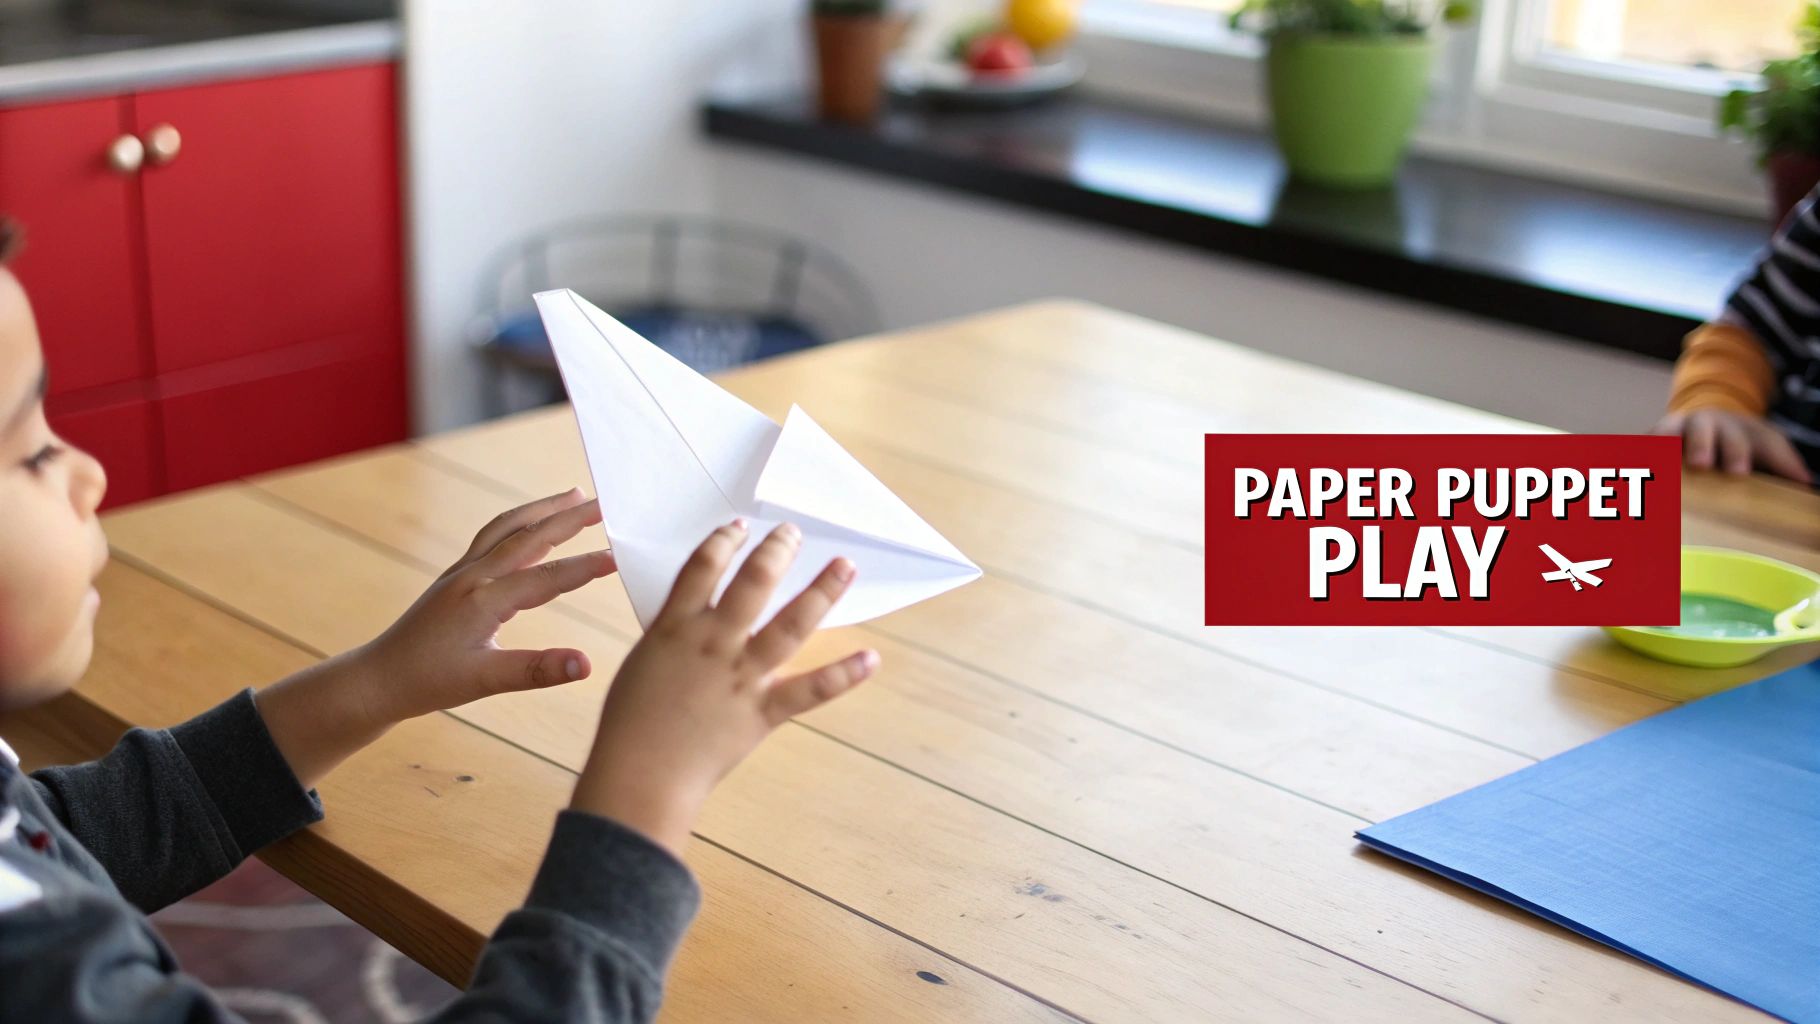
There's a special kind of magic in turning everyday materials into something brand new. Making puppets from paper is one of those timeless crafts—it's a simple, creative process of folding, cutting, and gluing that transforms paper bags, construction paper, or even leftover notebook pages into lively characters.
With just a handful of supplies you probably already have lying around, you can bring anything from simple finger puppets to expressive paper bag puppets to life, opening the door to hours of imaginative play.
Turn a Simple Sheet of Paper Into a Story
Ready to dive into the wonderful world of paper puppetry? This guide is your starting point for turning a few sheets of paper into a cast of characters ready to star in their own adventures.
We'll walk through how this classic craft helps build fine motor skills and boosts creativity, making it the perfect screen-free activity for the whole family. The best part? No fancy or expensive supplies are needed. We're keeping it simple with things you can find in any home.
The Power of Paper Play: More Than Just a Craft
Paper is so much more than just something to draw on; it's a launchpad for three-dimensional creativity. When a child takes a flat sheet and turns it into a puppet, they're building skills that go far beyond the craft table.
- Boosts Fine Motor Skills: All that careful cutting along lines, precise folding, and dabbing of glue is fantastic practice for developing dexterity and hand-eye coordination.
- Encourages Storytelling: Suddenly, that paper creation has a voice, a personality, and a story to tell. This is the very foundation of narrative development and creative expression.
- Sparks Creative Thinking: With paper, the possibilities are endless. A single fold can become a talking mouth, and a few colorful cutouts can transform into a lion's majestic mane, pushing kids to see creative potential everywhere.
This simple activity ties directly into the core of childhood development. In fact, you can explore the wider benefits of pretend play to see just how crucial these imaginative moments are for building social and emotional intelligence.
A Craft with a Rich History
While making paper puppets might feel like a modern go-to for a rainy afternoon, the craft has surprisingly deep historical roots. The invention of paper in China during the Han Dynasty (206 BCE–220 CE) was a game-changer for many arts, including puppetry.
Suddenly, performers could create intricate shadow puppets for their shows without relying on expensive materials like carved wood. This made storytelling more accessible and affordable for everyone.
So, get ready to clear off the kitchen table and turn it into a creator's workshop. We're about to explore four classic puppet designs that will turn a quiet afternoon into an unforgettable adventure.
Gathering Your Crafting Toolkit
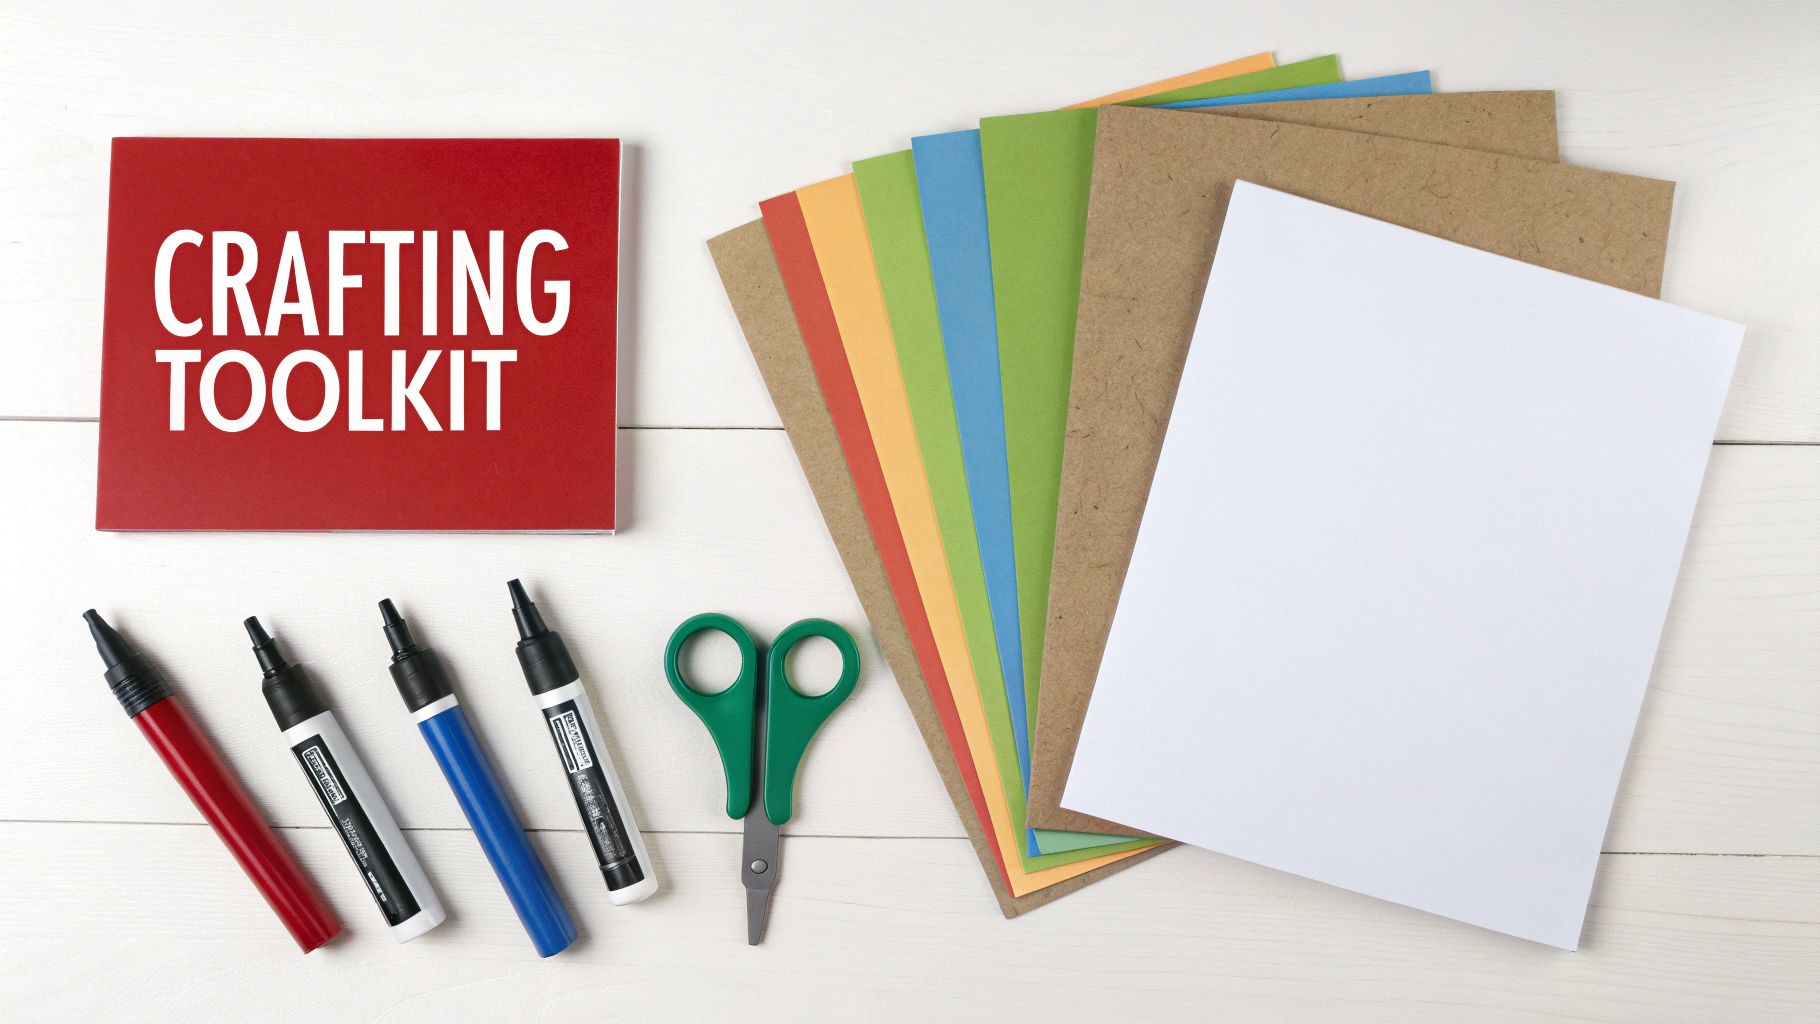
Before the show can begin, every puppet master needs to assemble their supplies. The best part about paper puppets is you don't need a fancy, expensive setup—you probably have most of these items hiding in a drawer right now.
Taking a few minutes to gather everything at the start makes the whole process smoother and way more fun. It’s the key to avoiding that frantic, mid-project hunt for the glue stick or a specific color of marker.
Your Essential Supply Checklist for Paper Puppets
Think of this as your recipe for puppet-making success. With these basics ready to go, you'll be prepared for just about any paper puppet adventure you and your little one can dream up.
- Paper: This is the star of the show! Construction paper, cardstock, and even plain printer paper will do the trick.
- Adhesives: A non-toxic glue stick is a must for little hands, but white craft glue is great for a stronger hold on things like buttons or yarn hair.
- Coloring Tools: Crayons, markers, and colored pencils are your best friends for bringing your puppet's personality to life.
- Cutting Tools: Child-safe scissors are absolutely non-negotiable. They keep craft time worry-free and fun for younger kids.
- Decorative Extras: This is where the magic happens! Googly eyes, yarn, pom-poms, glitter, and stickers can transform a simple paper shape into a memorable character.
If you want to get a better feel for different textures and weights, exploring various types of paper products can give you some great ideas. And for more inspiration on what to create with your supplies, check out these other easy construction paper crafts.
Safety First: Always choose non-toxic materials, especially with toddlers and preschoolers who might still be in the "taste-testing" phase. Keep a close eye on them during scissor and glue time to make sure everyone has a safe and happy creative experience.
Choosing the Right Paper for Your Puppets
The kind of paper you use can really change the final result. Different types offer different levels of sturdiness and flexibility, which is a big deal when you're crafting with enthusiastic kids.
Heavier paper, like cardstock, is your best bet for a puppet that needs to survive some serious action. It holds up way better during an energetic puppet show than flimsy printer paper would.
To help you decide, here’s a quick comparison of the most common paper types and what they’re best for.
Paper Comparison: Pros and Cons for Puppet Making
| Paper Type | Best For | Pros | Cons |
|---|---|---|---|
| Construction Paper | Paper bag puppets, simple stick puppets, and decorations. | Inexpensive, comes in many colors, easy for kids to cut and fold. | Fades in sunlight, can tear easily. |
| Cardstock | Finger puppets, durable stick puppets, and base structures. | Very sturdy, holds its shape well, great for repeated use. | Can be harder for little hands to cut. |
| Printer Paper | Origami puppets, quick sketches, and printable templates. | Lightweight, easy to fold, readily available and affordable. | Not very durable, can be see-through. |
| Craft Foam Sheets | Adding 3D elements like noses or shoes. | Flexible, durable, adds texture and dimension. | Requires stronger glue. |
Ultimately, the "best" paper is the one that fits your project and your child's skill level. Don't be afraid to mix and match to see what creative combinations you can come up with
Crafting Your First Paper Bag Puppet
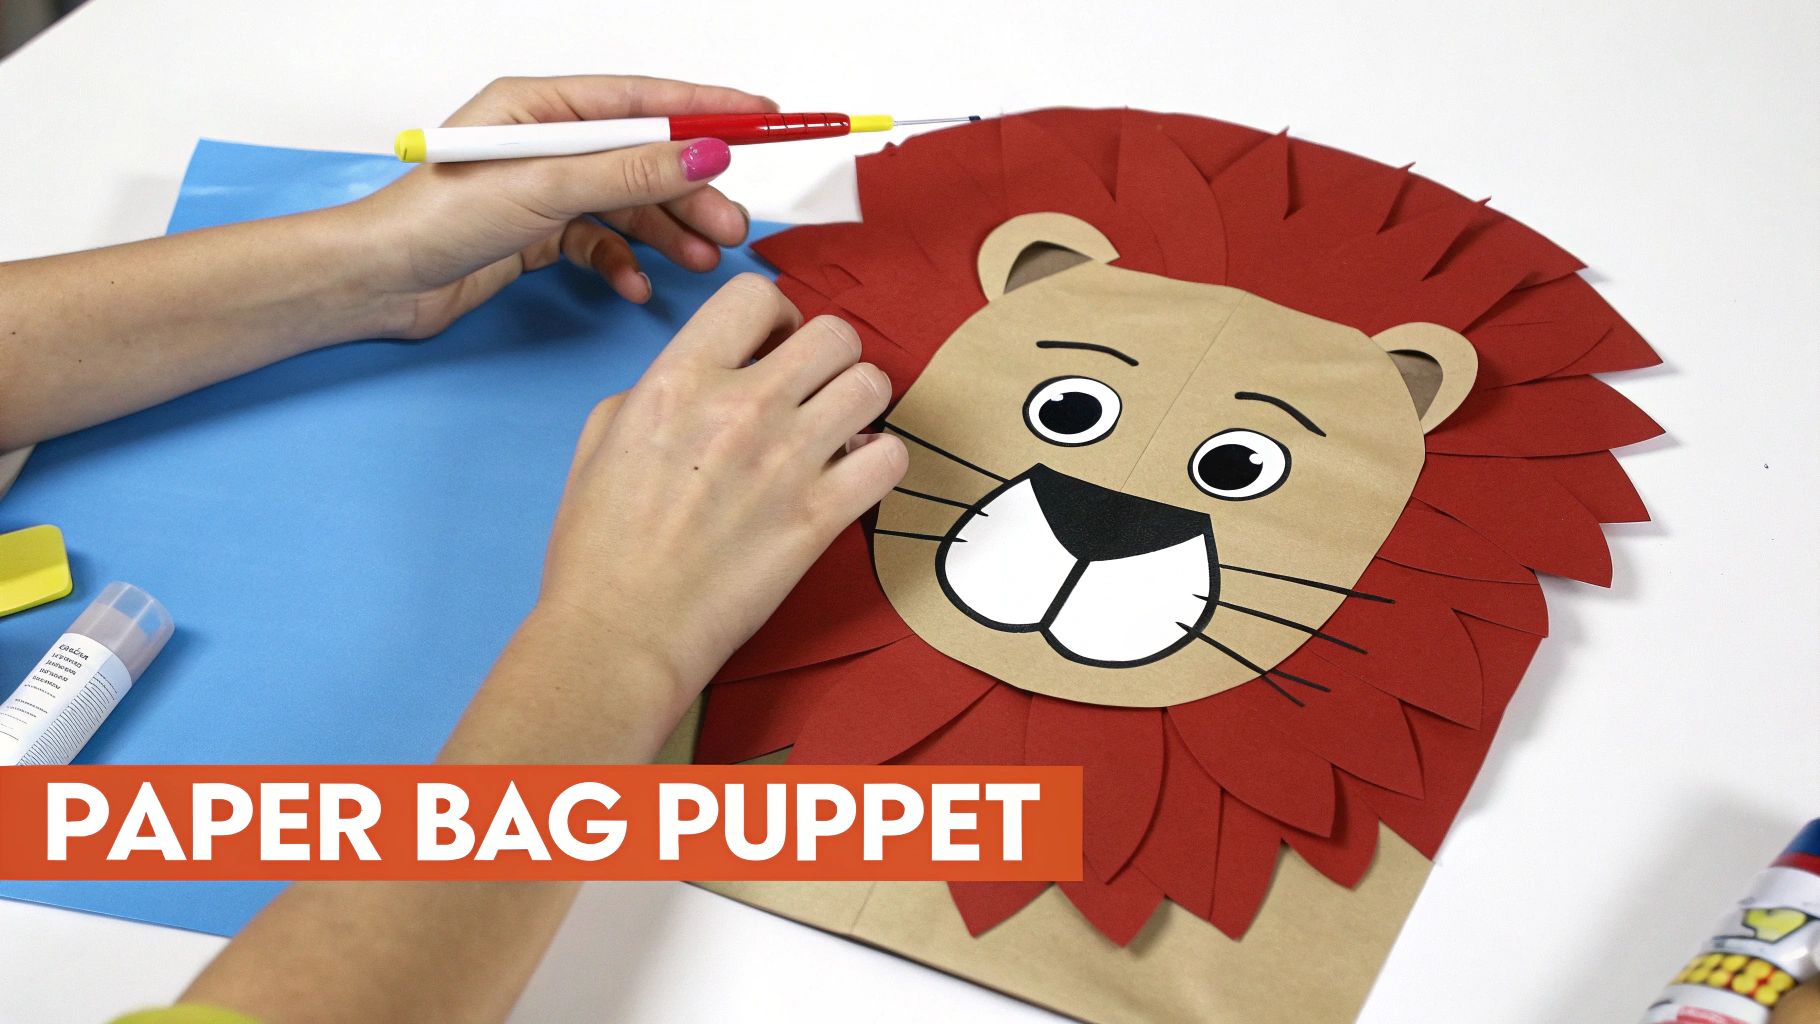
The paper bag puppet is a true classic, and for good reason—it’s simple, expressive, and the perfect blank canvas for any character your kid can dream up. This project is ideal for beginners and a fantastic way to introduce young children to the joy of turning everyday objects into something magical.
The real genius here is the built-in mouth. The rectangular bottom of the bag, when folded over, creates a natural flap that moves perfectly as you open and close your hand inside. It’s an instant talking character just waiting to be brought to life!
Step-by-Step: Creating a Friendly Lion Puppet
Let's get started with a friendly lion, a great first project that involves some fun cutting and gluing. Just lay a standard paper lunch bag flat on your table with the folded bottom facing up—this will become your lion's face and mouth.
First up is the mane. Grab a sheet of orange or yellow construction paper and cut out a large circle that’s slightly wider than the bag itself. Next, you'll want to cut the center out of that circle, leaving a donut shape that will become the magnificent mane.
Now, to give it that authentic, shaggy look, snip lines all around the outside edge of your paper donut. Make the cuts about an inch deep. Be careful not to snip all the way through! This little step adds a ton of character.
It's time to assemble. Slide the finished mane over the top of the bag and glue it down around the face area. Make sure the top part of the mane sits on the main body of the bag, while the bottom part gets glued to the movable flap. This frames the whole face perfectly when your puppet starts talking.
Key Takeaway: The magic of a paper bag puppet is all in the fold. When you place facial features like a mouth or nose right across that crease, you create instant animation as soon as a hand goes inside. It’s a simple trick with a huge payoff in play value.
For the face, cut out two small white circles for the eyes and draw black dots in the center with a marker. Glue these onto the top section of the bag. Add a pink or brown triangle for a nose, placing it right on the fold so it moves up and down. To finish it off, just draw on some whiskers with a black marker.
Fun Variations to Spark Creativity
Once you’ve mastered the lion, the possibilities are endless. The same basic technique can be used to create a whole zoo of characters or a cast of silly monsters. This kind of DIY crafting has a long history of making creative play accessible. In fact, the first manufactured paper doll, 'Little Fanny,' appeared way back in 1810! By the late 19th century, companies were selling entire sets for just pennies, democratizing this kind of imaginative fun.
Here are a few actionable ideas to get you started:
- Silly Monster: Use green or purple paper. Add three or four googly eyes and glue strands of colorful yarn to the top for wild, crazy hair.
- Chirping Bird: Cut out a yellow triangle for a beak and glue it right onto the flap. Add two paper wings to the sides of the bag for the full effect.
- Croaking Frog: Go with a green bag and add two large, round eyes that peek over the top. A long, red paper tongue glued inside the mouth adds a fun, surprising touch.
These projects are more than just a craft; they are invitations to tell a story. For more inspiration, explore these awesome papercraft ideas for kids and see what other adventures you can create.
Making Charming Finger and Stick Puppets
Ready for some small-scale fun that packs a big storytelling punch? Finger and stick puppets are my go-to for more detailed narratives. They let your child control an entire cast of characters right at their fingertips.
These little puppets are absolutely perfect for acting out fairy tales or dreaming up brand-new adventures, and you only need a few simple craft supplies to get started. We'll kick things off with some animal finger puppets—a whimsical fox and a wise owl. Unlike bulkier puppets, these rely on small, precise movements, which is a fantastic way to build up those all-important fine motor skills.
For even more hands-on fun with little ones, check out these other fantastic creative crafts for preschoolers.
Crafting a Set of Animal Finger Puppets
The secret to a great finger puppet is getting the paper ring just right—snug enough to stay on, but loose enough to be comfortable. First, cut a strip of construction paper or cardstock that’s about one inch wide and four inches long. Wrap it around your child's finger to find the perfect size, then secure the loop with a dot of glue or a piece of tape. This simple loop is the base for every character.
Now, let's bring the animals to life with these practical examples:
- Whimsical Fox: Grab some orange paper and draw a simple fox head with two pointy ears. Once you've cut it out, use a black marker to add the details—eyes, a nose, maybe a few whiskers. Glue the finished head right onto the paper ring.
- Wise Owl: For the owl, use brown or gray paper. Cut out a rounded head shape with two little ear tufts at the top. Add two big, round yellow paper eyes and a small orange triangle for a beak. Then, just attach this to another paper ring.
Don't stop there! Encourage your child to create a whole forest full of animal friends—a bear, a rabbit, a squirrel—each with its own unique personality.
Pro Tip: I always recommend using cardstock for both the rings and the characters. It holds up so much better to the enthusiastic wiggling and storytelling that’s about to happen.
Creating Versatile Stick Puppets
Stick puppets open up a whole different world of play. By holding a craft stick, your child can make their character jump, fly, or dance across a homemade stage. I find this format is wonderful for bringing bigger stories to life, like a favorite fairy tale with a full cast.
Let’s make a brave knight and a magical fairy to start. Get your child to draw and color their characters on a sturdy piece of cardstock. I suggest making them about four to five inches tall so they really stand out. Once they're decorated and cut out, it's time to add the stick.
Just flip the character over and run a line of craft glue down the center of the back. Press a craft stick firmly into the glue, making sure about half the stick is attached to the paper for good stability. For an extra-secure bond, I like to place a small piece of clear tape over the stick, too.
With this simple method, you can build an entire world. Why not create a royal family, a group of superheroes, or all the characters from Goldilocks and the Three Bears? It’s a fantastic way to inspire kids to build a complete narrative, try out different voices, and put on a spectacular show for the whole family.
Diving Into the Art of Origami Puppets
If you’re ready for a craft that feels like a blend of art and simple engineering, origami puppets are a fantastic next step. This ancient art of paper folding is an amazing way to build concentration and precision, transforming a single sheet of paper into a 3D character with nothing but a few clever folds.
The process is a bit more structured than cutting and gluing, which makes it a rewarding challenge for slightly older kids who are ready to level up their crafting skills. We’ll start with a true classic before moving on to a slightly more complex design that I think you'll love.
This visual guide gives you a quick breakdown of how different paper puppets come to life.
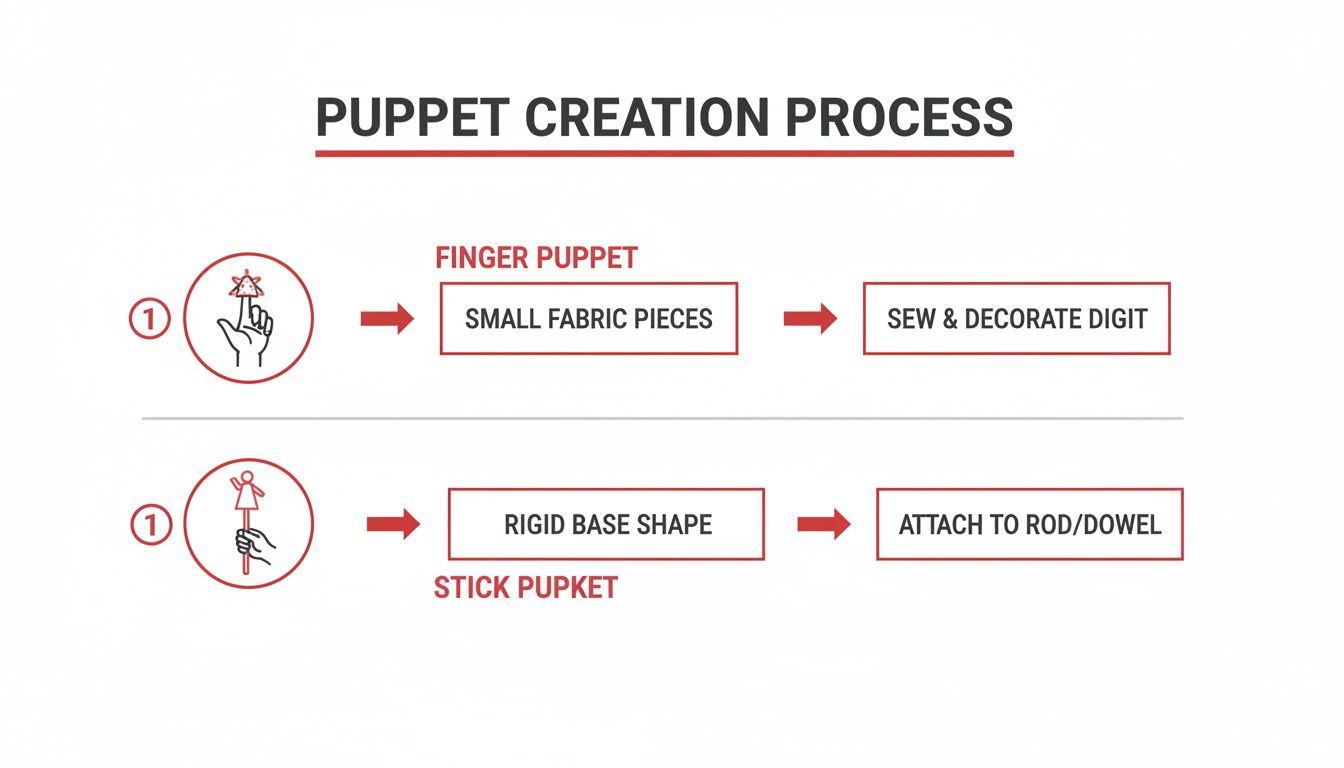
As you can see, even though the steps are different, both finger and stick puppets start with simple paper shapes and end up as characters ready for a show.
Folding a Classic Cootie Catcher Monster
The "cootie catcher," or paper fortune teller as some people call it, is the perfect gateway into origami puppets. It has a natural talking motion that makes it incredibly easy to turn into a chomping monster or a friendly, chattering creature.
First, you’ll need a square piece of paper. If all you have is regular rectangular printer paper, no problem! Just fold one corner down to meet the opposite edge to form a triangle, and snip off the excess strip. When you unfold it, you'll have a perfect square with a handy diagonal crease.
Next, fold that square in half both horizontally and vertically to create intersecting creases, then unfold it so you can see all the lines. Now, take each of the four corners and fold them into the center point where all your creases meet. Flip the whole thing over.
You should be looking at another, smaller square. You're going to do the same thing on this side: fold each of the four new corners into the center. For the final step, fold the entire square in half to make a rectangle. All that's left is to slip your thumbs and index fingers under the four outer flaps, and you're ready to bring it to life!
Actionable Tip: Decorating is what really turns a cootie catcher into a puppet. I like to draw an eye on top of each of the four finger flaps. Then, open it up and draw a mouth with sharp teeth on the inner triangles. This creates a monster that reveals its bite every time it "talks"!
Creating a Simple Talking Dog Puppet
Ready for another one? Let’s make a barking dog puppet. This one uses a few different folds but is still super beginner-friendly, I promise.
Once again, start with a square piece of paper. Fold it in half diagonally to create a large triangle. Take the two bottom corners of this triangle and fold them up and outward—these will be the dog's floppy ears. Easy, right?
To make the mouth, take the top layer of the triangle's bottom point and fold it upward. Then, take the bottom layer of that same point and fold it backward. This creates a movable jaw that you can operate with your fingers to make your puppet talk or bark.
Just draw on some eyes, a nose on the top part of the mouth flap, and maybe a tongue on the inside. This simple puppet is a fantastic example of how just a few folds can create moving parts. For more creative projects, check out these other fun paper activities for kids.
Bringing Your Paper Puppet Creations to Life
Once you've got your cast of paper characters all ready to go, the real magic can finally begin. Your puppets are so much more than a finished craft project—they're little gateways to brand-new worlds, just waiting for a story. This is the moment a simple paper bag lion finds its mighty roar and a humble stick puppet knight starts a grand adventure.
When a child shifts from crafter to storyteller, it's a huge deal. You can almost see their confidence bloom as they start developing social and narrative skills. In fact, a study in the American Journal of Play found that imaginative activities like puppet shows are absolutely crucial for helping kids develop creativity and problem-solving skills.
Setting the Stage for Adventure
Don't worry, you don't need a Broadway-level setup to inspire an amazing performance. Something simple can make playtime feel extra special and give kids the perfect nudge to put on a show.
- DIY Cardboard Theater: An old cardboard box is the perfect starting point. Just cut out a big rectangular window, maybe add some curtains with scrap fabric, and then let your kid go wild decorating it with markers or paint.
- Behind-the-Couch Performance: For an even quicker stage, the back of a sofa or a blanket draped over two chairs works like a charm. It creates that classic, instant barrier between the audience and the puppeteers.
As you think about stories, you can even draw inspiration from tools like the Feelings Family™ Hand Puppets to explore different emotions and character ideas with your own paper creations.
Key Takeaway: The goal isn't a perfect, polished performance—it's about participation. When you encourage kids to make up their own stories, no matter how silly, you empower them to think creatively and express themselves. Putting on a little show for the family is a fantastic way to build up their self-esteem and celebrate all their hard work.
FAQs: Your Top Paper Puppet Questions Answered
Even with a craft as simple as paper puppets, a few questions always seem to pop up. Getting these details right can be the difference between a frustrating afternoon of sticky fingers and a truly fun, creative session. Let's tackle some of the most common things people ask when they're getting started.
What's the best glue for making paper puppets with kids?
For most of what you'll be doing, a non-toxic glue stick is your best friend. It’s perfect for little hands because it’s way less messy, dries pretty fast, and gets a good, solid bond when you're just sticking paper to paper.
But what if you're adding flair like buttons, pom-poms, or googly eyes? You'll need a bit more muscle. For those heavier decorations, a child-safe white craft glue (think Elmer's) will give you a much more secure hold. Just be sure to supervise when the liquid glue comes out to avoid any major messes or glue puddles.
How can I make our paper puppets last longer?
Durability is everything, especially when your puppets are destined for an epic living room play. To help them survive their adventures, start with a stronger base. Using cardstock or construction paper instead of regular printer paper makes a huge difference. You can also add a little piece of clear tape to reinforce weak spots, like where the stick meets the puppet.
Actionable Insight: For seriously tough puppets, create a DIY laminate. Once your puppet is finished, cover both sides with clear packing tape and carefully trim the excess. This little trick makes your characters resistant to spills, enthusiastic play, and tearing.
How do I adapt these projects for a toddler?
When crafting with toddlers, the goal is all about participation and sensory fun, not a perfect final product. Keep it simple and let them own their part of the process.
- Prep the shapes ahead of time. Have the basic puppet bodies and pieces cut out and ready to go before you even invite them to the table.
- Let them be the decorator. Their main job can be coloring and decorating the flat paper. Hand over some chunky, easy-to-hold crayons, fun stickers, or even let them finger paint the paper before you assemble it.
- Keep assembly super simple. For a paper bag puppet, you could draw on the face yourself and just let them stick on pre-cut circles for the eyes or a mouth.
Ready to take that creative spark beyond the craft table? Playz offers a whole world of imaginative toys and science kits designed to make learning an exciting, hands-on adventure.