


You've poured the liquids, dropped in a grape, and watched the beautiful layers turn into a cloudy swirl. One child insists the grape “should float,” another wants to stir everything, and you're left wondering whether the science has gone wrong. That's exactly why a good liquid density experiment needs more than pretty colors. It should give children something to see, measure, question, and improve.
By the end, you'll have built a layered rainbow tower, compared real measurements, and connected the word density to mass and volume. Kids will see why some liquids settle underneath others, why objects can stop between layers, and why a failed result can be useful evidence rather than a ruined activity.
Why Kids Light Up When Liquids Stack
The first pour usually earns a quiet “Whoa.” Honey slides slowly to the bottom of a clear jar. Dish soap settles above it, colored water forms another stripe, vegetable oil rises, and rubbing alcohol rests at the top. When a grape sinks while a plastic bead pauses in the middle, children stop seeing a jar of kitchen ingredients and start seeing a puzzle.
That puzzle has a scientific rule behind it. Density equals mass divided by volume, so density describes how much matter is packed into a particular amount of space. A liquid with more mass in the same volume tends to settle below a liquid with less mass in that volume. The core relationship and standard measurement approach are described in this introductory density experiment reference.
From a rainbow tower to real science
A tower is useful because it makes an invisible property visible. Children can predict which liquid will sink, watch the layers settle, and then test whether their predictions match the measurements. That sequence turns a quick demonstration into an investigation.
Density also explains familiar events beyond the jar:
- Boats float because their overall density, including the air-filled space inside them, can be lower than the surrounding water.
- Hot air balloons rise when the heated air inside the balloon makes the balloon system less dense than the surrounding air.
- Ice cubes bob in drinks because solid ice is less dense than liquid water.
The same idea helps children understand why an object might sink through oil but stop when it reaches water. The object's density is being compared with the density of each layer.
Teacher's shortcut: Ask “What is packed into the same space?” before introducing a formula. Children often understand the comparison faster when they can hold a small heavy object and a larger light object.
This activity also leaves room for troubleshooting. Mixed layers, trapped air, an incorrect scale reading, or a surprising object position all create reasons to repeat a test. Younger children can focus on floating and sinking, while older students can record measurements, calculate density, and discuss temperature and experimental error.
What You Need Before You Start
Gather the materials in two groups so setup stays simple.
Kitchen staples
- Clear container: Use a glass jar or another transparent container with straight sides.
- Measuring tools: Keep measuring cups and spoons nearby for controlled pours.
- Test objects: Choose grapes, raisins, and plastic beads. Their different sizes and surfaces create useful predictions.
- Recording supplies: A notepad and pencil let children draw the tower and write observations.
A short shopping trip
- Dense liquids: Honey and dish soap create the lower layers.
- Middle layer: Water gives children a familiar comparison.
- Lighter liquids: Vegetable oil and rubbing alcohol provide upper layers.
- Optional coloring: A small amount of food coloring helps distinguish water from the other liquids.
For more water-based activity ideas before you begin, browse this collection of science experiments with water.
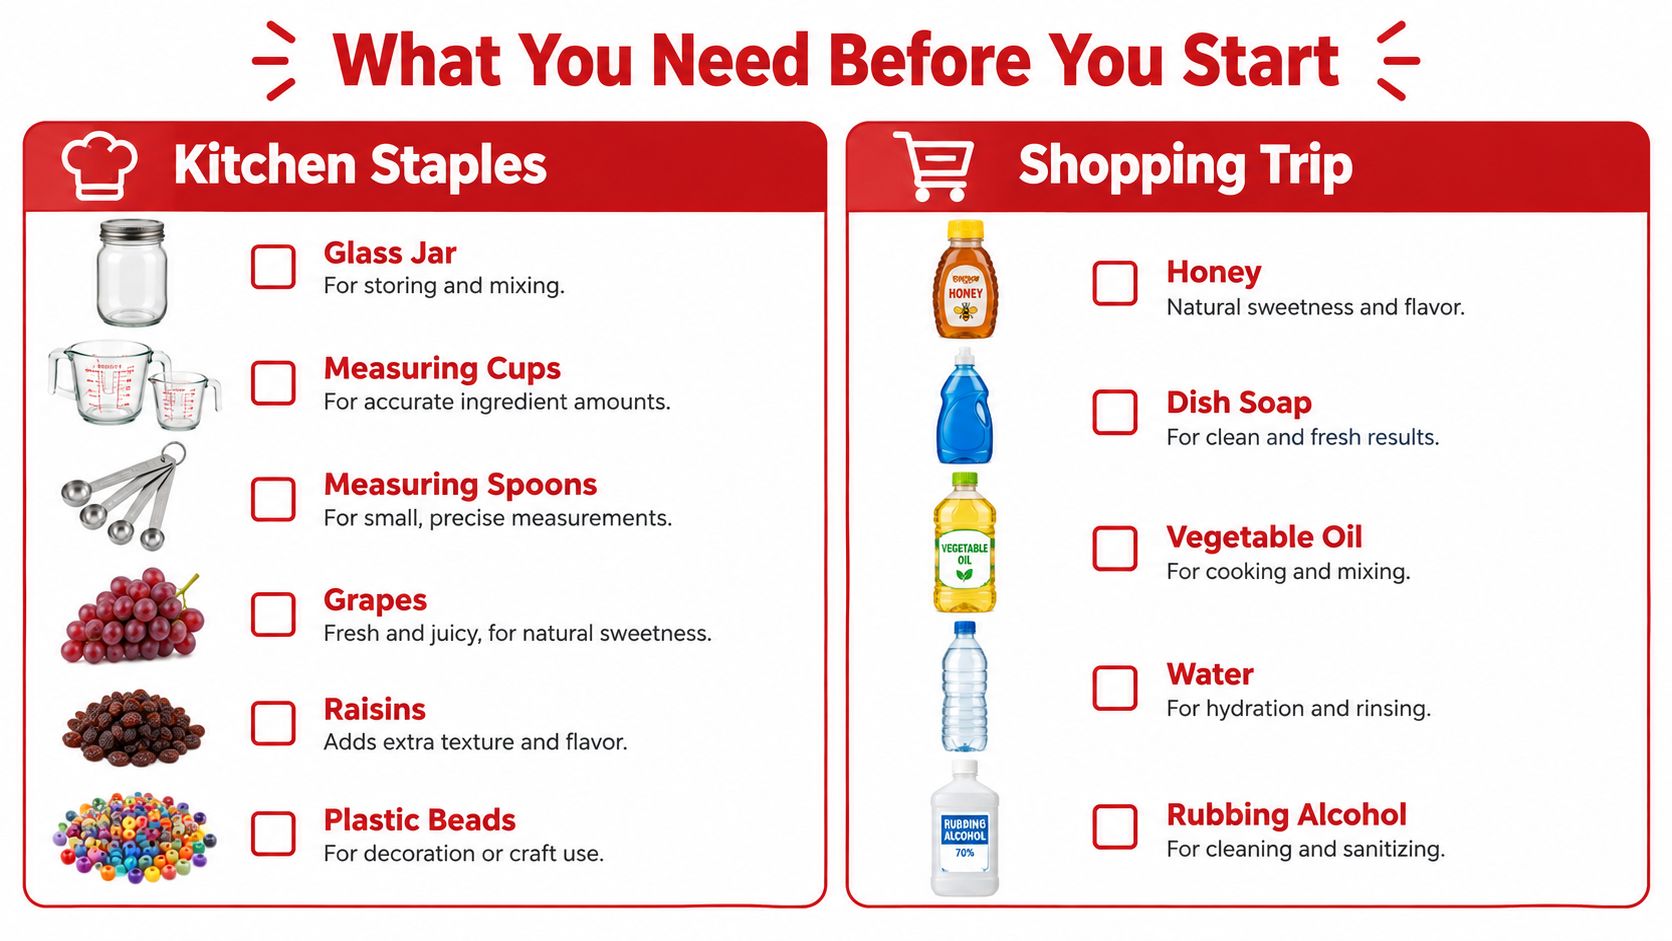
The measurement version needs a few extra tools. A kitchen scale that records grams, a small beaker or measuring cup with volume markings, and a graduated cylinder will help children move from watching layers to collecting data. A digital balance, graduated cylinder, or pipette is commonly used to determine a liquid's mass and volume before calculating density, as outlined in this general chemistry density lab manual).
Use adult supervision when pouring rubbing alcohol. Protect eyes around glass, keep the jar on a wipeable surface, and remind children not to taste any material. Spills are part of hands-on science, so place a towel within reach.
Before starting, check that:
- the jar is clean and dry,
- every liquid is labeled,
- the scale has working batteries,
- the measuring tools are ready,
- the test objects are dry,
- and the notebook has a page for predictions and results.
Building the Rainbow Density Tower
Hold the jar where children can see the bottom. Start with honey, pouring it slowly down the tilted inside wall. It should pool at the bottom instead of splashing and trapping air. Children often notice the slow movement first, then hear a soft glug as the thick liquid settles.
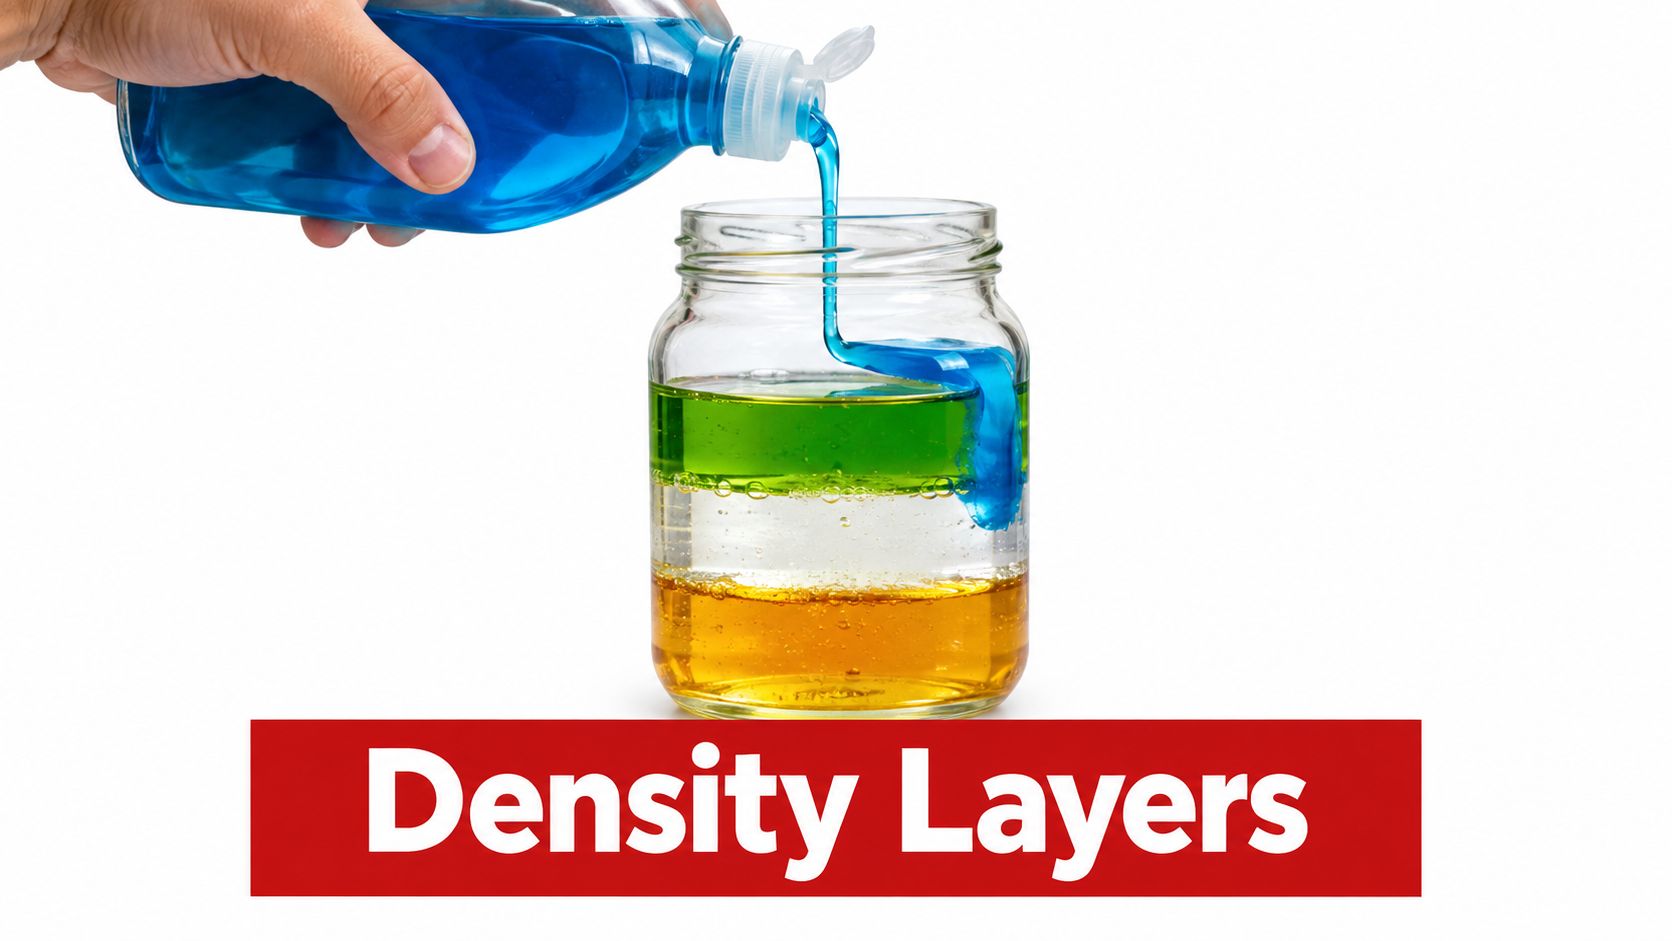
Next, add dish soap. Pour it over the back of a spoon or down the jar wall so it doesn't punch a hole through the honey. Pause when the surface becomes still. That pause matters because a calm surface gives the next liquid a better chance to form a separate layer.
Tint the water with a little food coloring, then add it using the same gentle technique. The color makes the boundary easier to see, but the color itself isn't what causes the separation. The liquids settle according to their physical properties, while the coloring helps your eyes track them.
Tell the story as the tower grows
Vegetable oil comes next. Pour slowly and watch it spread across the water. It may shimmer before it becomes a clean stripe. Add rubbing alcohol last, carefully and with adult help, so the lightest layer remains at the top.
The jar often changes from busy movement to surprising stillness. Children may lean closer to inspect each boundary, count the stripes, or ask whether the liquids will stay separated forever. Use those questions to invite a prediction rather than rushing to explain.
For a visual demonstration of how careful pouring affects the tower, use the video below after the first layers have been discussed.
Once the layers settle, drop in one test object at a time. Ask each child to predict sink, float, or hover before releasing it. A grape might travel downward, while a plastic bead may stop at a boundary. A raisin can behave differently from a smooth bead because its surface may hold air, so observation matters as much as prediction.
Measuring Density Like a Real Scientist
The colorful tower shows relative positions. Measurement tells children how scientists support those observations with numbers.
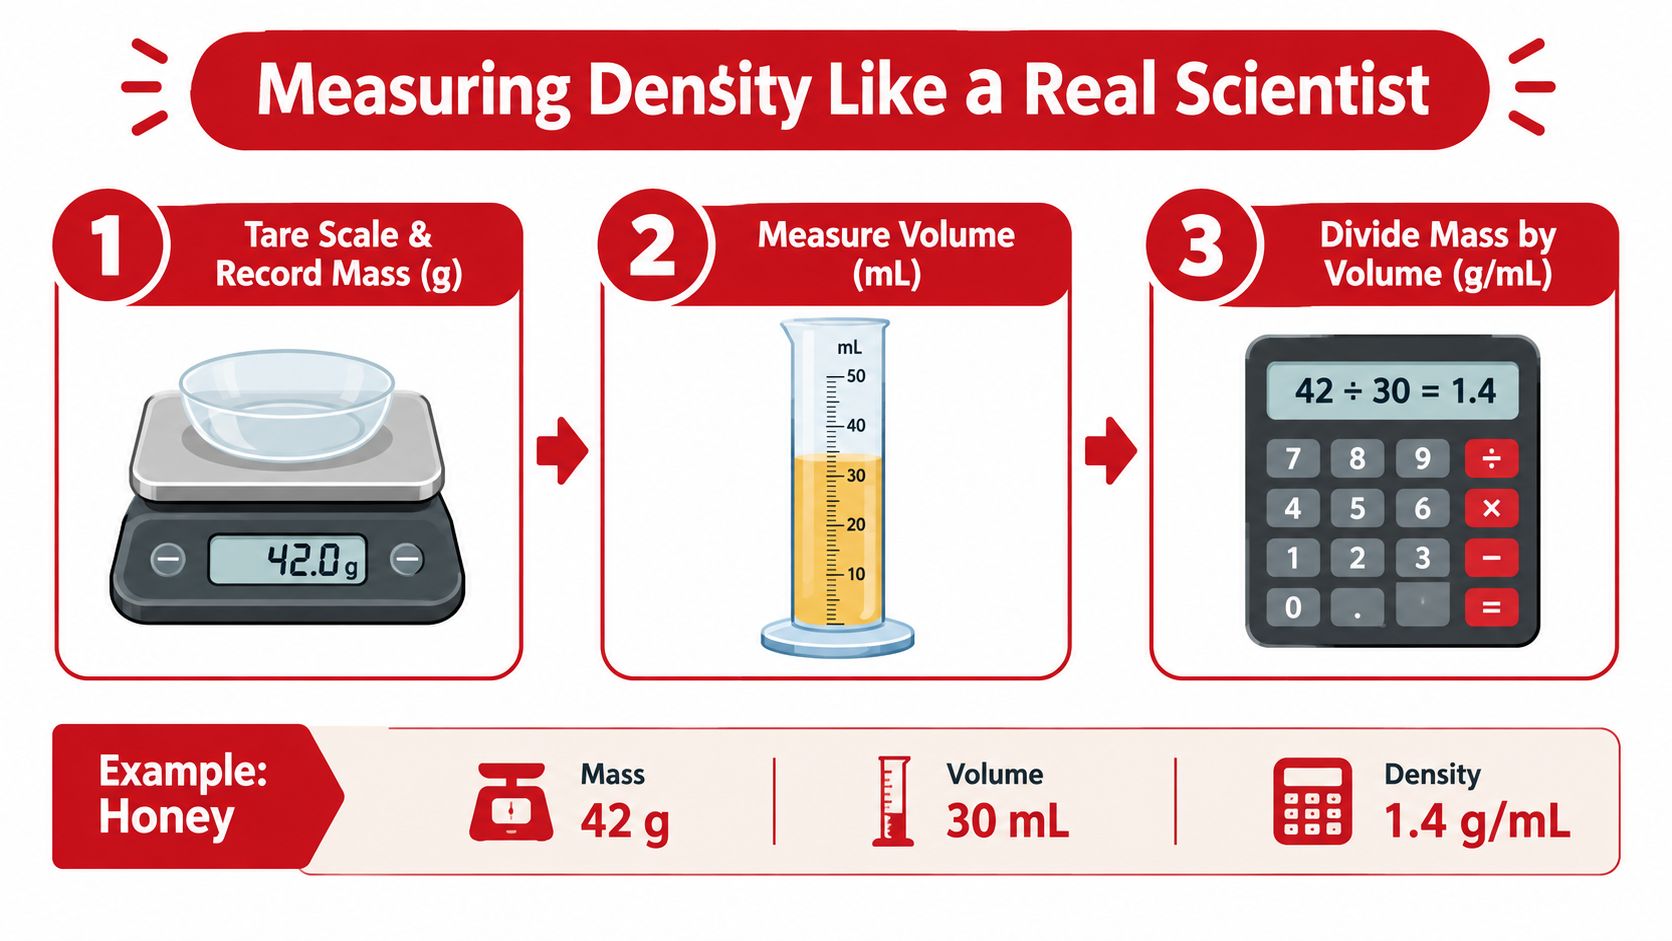
Choose one liquid at a time rather than trying to weigh the entire tower. Place the empty container on the kitchen scale and press tare, zero, or reset. The display should return to zero before you add the liquid. This removes the container's mass from the result.
A careful measurement routine
- Record mass. Add the liquid to the container and write down the mass in grams.
- Record volume. Transfer the sample to a marked measuring cup or graduated cylinder and read the volume in milliliters.
- Calculate density. Divide mass by volume. The result can be recorded in grams per milliliter.
The standard classroom approach uses the same logic. One ACS activity measures water in a graduated cylinder, weighs the empty and filled cylinder, subtracts the container mass, and emphasizes reading the meniscus at the marked volume. Its middle school density activity is a useful model for explaining the process to children.
The meniscus is the curved surface you see in many liquids. Place the cylinder on a level table, bring your eyes to the liquid level, and read the bottom of the curve. Looking from above or below can shift the reading and make the calculated density less reliable.
Use a simple chart:
| Liquid | Mass (g) | Volume (mL) | Density (g/mL) |
|---|---|---|---|
| Honey | |||
| Water | |||
| Vegetable oil |
Repeat each measurement twice. If one result looks unusual, mark it with a question rather than quietly deleting it. Children can discuss whether the liquid was poured completely, whether the cylinder was read at eye level, or whether the scale was tared.
When students want to connect this hands-on activity with wider scientific ideas, a resource on latest science from maxijournal.com can provide an additional discussion point about how scientists investigate matter. For a closer look at volume tools, see this guide to a 100 mL graduated cylinder.
What the Layers and Numbers Tell Us
Density is easiest to explain as how heavy something is for its size. The equation is simple:
Density = mass ÷ volume
Water provides a familiar teaching benchmark. A commonly used reference is 1.0 g/mL for water, while a scientific paper reports water at 0.997 g/mL at 25 °C, showing why temperature must accompany precise density measurements. A lesson comparing 100 mL, 50 mL, and 25 mL samples of water uses the consistency of the calculated result to show that density is an intensive property, meaning it doesn't depend on the amount of sample. Those water references are summarized in this density measurement overview.
If honey has a value around 1.4 g/mL and water is treated as 1.0 g/mL, honey has more mass packed into each milliliter, so it settles underneath water. Vegetable oil, at around 0.9 g/mL, has less mass per milliliter than water, so it rides above it. These values are useful teaching examples, not permission to skip measurement. Your household samples may vary.
| Liquid | Mass (g) | Volume (mL) | Calculated Density (g/mL) |
|---|---|---|---|
| Honey | 42 | 30 | 1.4 |
| Water | 30 | 30 | 1.0 |
| Vegetable oil | 27 | 30 | 0.9 |
The table shows why a number is more informative than saying one liquid is “heavier.” A larger sample can have more total mass while still having a lower density. The comparison must use equal volumes or the mass must be divided by volume.
Temperature adds another layer of reasoning. The same liquid can have a different density when warm or cold, so students should record temperature conditions when comparing samples. Classroom lab guidance also encourages comparing a measured value with the true density at the same temperature and calculating percent error, turning a demonstration into quantitative analysis.
For a related activity that uses buoyancy and prediction, explore these floating egg science experiments.
When the Experiment Goes Sideways
A tower that mixes isn't a failure of density theory. It usually means the pouring, materials, or measurements introduced another variable.
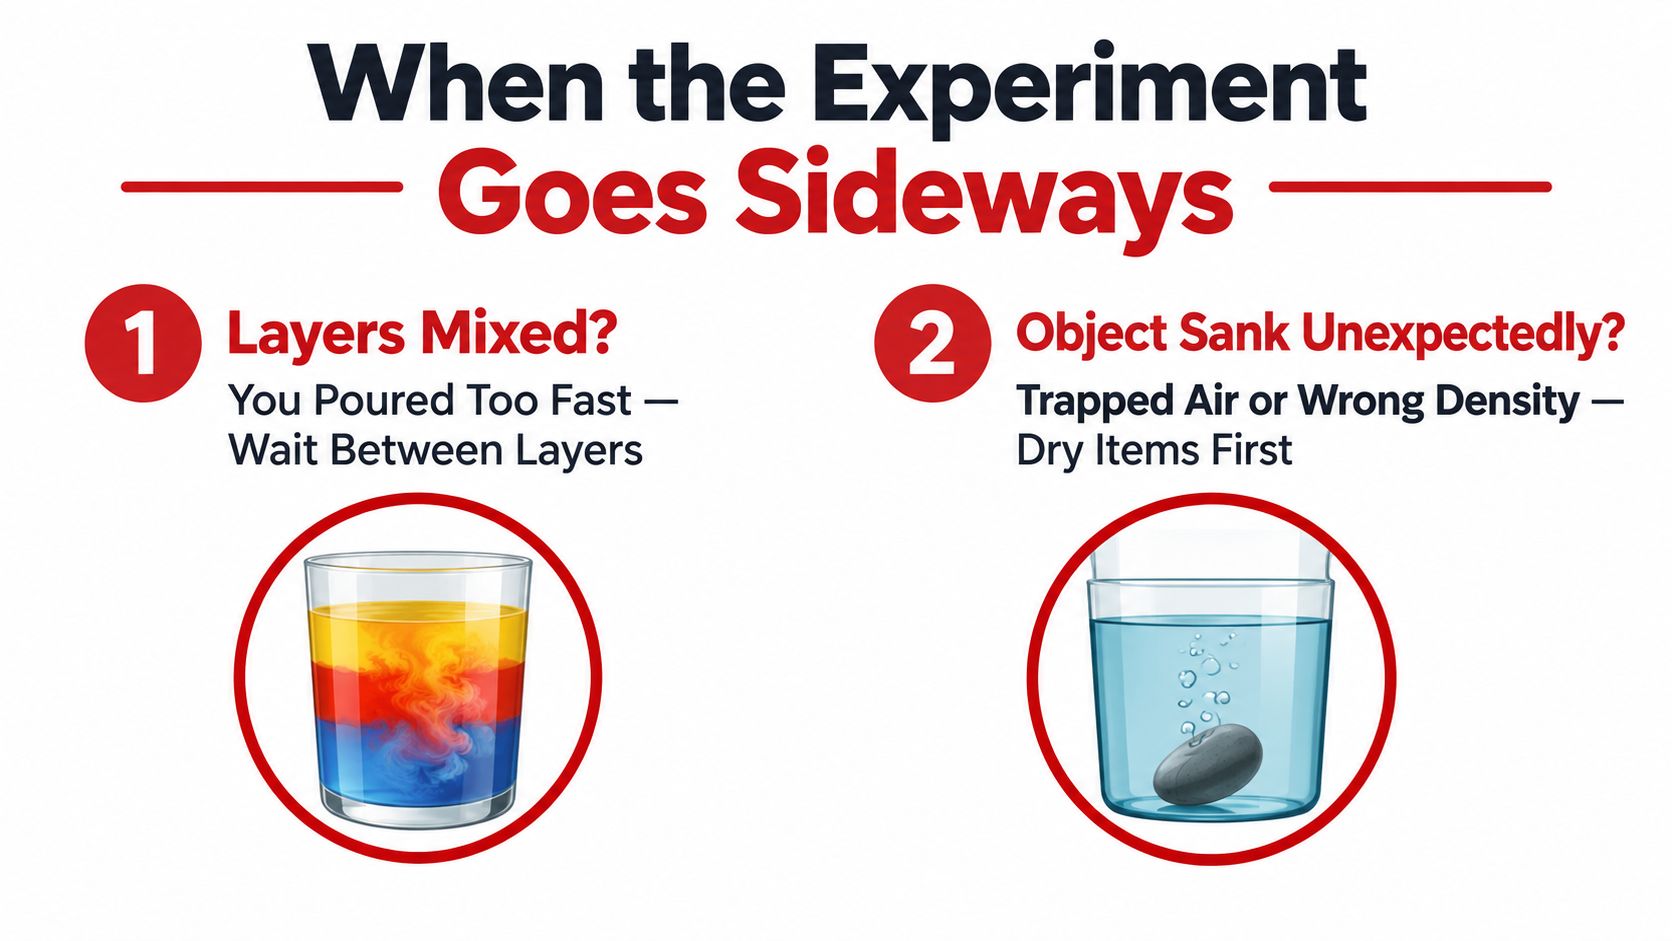
Layers blur when the pour is too fast. A fast stream breaks into the layer below and creates turbulence. Tilt the jar, pour down a spoon or card, and wait for the surface to settle before adding the next liquid.
An object sinks unexpectedly when air or water changes its behavior. A bubble clinging to a raisin can make it more buoyant at first. Dry test objects, lower them gently, and tap the glass lightly if you can see an air bubble attached to the object.
Diagnose the evidence
- Mixed boundaries: Slow the pour and leave more settling time.
- Cloudy colored water: Use only a few drops of food coloring per cup of water. Too much color makes the boundaries harder to inspect.
- Incorrect mass: Empty the container, place it on the scale, and re-zero it before measuring. Forgetting to tare adds the container's mass to the liquid's mass.
- Unclear volume: Set the cylinder on a level surface and read the bottom of the meniscus at eye level.
- Contaminated layers: Use clean tools for each liquid. A spoon carrying honey into oil can change the appearance of the boundary.
A child may ask, “Which answer is right?” The best response is often, “What evidence do we have?” Ask them to record the original result, the suspected cause, the change they made, and what happened after the repeat test. This turns frustration into a scientist's notebook entry.
Notebook prompt: “Our layer changed because we think ____. We changed ____. The new result was ____.”
The behavior of an object also depends on more than the liquid's color or position. Surface tension, trapped air, object shape, and whether liquids mix can affect what children observe. Use the investigation to separate the first prediction from the later explanation.
For more practice identifying variables and improving a fair test, use this guide to science experiments with variables.
Extensions, Classroom Tips, and Next Steps
Once children understand the basic tower, change one feature at a time. A salt-concentration gradient can show how dissolving material changes water's density. Warm and cold water can be compared to explore temperature effects, with students recording which sample is denser under the conditions they created.
Other extensions add a new kind of challenge:
- Try an oil-and-alcohol swap. Observe whether the liquids form a clean boundary or create a mixing problem. This helps children distinguish density from miscibility.
- Build a sinking-object station. Test a raisin, grape, bead, cork, or paperclip separately and sort each result by where it stops.
- Graph the measurements. Plot mass against volume for each liquid and discuss what the pattern suggests.
- Write a claim and evidence paragraph. Ask students to support a statement about the tower with a measured value and an observation.
- Repeat with a new container. Compare whether a tall narrow jar makes boundaries easier to see than a broad one.
Adapt the investigation by age
| Age Group | Best Extension | Key Tip | Learning Focus |
|---|---|---|---|
| 4-6 | Sink, float, or hover predictions | Use large, safe objects and focus on describing what children see | Observation and comparison |
| 7-9 | Layer order and simple recording | Let children draw the tower before explaining the rule | Prediction and evidence |
| 10-12 | Mass, volume, density, and graphing | Ask students to repeat odd measurements and explain differences | Calculation and experimental error |
Parents can place the jar in a tray and assign one child to pour while another records. Teachers can prepare stations with labeled liquids, test objects, towels, and separate measuring tools. Homeschooling families can connect the activity to arithmetic through division, writing through claim-evidence reasoning, and art through a carefully labeled tower diagram.
A practical classroom sequence is to begin with predictions, build the tower, measure selected liquids, troubleshoot one deliberate error, and finish with a written conclusion. Children then experience the full cycle described in this scientific method guide for kids, rather than treating the activity as a one-time visual trick.
For families and teachers who want the materials organized for a broader run of hands-on investigations, the Playz science kit lineup includes experiment-focused options that can support activities such as density layers. Choose age-appropriate materials, keep rubbing alcohol under adult control, label containers, and dispose of or store liquids safely instead of leaving an open tower unattended.
Bring this liquid density experiment to life with a clear jar, careful pours, and a notebook ready for unexpected results. Explore the Playz science kit lineup to gather tools for a week of practical STEM activities, then invite children to measure, graph, and explain what their layers reveal.