


A child is leaning over the kitchen table, one hand around a small brush and the other hovering over a block of plaster. Dust gathers on the newspaper. Everyone waits for the first sign of a shell, tooth, bone, or stone. When a shape finally appears, the excitement is immediate, but the most valuable part of the activity is only beginning.
Fossil dig kits work best when adults treat them as more than a one-time treasure hunt. The excavation introduces observation, patience, and careful tool use. Identification, storytelling, classification, and display turn that discovery into a lasting science experience. The same hands-on spirit also fits naturally alongside a guide to active outdoor play and other activities that move children away from passive screen time. For more ideas that encourage children to invent stories and roles, explore these toys for imaginative play.
Why Fossil Dig Kits Capture Kids' Imagination
The first reveal feels personal because the child caused it. A picture of a fossil can be fascinating, but brushing through compacted material creates suspense that unfolds at the child's pace. Each scrape answers one small question while raising another: Is that a tooth? Is the line part of a shell? Is the object still attached to the block?
That combination of mystery and physical effort gives children a scientist-like role. They aren't just receiving information about deep time. They're handling evidence, making observations, and deciding how to proceed. The specimen might be a genuine fossil, a replica, or another educational material, but the reasoning process still has value when the kit explains what the child has found.
Discovery makes patience feel purposeful
Young children often find waiting difficult when nothing seems to happen. A dig block changes that experience because slow progress leaves visible evidence. A brushed patch, a new crack, or a darker edge shows that careful work is producing results.
Adults can keep the conversation open without pretending the discovery is something it isn't. Ask what the child notices, what the object could tell a paleontologist, and what questions remain unanswered. That approach protects the wonder while building accurate habits of inquiry.
Workshop habit: Let children make an initial guess before naming the specimen. Their explanation matters as much as the final identification.
The find can outlast the activity
Once the fossil is clean, it can become part of a collection, a classroom display, a drawing, or a story about an ancient environment. Children who rush through the block may still become absorbed when they compare shapes or arrange specimens by type.
That extended arc is why fossil digging belongs with geology, biology, history, and creative play. The block opens the door, but the questions afterward keep the door open.
What a Fossil Dig Kit Actually Contains
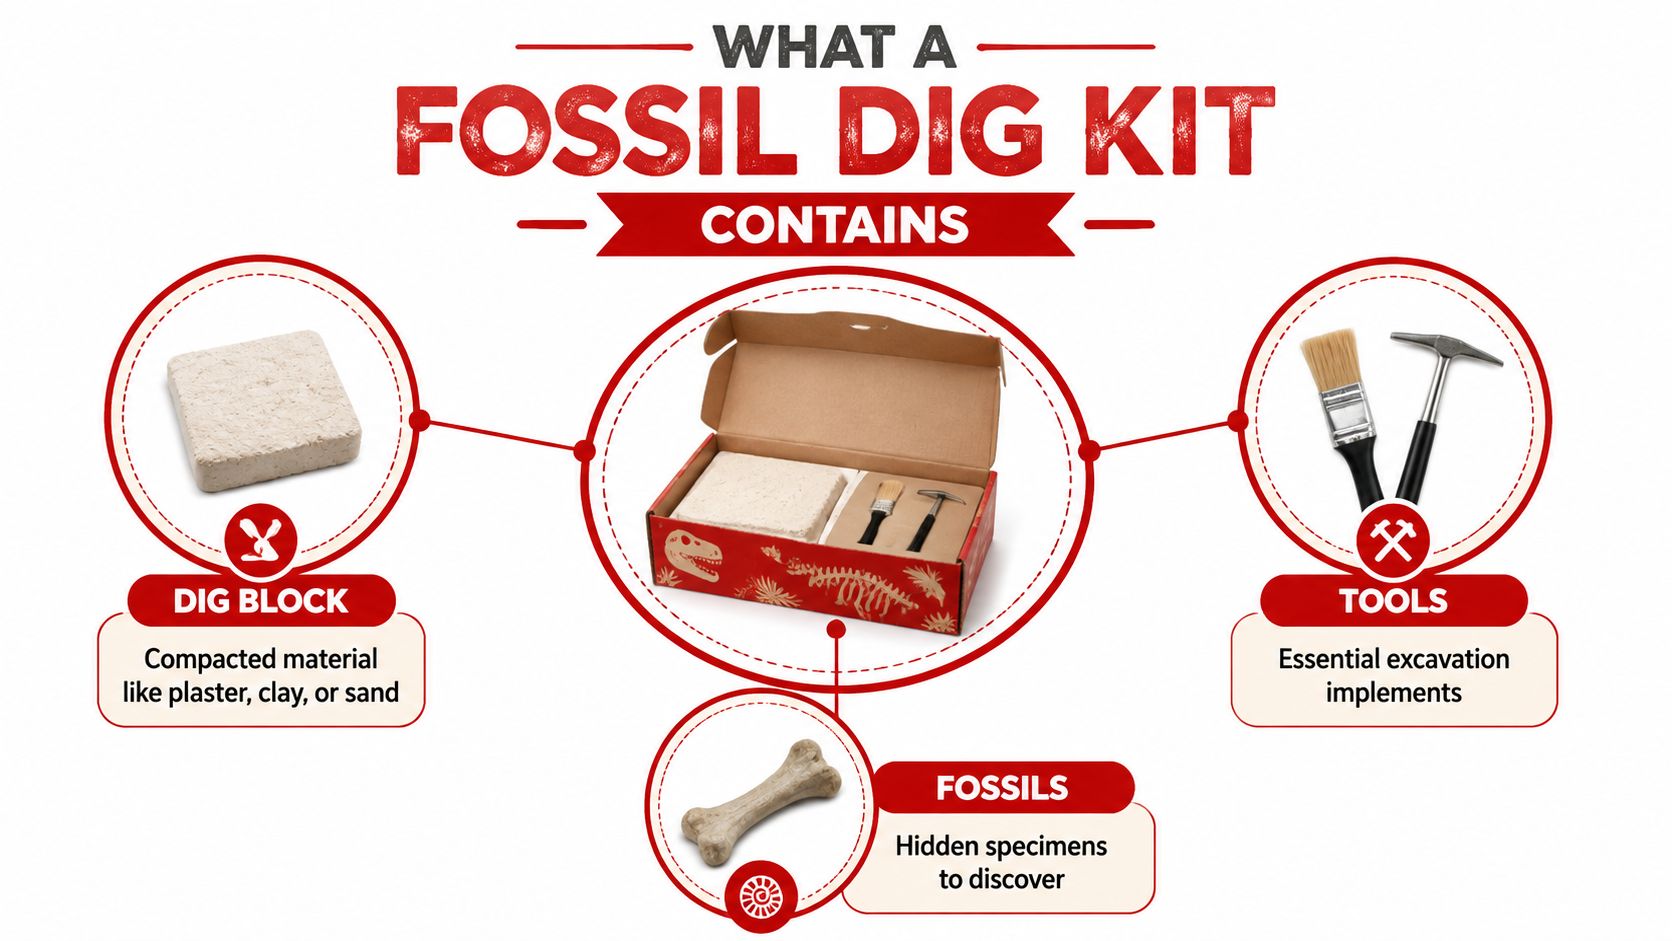
A fossil dig kit is a guided simulation of paleontology, not the same as excavating a protected rock layer in the field. The block imitates compacted sediment, the hidden specimen represents preserved evidence, and the tools simplify the equipment used to expose it.
Museum education programs helped establish this format as a structured learning method. The Virginia Museum of Natural History offers five separate Discovery Kits, including fossil identification and fossil-making kits, priced at $20 for pickup or $30 shipped according to the museum education collection described by Museumize's overview of natural history educational kits. The University of Colorado Museum of Natural History has also developed classroom fossil projects connecting researchers with teachers and students, with subjects including fossilization, geologic time, paleo-environments, climate change, marine environments, and fossil trackways.
The four parts to inspect
The block may be made from plaster, clay, sand, or another compacted material. Its firmness determines whether the activity feels like a gentle sensory task or a more demanding excavation.
The tools often include a brush, pick, chisel, magnifying glass, or small mallet. A real paleontologist's field kit can contain chisels, walkie-talkies, GPS, a rock hammer, probes, brushes, a Swiss army knife, Vinac consolidant, markers, plastic baggies, and a tape measure. The Natural History Museum of Utah's field kit description explains that Vinac is typically used as a 5% to 15% solution, while recovered fossil pieces are bagged and labeled so their quarry position can be reconstructed.
The fossils may be genuine specimens, replicas, or a mixture. Read the product description carefully. A kit that promises “real fossils” should identify what those specimens are, while a replica can still support observation and classification when the guide is clear.
The guide gives the discovery meaning. Look for specimen names, basic identification clues, habitat information, and follow-up activities rather than a decorative card that only announces what was found.
The Real Educational Benefits Kids Get From Digging
The strongest learning doesn't happen when the fossil pops free. It happens while a child decides whether to use a brush, pick, or fingertip, notices a change in texture, and changes technique after a mistake.
This makes the activity useful for several kinds of development at once. The child is working with the hands, but also forming predictions, testing ideas, describing evidence, and managing frustration.
Skills practiced during excavation
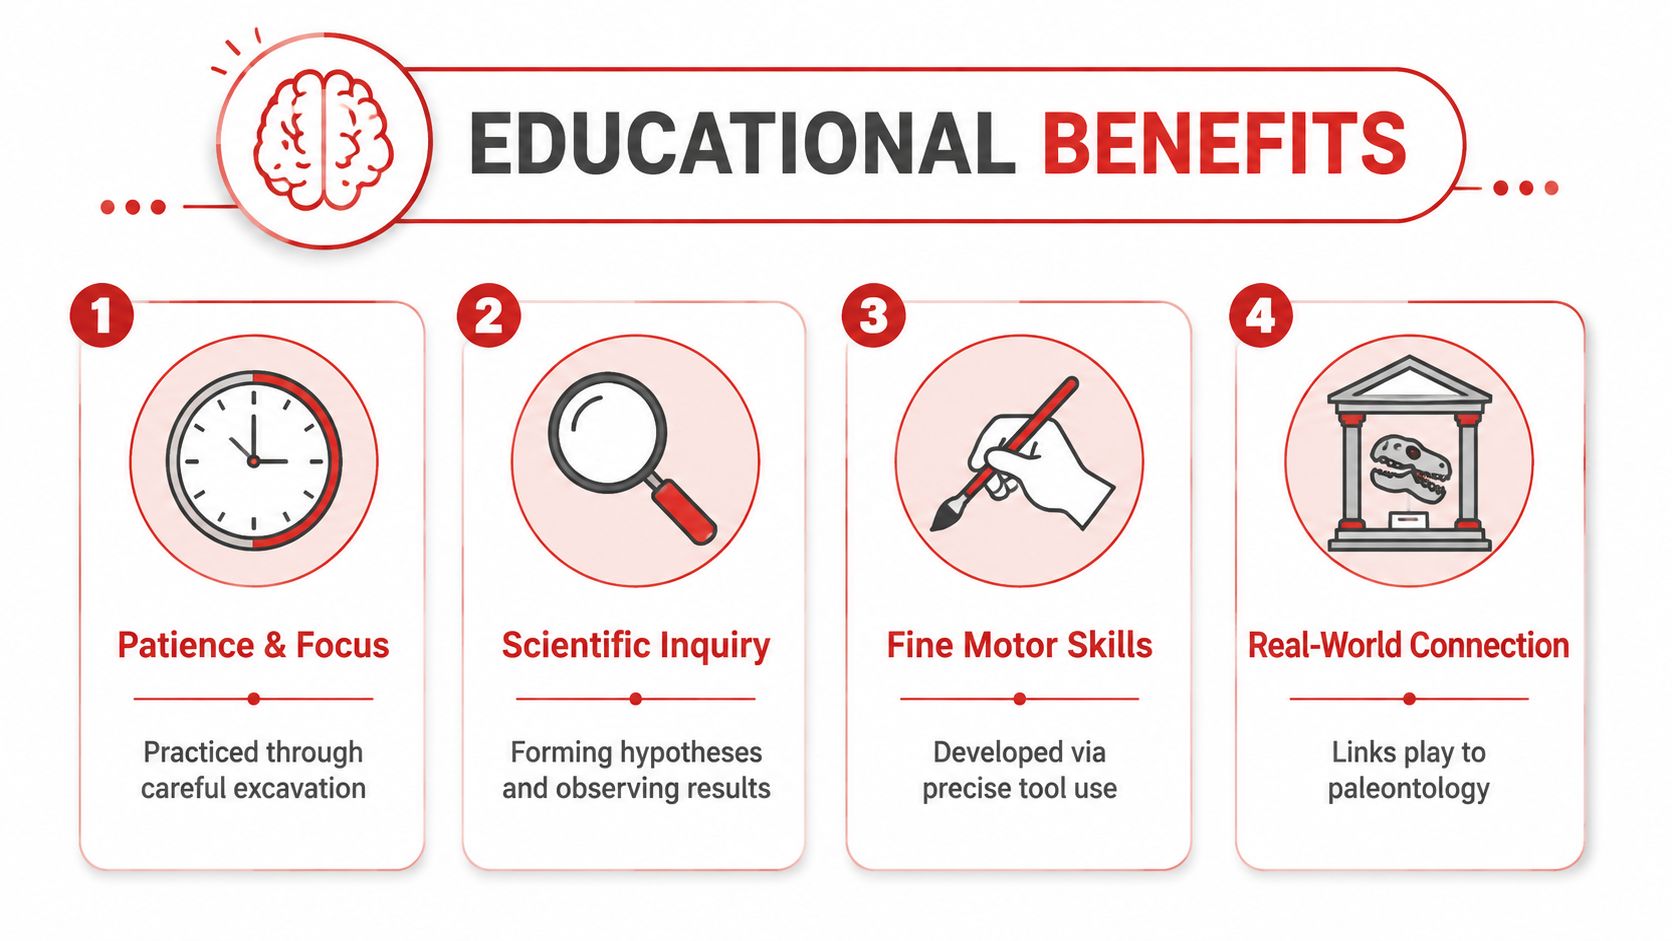
- Patience and focus: A child learns that progress can be gradual and still worthwhile. Brushing a small area carefully gives attention a clear purpose.
- Fine-motor control: Holding a pick or brush with controlled pressure supports hand strength, coordination, and hand-eye accuracy.
- Observation: Children compare color, texture, cracks, edges, and shapes. They learn that a mark isn't automatically a fossil.
- Scientific inquiry: A child proposes an explanation, checks the evidence, and revises the idea when the object doesn't match the guide.
- Language and numeracy: Counting specimens, comparing sizes, measuring exposed pieces, and explaining a conclusion bring mathematics and communication into the activity.
Older learners can classify specimens, discuss relative position in a simulated layer, and connect a fossil with an ancient environment. A classroom set can make that work concrete. One example contains 15 plaster rocks, with four real fossils in each rock, for a total of 60 fossils in the set, as described by Science Outside's classroom fossil dig project kit.
The adult's role matters. Questions such as “What do you notice?” and “What evidence supports that idea?” create richer thinking than supplying the answer immediately. For additional ideas about why physical exploration supports development, see this resource on the benefits of hands-on learning.
How Fossil Dig Kits Work From Unboxing to First Reveal
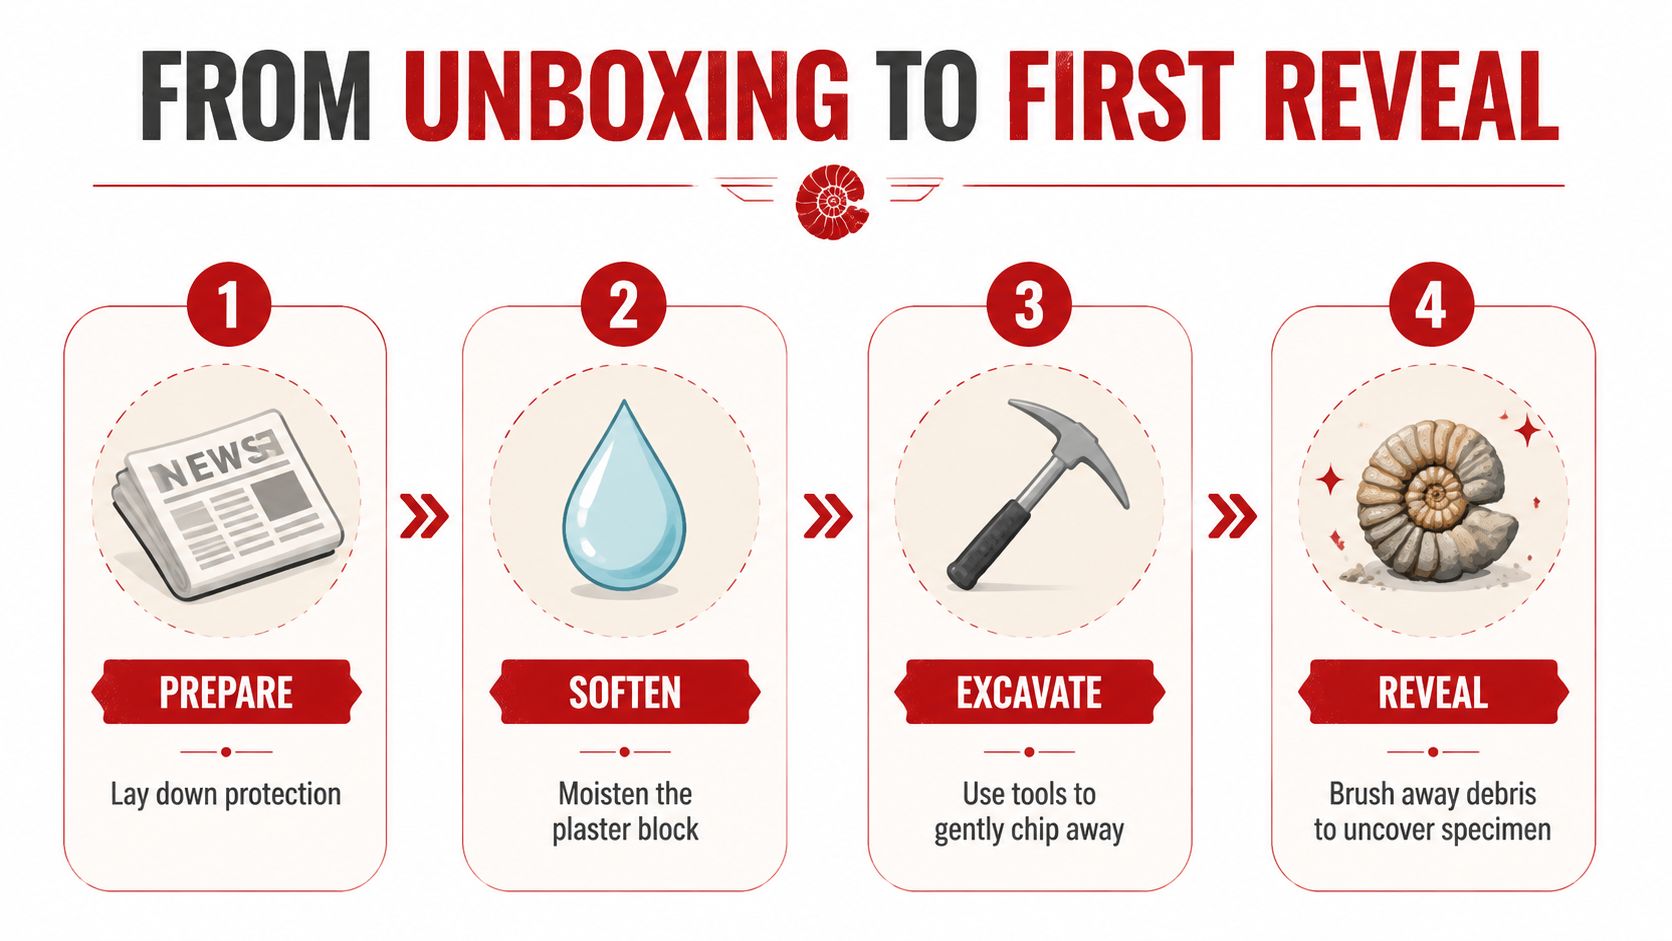
A calm setup prevents most first-time problems. Choose a hard, washable surface, spread newspaper or place the block in a tray, and keep a small container nearby for fragments. Check the instructions before adding water, because different materials respond differently.
When a plaster block feels especially hard, a few drops of water may soften the surface. Don't soak the block. Excess water can turn the work area into a paste and make small pieces harder to handle.
A gentler excavation sequence
- Prepare the workspace. Place the block on newspaper, an old towel, or a tray. Put the brush, pick, guide, water, and specimen container within reach.
- Test the surface. Scratch lightly with the included tool. Start near the top and work downward instead of attacking the block from the side.
- Clear small areas. Use the pick to loosen material, then use the brush to remove dust. Short, controlled movements reveal more than forceful blows.
- Slow down near an object. Once a curved edge, color change, or hard surface appears, stop striking directly above it. Work around the perimeter.
- Confirm the find. Compare the shape with the identification guide. Look for features such as ridges, symmetry, a tooth-like point, or shell lines.
- Rinse and dry when appropriate. Follow the kit's directions, remove remaining dust gently, and let the specimen dry before storing or displaying it.
The common beginner mistake is aggressive chipping. A large piece of plaster may come away quickly, but the embedded fossil can snap with it. A related activity, such as a gem dig kit, follows the same useful principle: discovery rewards controlled effort more than speed.
A short video can help children understand the hand movements before they begin:
Matching Kits to Age and Skill Level
A child may open a fossil dig kit with great excitement, then lose patience when the block resists the first few attempts. The age printed on the package helps, but grip strength, attention span, confidence, and tolerance for dust matter too. Match the kit to the child's working style, not age alone.
Some sets suit young children with softer material and simple tools. Others require precise movements and repeated sessions. One consumer example is marketed for ages 5 to 12, contains a hardened sand block with eight fossils, and warns about small parts and use by children under three, as shown in this student archaeology kit listing. Families comparing tool difficulty can also consult a comparison of the best science kits for kids.
Fossil dig kits by age band
| Age Band | Block Hardness | Tool Type | Typical Specimens | Session Length |
|---|---|---|---|---|
| 3+ | Softer material or easy-release block | Chunky brush or broad plastic tool | Larger, easy-to-grip pieces | Short, supervised activity |
| 5 to 8 | Moderate plaster or compacted sand | Pick, brush, and simple chisel | Shells, teeth, bones, or mixed specimens | One or several sittings |
| 8 and up | Denser block with more resistant layers | More precise excavation tools | Shark teeth, ammonites, and multiple specimen types | Multi-session project |
What each band should feel like
For younger children, choose a kit that offers a quick success. The material can support sensory exploration and words such as rough, smooth, curved, hard, and tiny. An adult will usually need to guide the process, then help the child examine, name, and display the find afterward. That follow-up turns a brief reveal into a small classification activity.
Children from five to eight often enjoy the ritual of a real-looking excavation. A guide booklet adds value by connecting each object with a name and a little context. Several real fossil excavation products include five real fossils in a dig block or 15 genuine prehistoric fossils in a larger dig brick, with tools and learning guides, according to Lakeshore Learning's fossil excavation kit information.
Older children may enjoy a project that develops over several sittings. Denser blocks, multiple specimens, shark teeth, ammonites, display cases, and more detailed learning material can support collection records, specimen comparisons, and a short story about where each fossil might fit in prehistoric life. Age alone does not justify the hardest kit. Choose greater resistance when the child enjoys careful work, can follow directions, and wants to continue after the first fossil is found.
Safety Tips Every Parent Should Know Before the Dig Begins
Fossil excavation looks harmless in a product photograph, but the materials deserve the same practical attention as any hands-on craft. Small fossils, broken plaster, dust, and sharp tool edges can create avoidable problems when adults overlook the age label.
Kit manuals and retail materials commonly warn that some sets aren't suitable for children under three or seven, may include functional sharp edges, and require cleanup of plaster dust and leftover pieces, as documented in the Fossils Excavation manual from Thames and Kosmos.
A simple pre-dig checklist
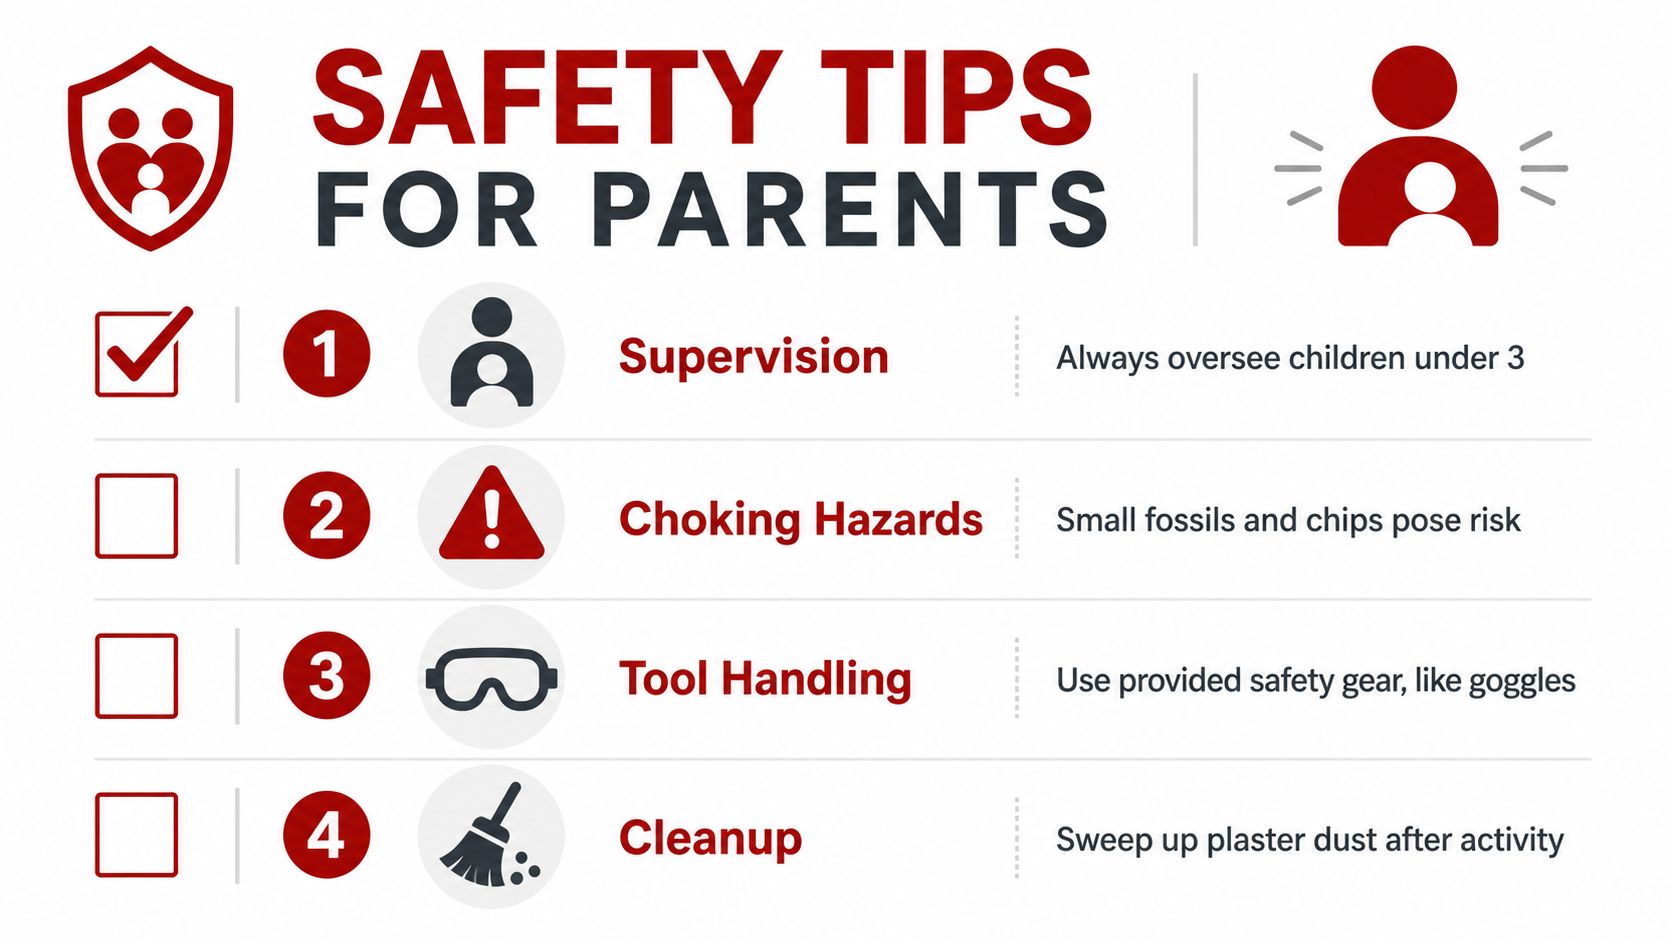
- Check the age label: Don't rely on a child's enthusiasm as proof of readiness. Small parts and hard blocks may not suit toddlers.
- Stay close to young children: Children under three should not handle small fossils or plaster pieces. Older children still need supervision when using a pick, chisel, or mallet.
- Protect eyes and lungs: Safety goggles make sense when a block requires chiseling. A dust mask can help reduce inhalation of plaster dust, which may irritate the lungs.
- Contain the mess: Use a tray, newspaper, or old towel. Keep broken pieces in one place instead of letting them spread across the floor.
- Wash hands before food: Keep excavated fragments away from snacks, and wash hands after the activity.
- Inspect tools: Some inexpensive plastic tools can have sharp edges or cracks. Replace a damaged tool rather than asking a child to “be careful.”
A practical rule: Set up the workspace before opening the block. Preparation takes only a few minutes and makes supervision much easier.
Most kits can be used safely when the child works on a stable surface, an adult matches the activity to the age guidance, and cleanup happens immediately. Safety isn't a reason to avoid the activity. It's a reason to make the setting deliberate.
Activity Ideas That Extend Learning After the Fossil Is Found
The cleaned specimen shouldn't disappear into a drawer. The reveal gives you a physical object that can support several days of questions, drawing, measuring, and storytelling.
Start with identification, but don't stop at the name. Ask the child to compare the specimen with the guide and explain which features support the match. If you have a printed dichotomous key, use choices such as hard or soft, symmetrical or irregular, smooth or ridged, and pointed or rounded.
Build a fossil record
A field journal gives the discovery a history. The child can record:
- Date and finder: Write when the specimen was uncovered and who found it.
- Material and texture: Describe whether it feels smooth, rough, layered, ridged, or glossy.
- Shape and scale: Sketch the outline and compare it with a familiar object.
- Identification guess: Record the first idea, then note what the guide confirms.
- Environment question: Ask whether the organism lived in a marine, coastal, freshwater, or land environment.
The journal doesn't need polished handwriting. A labeled drawing, a few measurements, and a sentence about evidence are enough to show how the child's thinking changed.
Turn the home into a small museum
Use a cardboard shelf, tray, or shallow box as a display. Add a handwritten label with the specimen's name, a habitat description, and a note about how it was found. Children can arrange pieces by type, size, texture, or confidence of identification.
A wall timeline can place the specimen within a broad geological story without requiring the child to memorize dates. Keep the emphasis on sequence and change. The question is not only “What is this?” but also “What kind of world could support it?”
Add creative and comparative work
Clay can represent the organism's environment. A child might model a shell on the seafloor, create a simple shoreline scene, or make an impression inspired by the find. For a writing prompt, ask the child to describe a day in the life of the organism while separating imaginative details from evidence-based observations.
For a group activity, let children compare specimens and rank them by size, shape, or suspected type. Measure each piece with a ruler, use a scale drawing, or research a modern relative. A related craft activity, making salt dough fossils, can reinforce the difference between creating an impression and uncovering a preserved specimen.
The educational payoff grows when children return to the object. Each revisit adds vocabulary, evidence, and a clearer understanding that science continues after the discovery.
How to Choose the Best Fossil Dig Kit for Your Family
Begin with the child, not the packaging. A child with strong fine-motor control but limited patience may need an easier block, while a careful child who enjoys extended projects may welcome denser material. Decide whether you want a quick shared activity, a multi-session investigation, or a specimen set that supports display and follow-up lessons.
Examine the specimen promise
Read whether the kit contains genuine fossils, replicas, or mixed educational pieces. Real shark teeth, ammonites, and brachiopods can offer an authentic collecting experience, but authenticity alone doesn't guarantee a useful lesson. Clear identification information matters more than a box filled with identical pieces that children can't distinguish.
Judge the tools and material
Gypsum-style blocks can chip cleanly, while other compacted materials may produce more dust or stubborn fragments. Look for tools that fit a child's hand and don't have rough or sharp edges. A reusable brush, a sturdy pick, a magnifying glass, and a storage container can make the work more manageable.
Look for teaching support
A good guide should help an adult ask questions, not merely reveal the answer. Check for specimen names, basic habitat context, observation prompts, and suggestions for drawing or display. Classroom buyers should also consider bulk quantity, mess containment, storage, and whether each child receives enough material to participate.
Families may care more about a memorable specimen and a display stand than about a large quantity. Teachers may prioritize consistent materials and easy cleanup. Gift buyers should check age guidance before choosing a kit based only on dinosaur artwork.
For families organizing collections, clear labels can keep specimens, drawings, and display pieces from becoming mixed together. A resource about snuggle bug themed labels offers a practical way to think about labeling children's belongings and projects.
Playz offers the Huge Earth Volcano, Dinosaur & Fossil Dig Kit, a STEM activity that lets children dig out fossils and make fossil rocks. It can fit families looking for an excavation activity with a broader earth-science theme, provided the age guidance, tools, and planned follow-up match the child using it.
Choose a fossil dig kit that gives your child something to uncover and something to investigate afterward. Visit Playz to explore science kits and creative play options that can turn a fossil reveal into a longer hands-on learning experience.