


Your child is ready to build, the pieces are spread across the table, and the instruction booklet looks more complicated than expected. Within minutes, you're searching for a tiny connector, your child is asking whether the model is supposed to wobble, and everyone's excitement starts to fade.
Building a kit doesn't require engineering expertise. It requires a manageable setup, a sensible sequence, and an adult who can turn confusion into the next small question. Whether you're working with a science experiment, model, robotics project, or construction set, the same habits help families stay calm, learn together, and finish with confidence.
Why Building a Kit Feels Harder Than It Should
A family build often goes wrong before anyone attaches the first part. One parent opens the box during a short window before dinner, a child grabs several pieces at once, and the instructions assume everyone already knows the difference between a connector, spacer, and support. When the model fails to move, the family blames the child or the kit, even though the problem was a rushed beginning.
I've seen this pattern many times. A child may understand the goal perfectly but struggle to hold a small part steady while an adult reads several steps ahead. Another child may have the fine motor ability to assemble a piece but lose interest because the task feels like copying rather than discovering. Purposeful play works better when adults treat the build as shared problem solving, not a performance test.
Construction play has deep roots. The Deutsches Museum explains that standardized construction parts have been used to recreate modern objects for more than 200 years, with the first wooden construction kit appearing around 1800 and later gaining popularity through Friedrich Fröbel's kindergarten movement. The Deutsches Museum's history of technical toys places building kits within a long educational tradition, rather than presenting them as a passing toy trend.
Replace perfection with a workable rhythm
A successful session might end with a complete model, but it might also end after one well-tested subassembly. Both outcomes can be valuable. Your child is practicing planning, sequencing, spatial reasoning, persistence, and communication while you're helping them notice what changed between one attempt and the next.
Practical rule: The best adult support gives a child enough help to continue, but not so much that the child loses ownership of the build.
Start by assigning simple roles. Your child can sort colors, identify matching shapes, hold a ruler, or check off completed steps. You can manage sharp tools, batteries, tight fasteners, and final safety checks. Guidance on fine motor skills through hands-on play can also help you choose tasks that match what your child can comfortably control.
What to Gather Before You Start Building
A prepared workspace prevents many interruptions. You don't need a workshop, but you do need a flat surface where parts won't roll away and everyone can see the instructions.
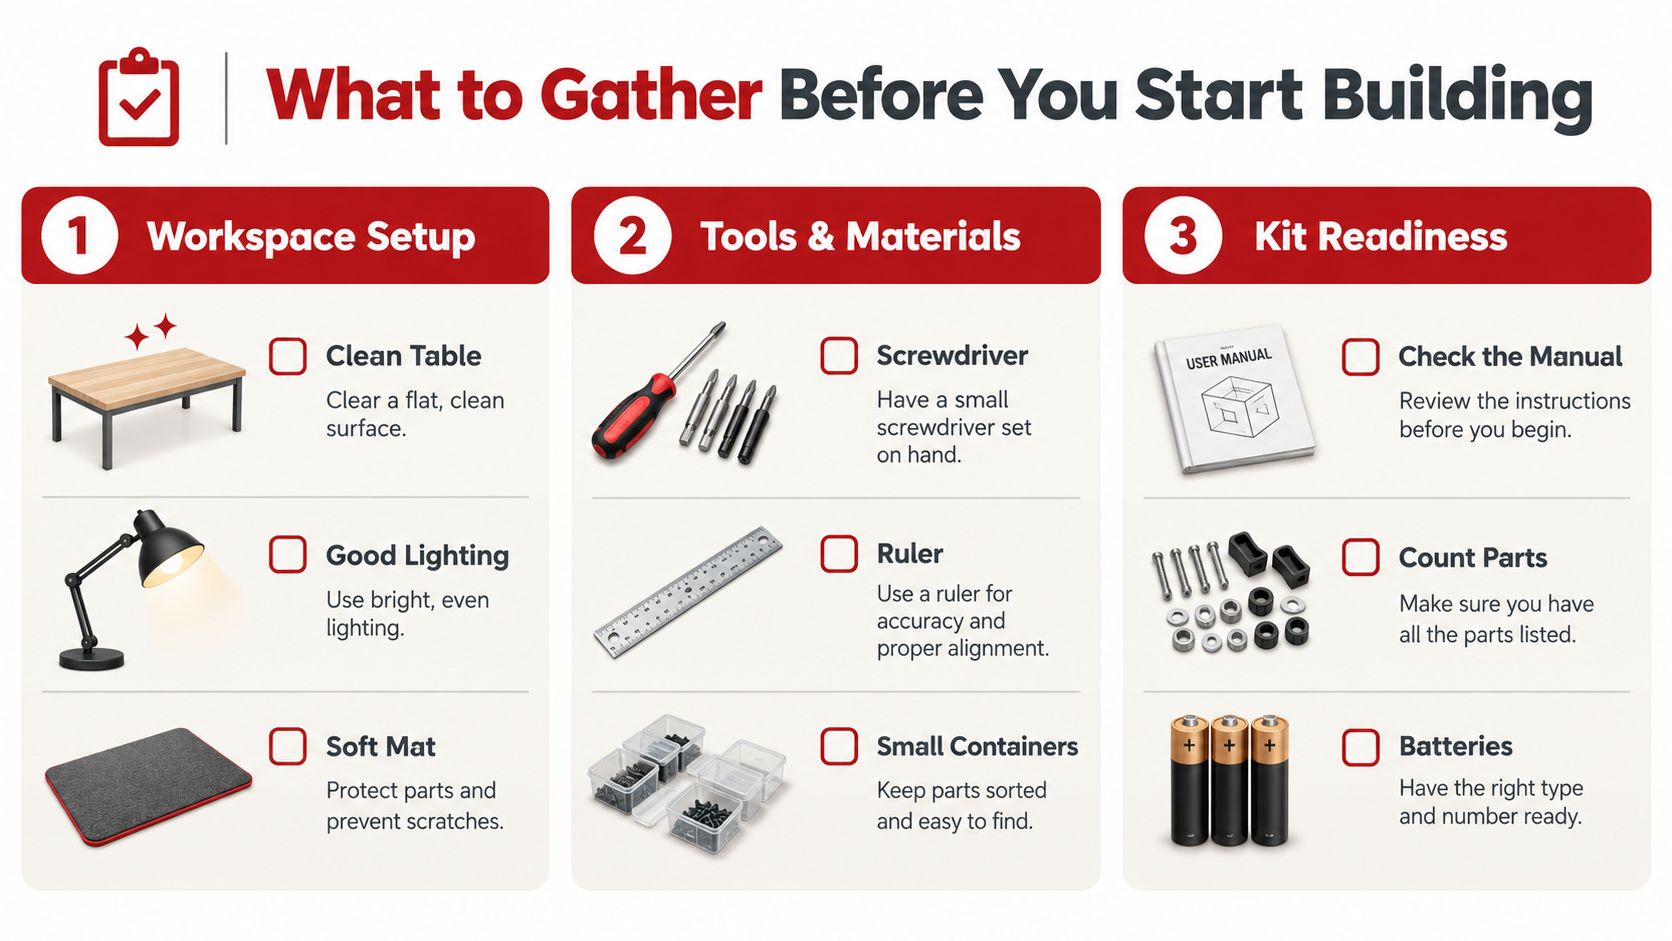
Set up the station
Use this reusable checklist before opening the manual:
- Clear the table: Remove cups, loose paper, and unrelated toys so parts have a defined home.
- Improve visibility: Position the workspace near good lighting. Small symbols and color differences are easier to read when shadows aren't covering the page.
- Add a soft mat: A towel, silicone mat, or folded cloth can stop pieces from bouncing and protect delicate parts.
- Prepare sorting containers: Egg cartons, small bowls, or a divided craft tray work well for separating screws, rods, gears, beads, or colored blocks.
- Gather basic tools: Keep a small screwdriver set, ruler, pencil, scissors where appropriate, and a cloth for wiping surfaces nearby.
- Check power needs: If the kit uses batteries, confirm the required type and keep them separate until the instructions call for installation.
Read before you build
Check the recommended age range, safety warnings, and adult-assembly notes first. EU toy safety guidance says toys intended to be assembled must include detailed assembly instructions, including whether an adult must assemble the toy or verify the assembly before use. The EU toy assembly guidance is a useful reference for understanding why that note matters.
Next, compare the printed parts list with the contents of the box. Don't assume a part is missing because it's not visible. It may be inside a sealed bag, attached to a frame, or shaped differently from the illustration.
For a circuit-focused project, review the symbols and connection diagrams before handing components to a child. A practical refresher on building simple circuits can make the first connection feel less intimidating.
Keep one empty container beside the work area for discarded packaging and another for completed subassemblies. That small separation makes it easier to see what's available and what's already in use.
How to Assemble Any Kit Without the Stress
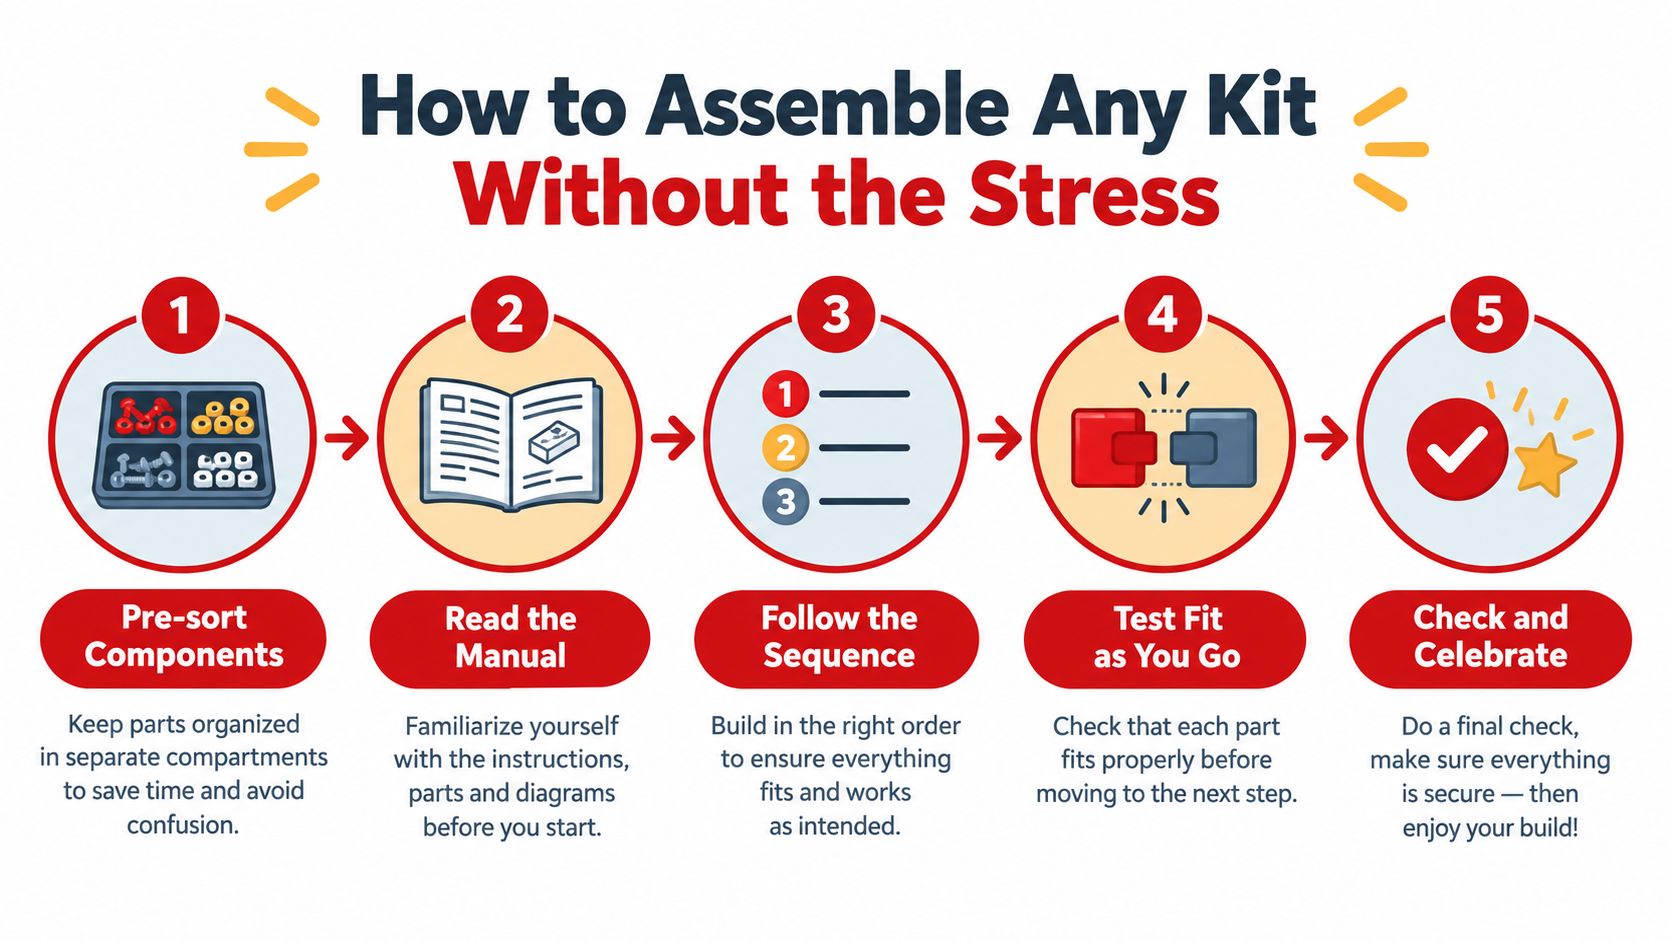
The smoothest builds follow a repeatable rhythm: identify, sequence, test, and only then secure. A modular STEM robotics kit study reported successful operation across all kits tested, with assembly times ranging from 20 to 60 minutes and observed success rates of 85% to 95% during student-group validation. The modular robotics kit study also describes a practical workflow based on sorting, following the sequence, and testing subassemblies before final integration.
Begin with identification
Spread the parts where everyone can see them. Group identical pieces together, then compare each group with the manual's illustrations. If the kit labels bags or compartments, preserve those labels until the relevant stage is complete.
Don't tighten or glue anything during this first pass. Hold pieces together loosely and ask your child to find the orientation shown in the picture. A gear that looks correct from above may be reversed from the side, and a support may fit several openings while only one position produces a stable structure.
Follow the sequence, even when the next step looks tempting
Instructions usually place internal components before outer panels for a reason. Skipping ahead can hide a wire, block a fastener, or force you to undo several completed steps. Let your child point to the current step, name the parts, and check them off after completion.
Use both the words and the pictures. If the text says “attach the rod,” ask your child to locate the same rod in the diagram. This builds attention to visual detail without turning the activity into a reading test.
Test before final integration
Build one section, then test it. For a robot, check whether a wheel turns freely before adding the body. For a bridge, place it gently on the table before adding decorative pieces. For a science setup, confirm that the container, measuring tool, and materials are ready before combining anything.
Dry-fitting is especially useful when a piece feels tight. Place it without forcing it, inspect the angle, and compare both sides with the diagram. If it still doesn't align, back up one step instead of applying more pressure.
Pause point: If a part needs unusual force, stop and check orientation, neighboring pieces, and the manual before continuing.
Keep completed subassemblies in their own container. This prevents them from mixing with unused parts and gives your child a visible sense of progress. A crystal-growing kit instruction guide offers another example of why sequence and patience matter in projects where the result develops over time.
At the end, move every control gently. Look for loose pieces, exposed edges, pinched wires, and unstable joints. Celebrate the test itself, not only a perfect result. If something fails, the failed test tells you where to investigate.
Choosing the Right Kit Type for Your Family
The right kit matches the child, the available time, and the kind of learning you want to encourage. A high piece count can create a satisfying challenge, but it doesn't automatically make a kit more educational. A simpler open-ended set may invite more planning and creative problem solving than a tightly scripted project.
Use age guidance as a starting point, then consider whether your child prefers observing changes, constructing objects, operating mechanisms, or making something decorative.
Compare the common options
| Kit Type | Best Age Range | Adult Support Needed | Key Skills Built |
|---|---|---|---|
| Science experiment kits | Ages 4-10, matched to complexity | Moderate, especially for measuring and safety | Observation, prediction, measurement, cause and effect |
| Building and construction sets | Early childhood through school age | Low to moderate, depending on part size and design | Spatial reasoning, balance, planning, fine motor control |
| Robotics and coding kits | Older children who can follow multistep sequences | Moderate to high during wiring, programming, and testing | Sequencing, systems thinking, troubleshooting, logic |
| Craft and model kits | School age and adults, depending on tools and detail | Low to moderate, with adult help for sharp tools or tight parts | Patience, visual planning, precision, creative expression |
For younger children, independent success often depends on the materials. Guidance for home science activities recommends large-format sorting, colors, magnets, and water play for ages 4-5; magnets, simple machines, measurement, weather, senses, and seed growth for ages 6-8; and electricity, solar energy, light, sound, and environmental experiments for ages 9-10. This age-matched science-kit guidance gives families a practical way to avoid choosing a project that demands too much adult intervention.
Open-ended or scripted
A scripted kit gives a child a clear destination. That structure helps when the child feels unsure or wants to see a working result quickly. An open-ended kit offers more freedom, which can support experimentation, but younger builders may need prompts such as, “What could make the tower steadier?” or “What changes if you move the wheel?”
Material choices deserve attention, too. Market coverage describes a shift toward recycled-content blocks, reported at about 22% of global unit sales in 2025 compared with 14% in 2022. The building toys market coverage also discusses digital tie-ins and more complex sets aimed at adults. Treat those features as comparison points, not automatic proof of educational value.
For sewing or textile projects, families can explore beginner sewing kits for adults when they want a slower, tactile build with a useful finished object. For broader STEM choices, STEM building kits can help you compare projects by the kind of construction and investigation they invite.
Making the Build Educational and Kid Friendly
A child who sorts parts, tests a connection, or explains a result has a real role in the build. Give a preschooler large pieces to group by color or shape. An early elementary child can count components, match diagrams, or hold a ruler. An older child can predict what will happen, record observations, and explain why a mechanism stopped working. Matching the task to the child's age reduces adult correction and creates small wins.
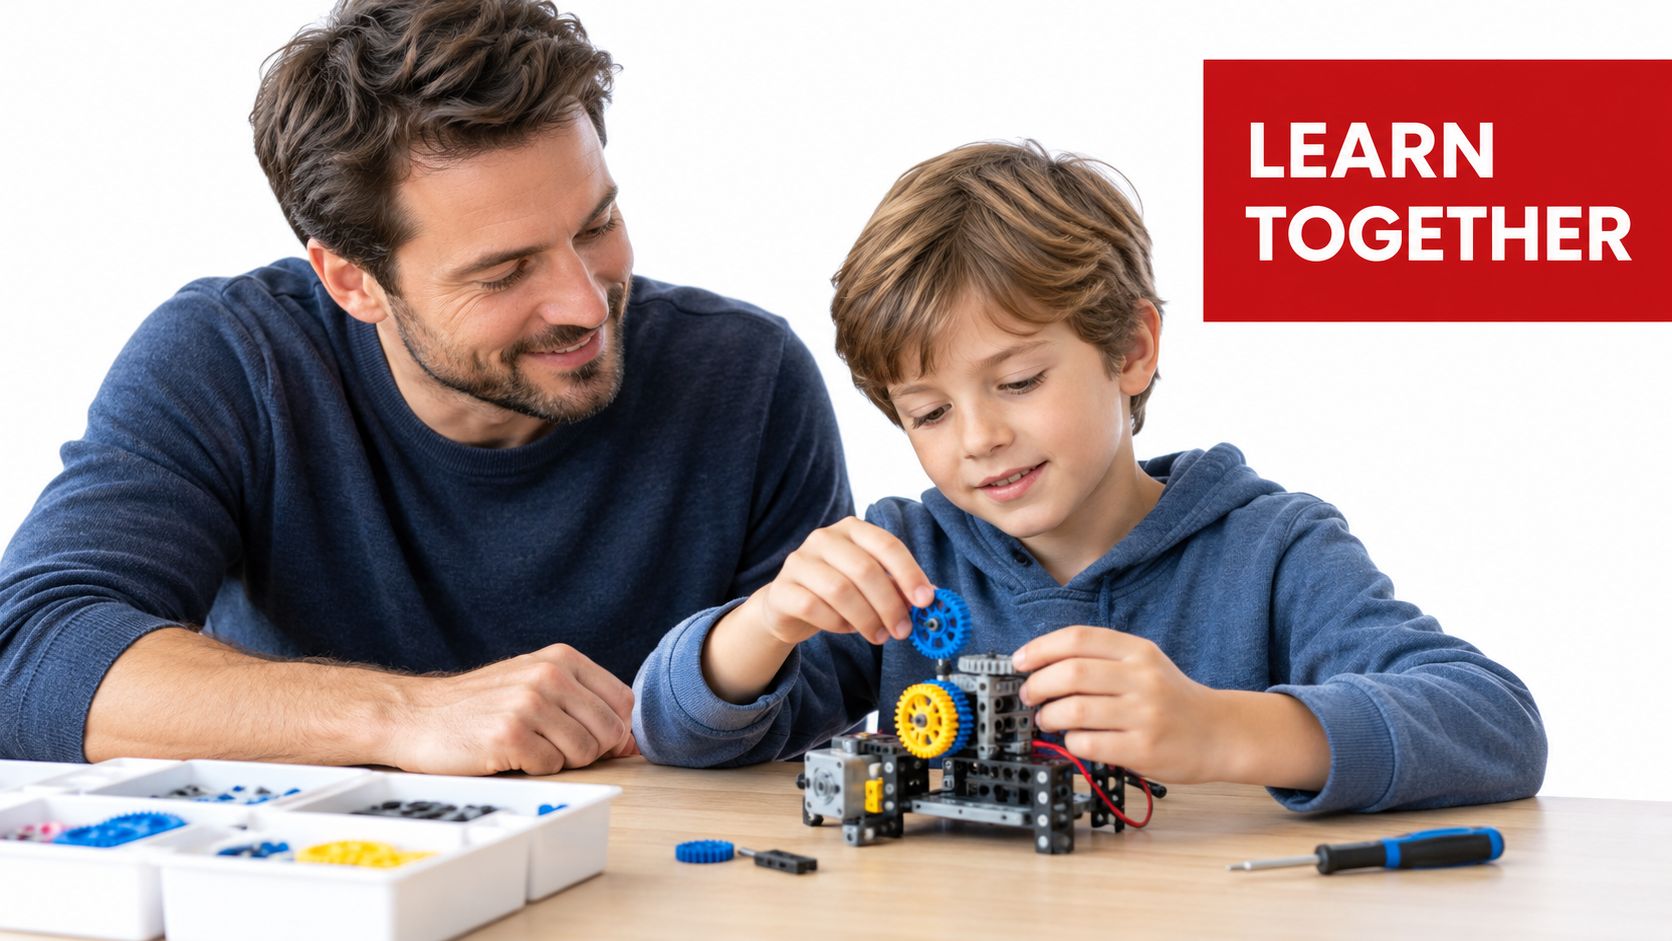
Your questions can guide without taking over. Instead of saying, “That piece goes over there,” ask, “Which opening has the same shape as the peg?” If a structure leans, ask, “Where does the wobble begin?” These prompts keep the child involved while giving you a clear way to help, as explained in this overview of the benefits of hands-on learning.
Research on home STEM engagement identifies limited time, limited materials and resources, and uncertainty about supporting early science learning as barriers. A recent international parent survey reported that 75% of parents feel unprepared to answer their child's science questions at home, while 34% say they unintentionally stop exploration because of time constraints or uncertainty. The parent STEM engagement research supports guidance that tells adults what to say and do, not only what a box contains.
Build safety into the learning
An adult should handle sharp tools, heat, chemicals, and batteries whenever the manual requires it. For activity toys, EN 71-8 guidance recommends self-locking mechanisms to reduce unintentional disassembly during dynamic play, including spring washers and self-locking nuts. The EN 71-8 safety text explains why secure connections matter after assembly.
For a child-assembled toy, check both individual components and the finished model. This explanation of EN 71-1 mechanical and physical testing provides a useful basis for checking connections, moving parts, and the completed build before play.
A guided kit can reduce the pressure on adults by providing the next action and a way to check progress. Studies summarized in the home STEM research report indicate that guided kits can support sustained use, parent self-efficacy, and perceived child learning more effectively than basic kits. For families trying a shared craft, resources that help adults start sewing with confidence follow the same principle, clear support without requiring prior mastery.
Watch this short visual guide before a mechanical or electronics-focused session, then assign only the tasks your child can safely own.
The strongest learning may come from a correction. When a wheel does not turn, ask what moves, what stays still, and what changed since the last test. The child gathers evidence, while you help turn frustration into the next useful adjustment.
Troubleshooting Common Kit Building Problems
A stalled build doesn't always mean the child lacks ability. Many failures come from simple control issues, including poor labeling, weak inventory visibility, or skipped verification. A kitting quality study reported an average error rate of 22 errors per million components picked, and the kitting quality research discusses controls that reduce missing-part mistakes.
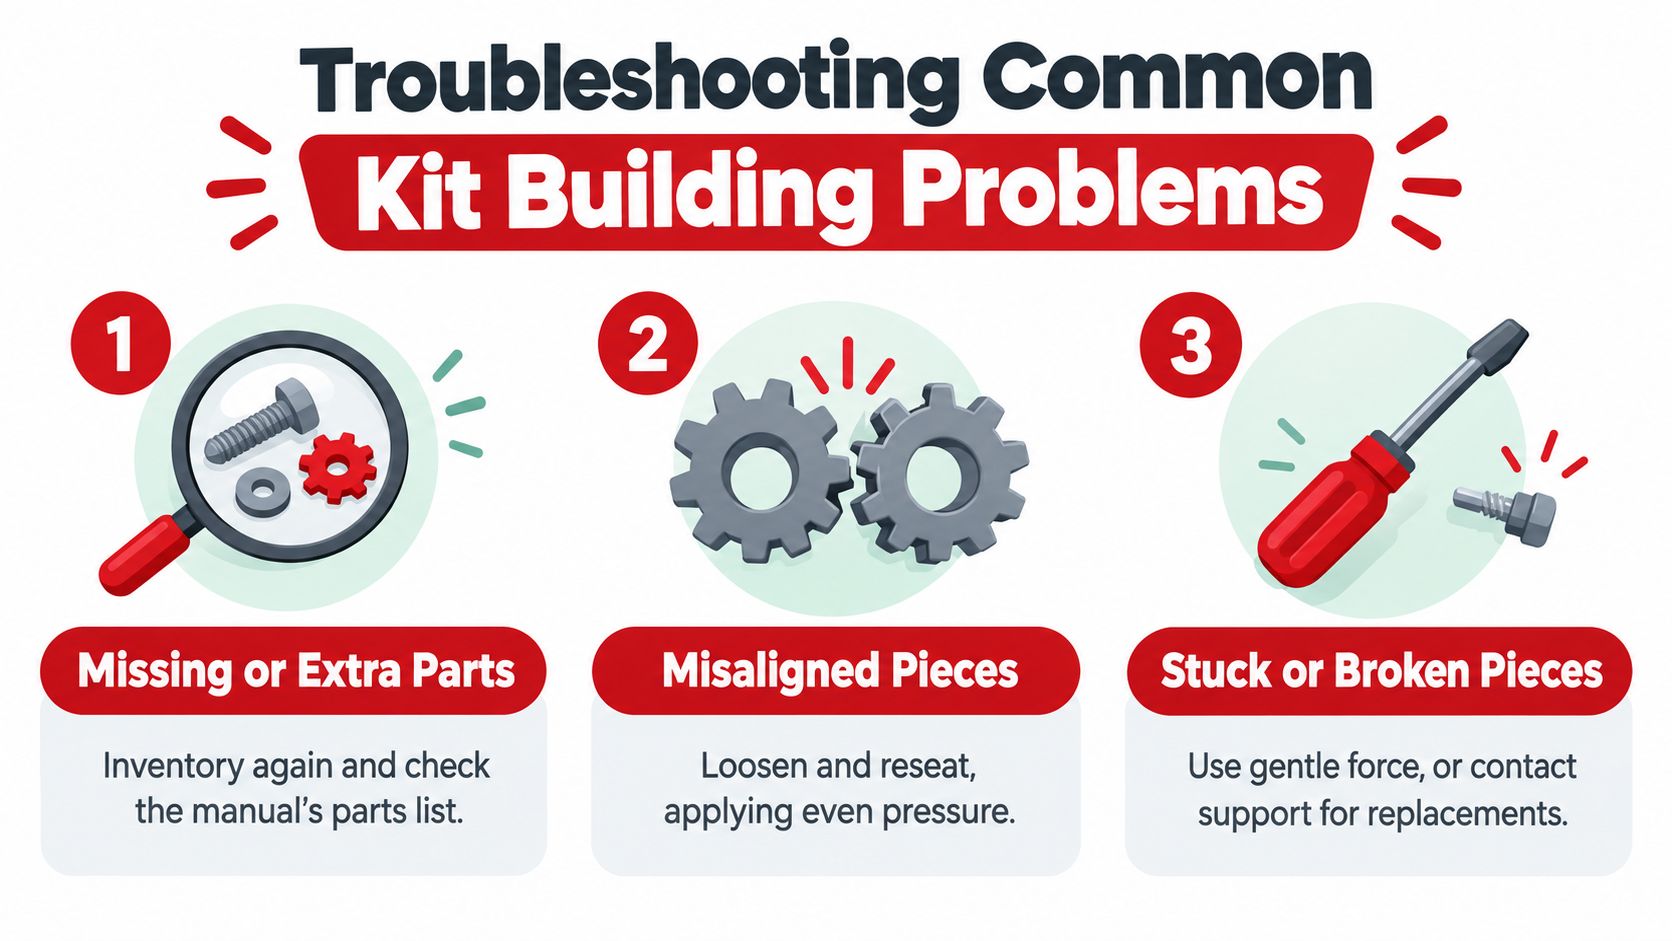
Diagnose before forcing
- Missing or extra parts: Recount everything against the manual's parts list. Check packaging seams and partially assembled sections before contacting support.
- Misaligned pieces: Loosen the connection, return to the previous step, and reseat both pieces with even pressure. Compare the angle with the illustration.
- Wobbly structure: Inspect the base first, then check whether connectors are fully inserted. Don't add decorative pieces until the frame is stable.
- Unclear instructions: Read the caption beside the image, rotate the model to match the diagram, and identify the last step that definitely worked.
- Broken or damaged parts: Stop using the damaged component. Keep the packaging and parts list available when requesting a replacement.
For organized classrooms or shared play spaces, item-level scanning at each station, final packing-list verification, and reverse-kitting can help recover usable components after returns. At home, the simpler version is just as useful: label containers, photograph unfinished stages, and return unused parts to their original groups.
The global construction toys market was estimated at USD 14,747.8 million in 2023 and is projected to reach USD 32,170.4 million by 2030, with a projected 11.8% CAGR from 2024 to 2030, according to market coverage of construction toys. That expanding category gives families more choices, but a thoughtful process still matters more than a crowded box.
A calm reset is part of building, not a sign that the build went wrong.
Playz offers science kits, model-building projects, creative toys, and screen-free activities that give families a concrete starting point for purposeful play. Choose a project that matches your child's age, interests, and need for adult support, then visit Playz to find a build you can explore together.