

Ready to unleash the explosive power of a volcano right in your kitchen or classroom? Building a volcano model is a classic, hands-on science adventure that masterfully blends art and chemistry. The process is simple: construct the cone, mix your "lava," and ignite a spectacular chemical reaction. This guide will walk you through creating an unforgettable learning experience.
Why a Volcano Project Is More Than Just Fun
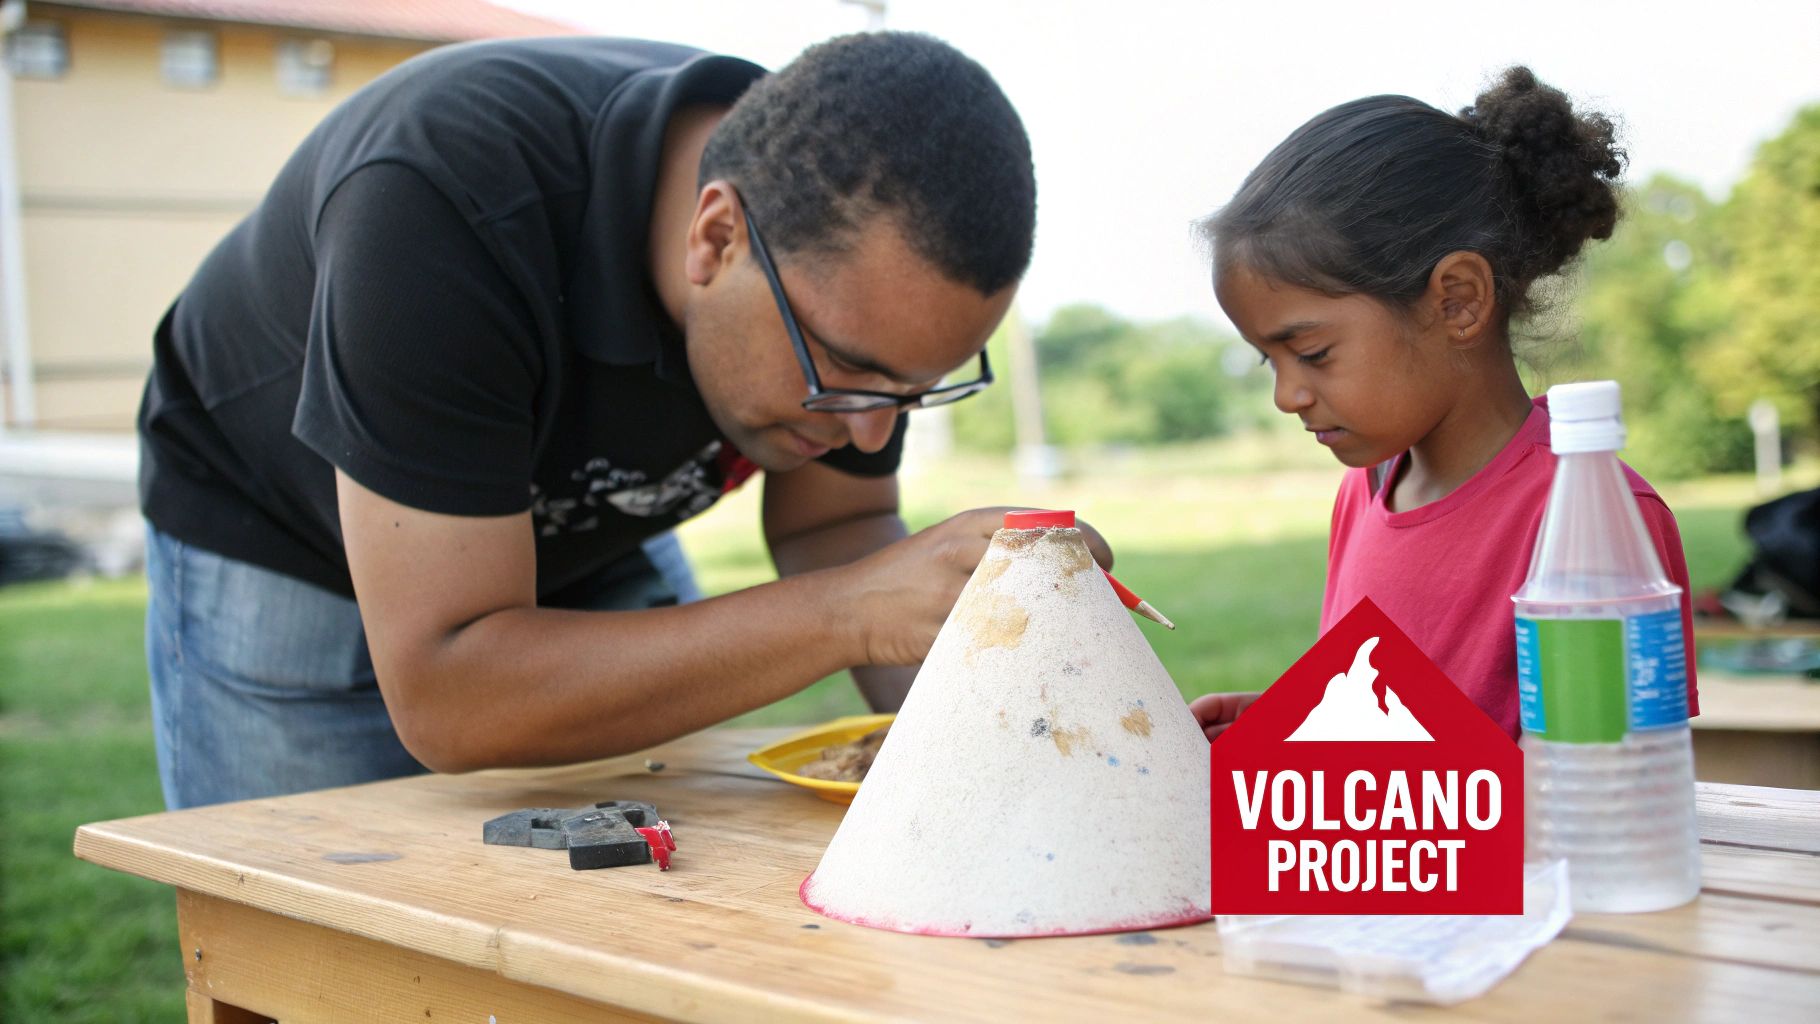
This project is your ticket to sparking genuine curiosity in geology and chemistry. It's an opportunity to put down the screens, get your hands dirty, and learn by doing. There's a reason this experiment has been a classroom staple for decades—it makes complex science tangible and exciting.
Hands-on projects like this make a huge difference. Studies show that around 70% of elementary students think volcanoes are just mountains that spit fire, a common misconception from movies. This project corrects that by simulating a real chemical reaction. The classic baking soda and vinegar combination mimics the carbon dioxide buildup that occurs in roughly 80% of real-world effusive eruptions, making the science click.
Key Learning Benefits of Building a Volcano
This isn't just another craft; it's a powerful educational tool. Here’s what makes it so impactful:
- Boosts STEM Skills: It serves as a practical introduction to basic chemistry (acid-base reactions) and geology (the formation of volcanic cones).
- Encourages Creativity: Kids get to sculpt, paint, and customize their volcano, perfectly blending scientific principles with artistic expression. For more inspiration, check out these creative art projects for kids.
- Develops Problem-Solving: Following instructions, measuring ingredients, and troubleshooting a less-than-perfect eruption all build critical thinking skills.
Key Takeaway: A volcano model is one of the best ways to demonstrate cause and effect. The simple act of mixing two household ingredients to create a dramatic reaction makes abstract scientific concepts feel real and exciting.
This project is a perfect example of a science fair project that truly brings learning to life. Let’s get started on an experiment guaranteed to make a lasting impression.
Gathering Your Volcanic Materials and Supplies
Before the eruption can begin, you need to assemble your supplies. Think of yourself as a scientist preparing for an experiment—having everything organized and ready makes the entire process smoother and more enjoyable.
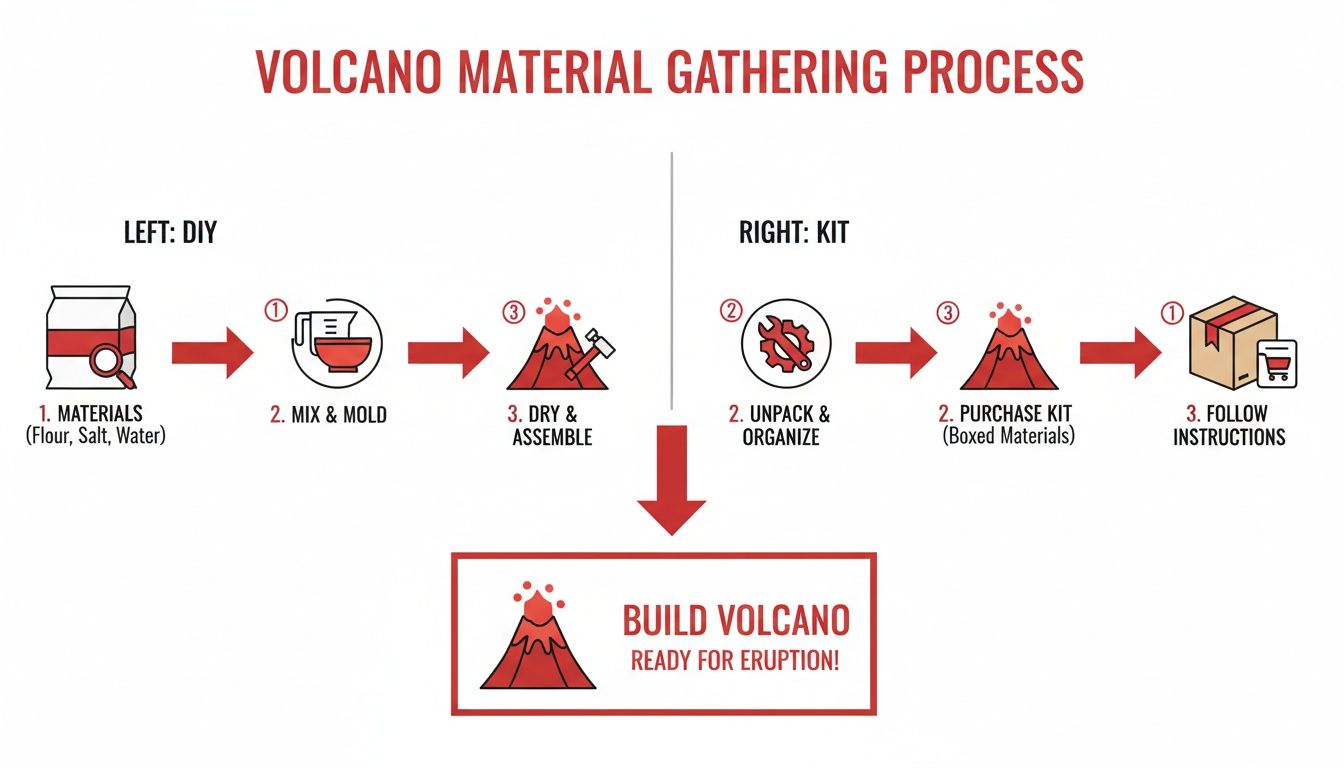
You have two main paths for gathering materials: the classic DIY route using common household items, or an all-in-one science kit. Each offers a unique experience on your way to an awesome volcanic explosion.
DIY From Scratch: The Classic, Creative Approach
The DIY approach offers maximum creative freedom. An empty soda bottle becomes the magma chamber, a sturdy piece of cardboard serves as the base, and a simple dough made from flour and salt forms the cone. If you have extra boxes, there are tons of other great cardboard craft ideas you can explore.
This method teaches resourcefulness, showing kids that amazing science experiments can be created from everyday objects. It proves you don't need a fancy lab to unlock the wonders of chemistry and geology.
All-in-One Playz Kit: The Convenient, Hassle-Free Path
If you prefer to skip the supply hunt and dive right into the action, a dedicated Playz kit is your best bet. The primary advantage is convenience—everything you need is included, often pre-measured and perfectly portioned. This eliminates guesswork and ensures your eruption chemistry is spot-on for a fantastic result.
Pro Tip: Playz kits often include valuable extras like safety goggles, measuring tools, and colorful, detailed instruction booklets that explain the science behind the fun, enhancing the educational value.
Choosing a kit is a great time-saver, allowing you to focus on the building and learning aspects of the project. It’s an excellent option for classrooms, parties, or any situation where you want to minimize prep and maximize fun.
Volcano Model Materials: DIY vs. Playz Science Kit Comparison
Deciding between a homemade volcano and a pre-packaged kit often comes down to time, budget, and how hands-on you want the prep to be. Both paths lead to a spectacular eruption, but the journey differs slightly. Here’s a quick pros-and-cons comparison.
| Feature | DIY From Scratch (Pros & Cons) | Playz Science Kit (Pros & Cons) |
|---|---|---|
| Structure | Uses recycled items like a plastic bottle and cardboard. (+Eco-friendly, -Less durable) | Comes with a custom mold and sturdy volcano base. (+Durable, -Less customization) |
| Dough | Made from flour, salt, and water. (+Inexpensive, -Requires drying time) | Includes plaster powder for a rock-hard finish. (+Realistic texture, -Can be messy) |
| Eruption | Uses baking soda and vinegar. (+Readily available, -Requires measuring) | Includes pre-measured citric acid and sodium bicarbonate. (+Consistent results, -Limited supply) |
| Convenience | Low (Requires sourcing multiple items). | High (Everything included in one box). |
| Cost | Very Low (Uses household staples). | Moderate (One-time purchase). |
Ultimately, whether you build from scratch or use a kit, you're setting the stage for an unforgettable science experiment that delivers a fantastic hands-on learning experience.
Step-by-Step Guide to Constructing Your Volcano Cone
With your materials gathered, it's time for the most creative part: sculpting your volcano. This is where a simple plastic bottle and some dough transform into an impressive, eruption-ready mountain. The goal is to build a sturdy, cone-shaped structure that not only looks authentic but can also withstand multiple fizzy lava flows.
The construction process is similar whether you're using a DIY recipe or a kit from Playz.
As you can see, both methods achieve the same result: a fantastic volcano model. The key is to secure your "magma chamber" (the bottle) first, then build the cone around it for a solid, integrated structure.
1. Prepare the Foundation and Magma Chamber
Your volcano needs a solid base to prevent it from tipping over mid-eruption. A sturdy piece of cardboard or a large plastic tray works perfectly. Place your empty plastic bottle in the center; this will serve as the magma chamber.
Next, secure the bottle firmly to the base using strong tape or a hot glue gun (with adult supervision). Ensure it's completely stable with the opening pointing straight up. This bottle will contain the eruptive ingredients, so making it wobble-proof is the most critical first step.
2. Mix and Sculpt the Volcano Dough
Now, let's make the dough that will form your classic volcano cone. The DIY salt dough recipe below creates a wonderfully pliable, clay-like texture that's perfect for sculpting.
Actionable Salt Dough Recipe:
- In a large bowl, mix 6 cups of flour and 2 cups of salt.
- Add 4 tablespoons of cooking oil.
- Gradually pour in 2 cups of warm water, mixing with your hands until a firm dough forms.
If the dough is too sticky, add a bit more flour. If it's too dry, add a tablespoon of water at a time. Knead for a few minutes until smooth. This consistency is ideal for anyone learning how to build a volcano model that’s both durable and easy to shape.
Key Takeaway: The salt in this recipe does more than add texture; it acts as a natural preservative, helping prevent the model from getting moldy as it dries. This is a huge benefit if you plan to keep your volcano for future eruptions.
Once your dough is ready, start pressing it around the base of the bottle, building it up into a cone shape. Don’t worry about making it perfectly smooth—real volcanoes are rugged and uneven! Just be sure to leave the bottle's opening exposed, as this is the caldera where the eruption will occur.
For a realistic touch, use your fingers or a craft stick to carve channels and ridges down the sides. This detail will guide the "lava" flow during the eruption. Once you're happy with the shape, let it air dry for 24-48 hours until it's completely hard.
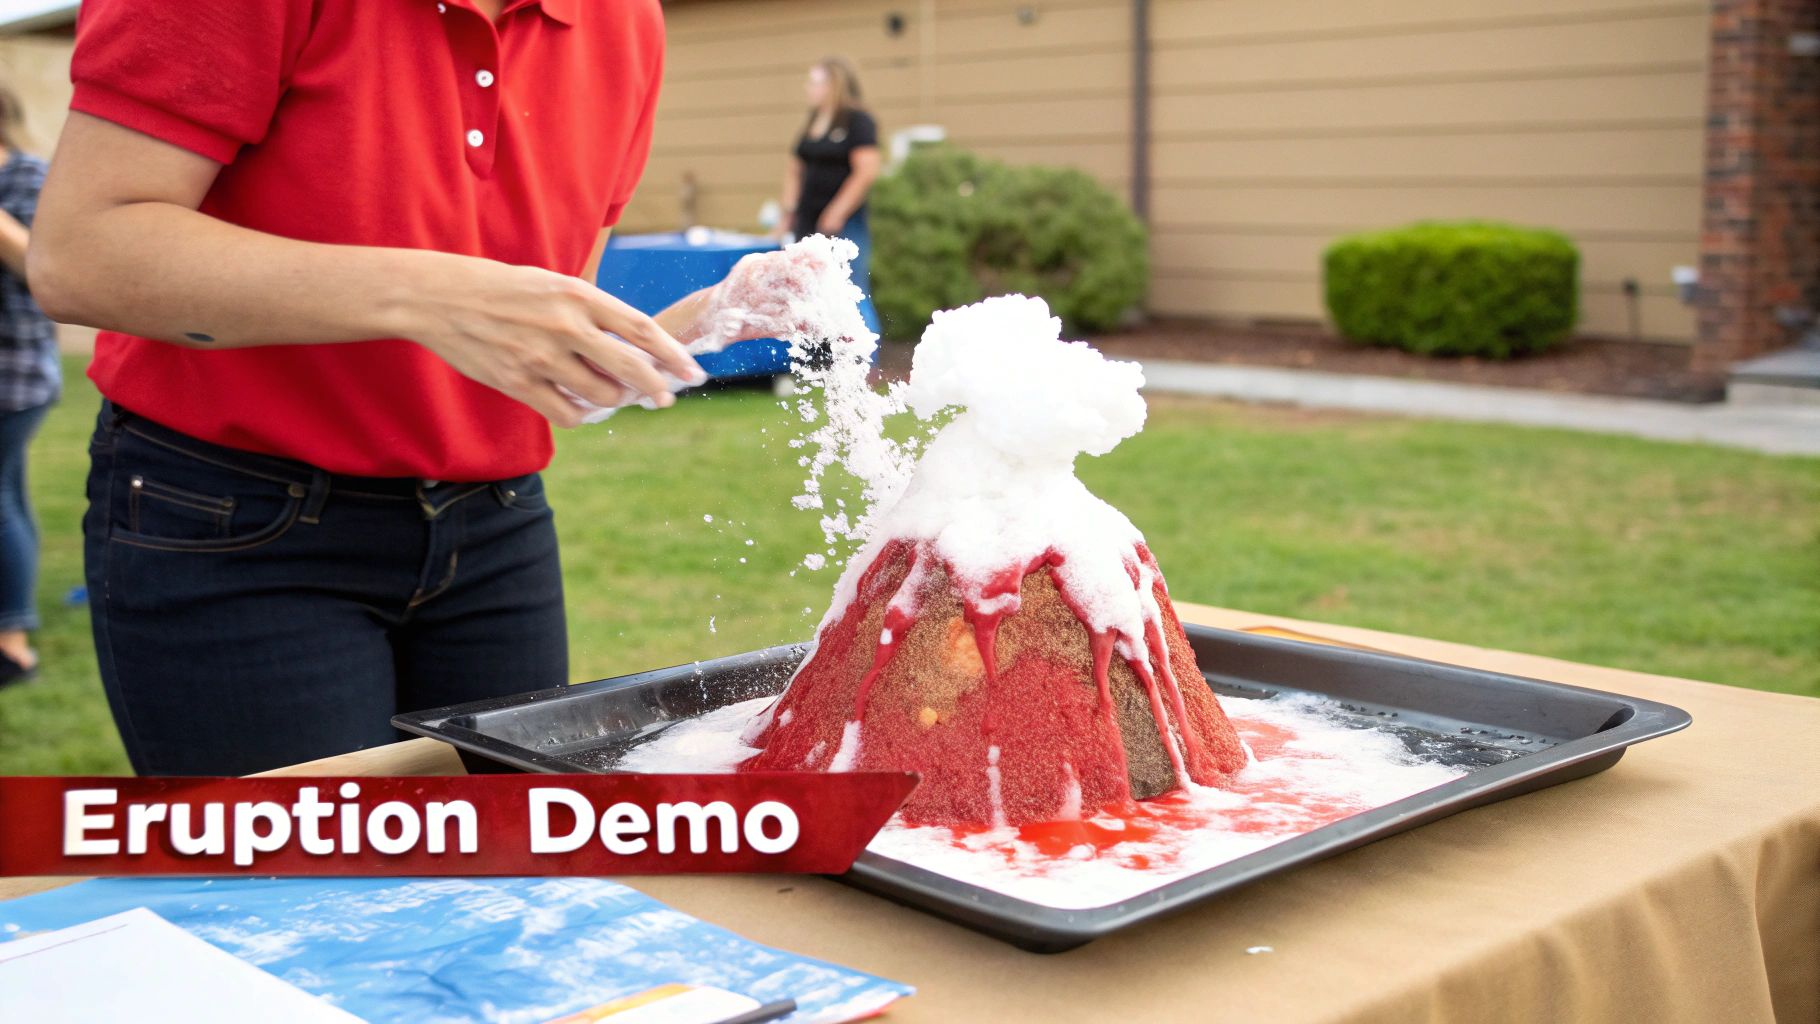
How to Create a Safe and Spectacular Eruption
With your volcano built, it’s time for the grand finale—the eruption! This is where simple chemistry creates a spectacular show. The classic baking soda and vinegar reaction is a safe and effective way to simulate the powerful forces inside a real volcano.
This straightforward acid-base reaction releases carbon dioxide gas. The gas builds up inside the bottle until it has nowhere to go but up and out, just like the trapped gases in magma that cause real-life eruptions. This connection turns a fun fizzing reaction into a memorable science lesson.
Pro Tip: Always conduct your experiment in an easy-to-clean area. A kitchen sink, a large plastic tray, or the great outdoors are your best options to contain the mess.
The Classic Eruption Recipe: A Foolproof Formula
This reliable method delivers a fantastic eruption every time, making it perfect for first-timers.
- Place your finished volcano model on a tray or washable surface.
- Add 2-3 tablespoons of baking soda into the volcano's "magma chamber" (the plastic bottle).
- In a separate cup, mix half a cup of white vinegar with a few drops of red or orange food coloring to create a lava-like appearance.
- When you're ready for action, pour the colored vinegar into the bottle and stand back to watch the magic!
The initial reaction is fast and exciting, but a few simple tweaks can make your lava flow even more impressive.
Expert Tip: For a foamier, slower-moving lava flow, add a squirt of dish soap to the baking soda before adding the vinegar. The soap traps the carbon dioxide in thousands of tiny bubbles, creating a thick, satisfying foam that oozes realistically down the volcano's sides.
Taking Your Volcanic Explosion to the Next Level
Once you've mastered the basic eruption, experiment to make it even more dramatic. Try varying the ratio of baking soda to vinegar to see how it affects the speed and volume of the flow. For more ideas on safe reactions, explore other exciting chemistry experiments to try at home.
This small-scale simulation connects directly to real-world science. For instance, data from the 1991 Mount Pinatubo eruption, which ejected 20 million tons of sulfur dioxide and temporarily cooled the planet, helps scientists refine predictive models for the 1,200+ active volcanoes worldwide.
Safety should always be the top priority. While this reaction is non-toxic, adult supervision is essential to manage the mess and guide the experiment. This ensures the focus remains on fun, learning, and creating a lasting scientific memory.
Turning Your Volcano Model Into a Dynamic STEM Lesson
The eruption may be over in moments, but the learning opportunities have just begun. This is the perfect time to transition from a fun craft into a memorable STEM lesson by asking thoughtful questions and exploring the real-world science behind the spectacle.
Start by introducing core volcanology concepts. Explain the difference between magma (molten rock beneath the Earth's surface) and lava (what it's called after it erupts). Then, discuss the three main types of volcanoes:
- Shield Volcanoes: Massive, gently sloping volcanoes like those in Hawaii, built from fluid lava flows.
- Composite Volcanoes (Stratovolcanoes): The iconic, steep-sided cones like Mount Fuji, formed from alternating layers of lava and ash.
- Cinder Cones: The smallest and simplest type, created from ejected lava blobs that pile up around a single vent.
Fostering Critical Thinking with Guiding Questions
Spark curiosity by using your model as a launchpad for a bigger discussion. Here are some thought-provoking questions to ask:
- "What do you think makes a real volcano erupt?" (Leads to discussions on tectonic plates and pressure).
- "Why are so many volcanoes located along the Pacific 'Ring of Fire'?" (Introduces geography and plate tectonics).
- "How do scientists predict when a volcano might erupt?" (Explores tools like seismometers and gas sensors).
For more tips on structuring your learning activities, check out this guide on creating an effective lesson plan.
Key Insight: This project-based learning approach connects a hands-on activity to abstract scientific principles, making them more tangible and easier to remember. For more inspiration, explore our guide on project-based learning lesson plans.
Extending the Learning Beyond the Eruption
Deepen the educational experience with follow-up activities. Challenge your young scientist to map famous active volcanoes on a world map or research the tools volcanologists use. You can even use real-world data; the Smithsonian Institution reports an average of 78 total volcanic eruptions per year since 2000, offering plenty of current events to explore.
These extensions transform a one-off craft into a powerful and lasting educational journey, fueling a deeper interest in the dynamic forces that shape our planet.
Frequently Asked Questions About Building a Volcano Model
Even the most straightforward science project can raise a few questions. From maximizing your eruption to making your model last, we've compiled answers to the most common queries to ensure your volcano-building experience is a massive success.
How can I make the volcano eruption bigger and more dramatic?
To achieve a more explosive eruption, focus on pressure and ingredient ratios. Using a bottle with a narrow neck, like a standard soda bottle, funnels the reaction upward, creating a more forceful lava fountain. For an extra boost, add a bit more baking soda to the chamber and pour the vinegar in quickly.
Pro Tip: My favorite trick for a visually impressive eruption is to add a generous squirt of dish soap along with the baking soda. This creates a thick, foamy lava that oozes slowly and satisfyingly down the volcano's sides, mimicking a real pahoehoe lava flow.
Is the baking soda and vinegar reaction safe for kids?
Absolutely. The chemical reaction between baking soda (a base) and vinegar (an acid) is non-toxic, making it one of the safest at-home science experiments. However, adult supervision is always recommended to manage the mess and guide the process. Wearing safety glasses, often included in Playz kits, is also a smart precaution against splashes.
How do I make my volcano model reusable for multiple eruptions?
To make your volcano model durable and reusable, waterproofing is key. Once your salt dough or clay structure is completely dry (allow at least 24-48 hours), apply a thorough coat of waterproof paint or a clear acrylic sealant spray. This creates a protective barrier that prevents the dough from getting soggy and breaking down.
- Apply two coats for extra durability, allowing the first to dry completely before adding the second.
- Let the final sealant cure fully before initiating the next eruption.
- After each use, simply rinse the model and let it dry.
What age is this volcano project best suited for?
This project is incredibly versatile and can be adapted for a wide range of ages, making it perfect for families and classrooms.
- Preschoolers (Ages 3-5): Will love the sensory experience of squishing the dough and watching the fizz. They will need significant hands-on assistance.
- Elementary Schoolers (Ages 6-10): Can handle more of the building and measuring independently and are at a prime age to grasp the basic science concepts.
- Middle Schoolers (Ages 11+): Can take the project further by experimenting with different eruption formulas, researching real-life volcanoes, or exploring the geology of Earth's layers for kids.
By adjusting your level of involvement and the depth of the scientific discussion, you can make this project an engaging and educational hit for any young learner.
Ready to skip the prep and jump straight into the action? The Playz Lava Lab Volcano Kit includes everything you need to build, paint, and erupt a spectacular volcano, all in one convenient box. It's the perfect way to bring hands-on science to life!